This post may contain affiliate links. Please read our disclosure policy.
BEST WHOLE WHEAT BREAD RECIPE
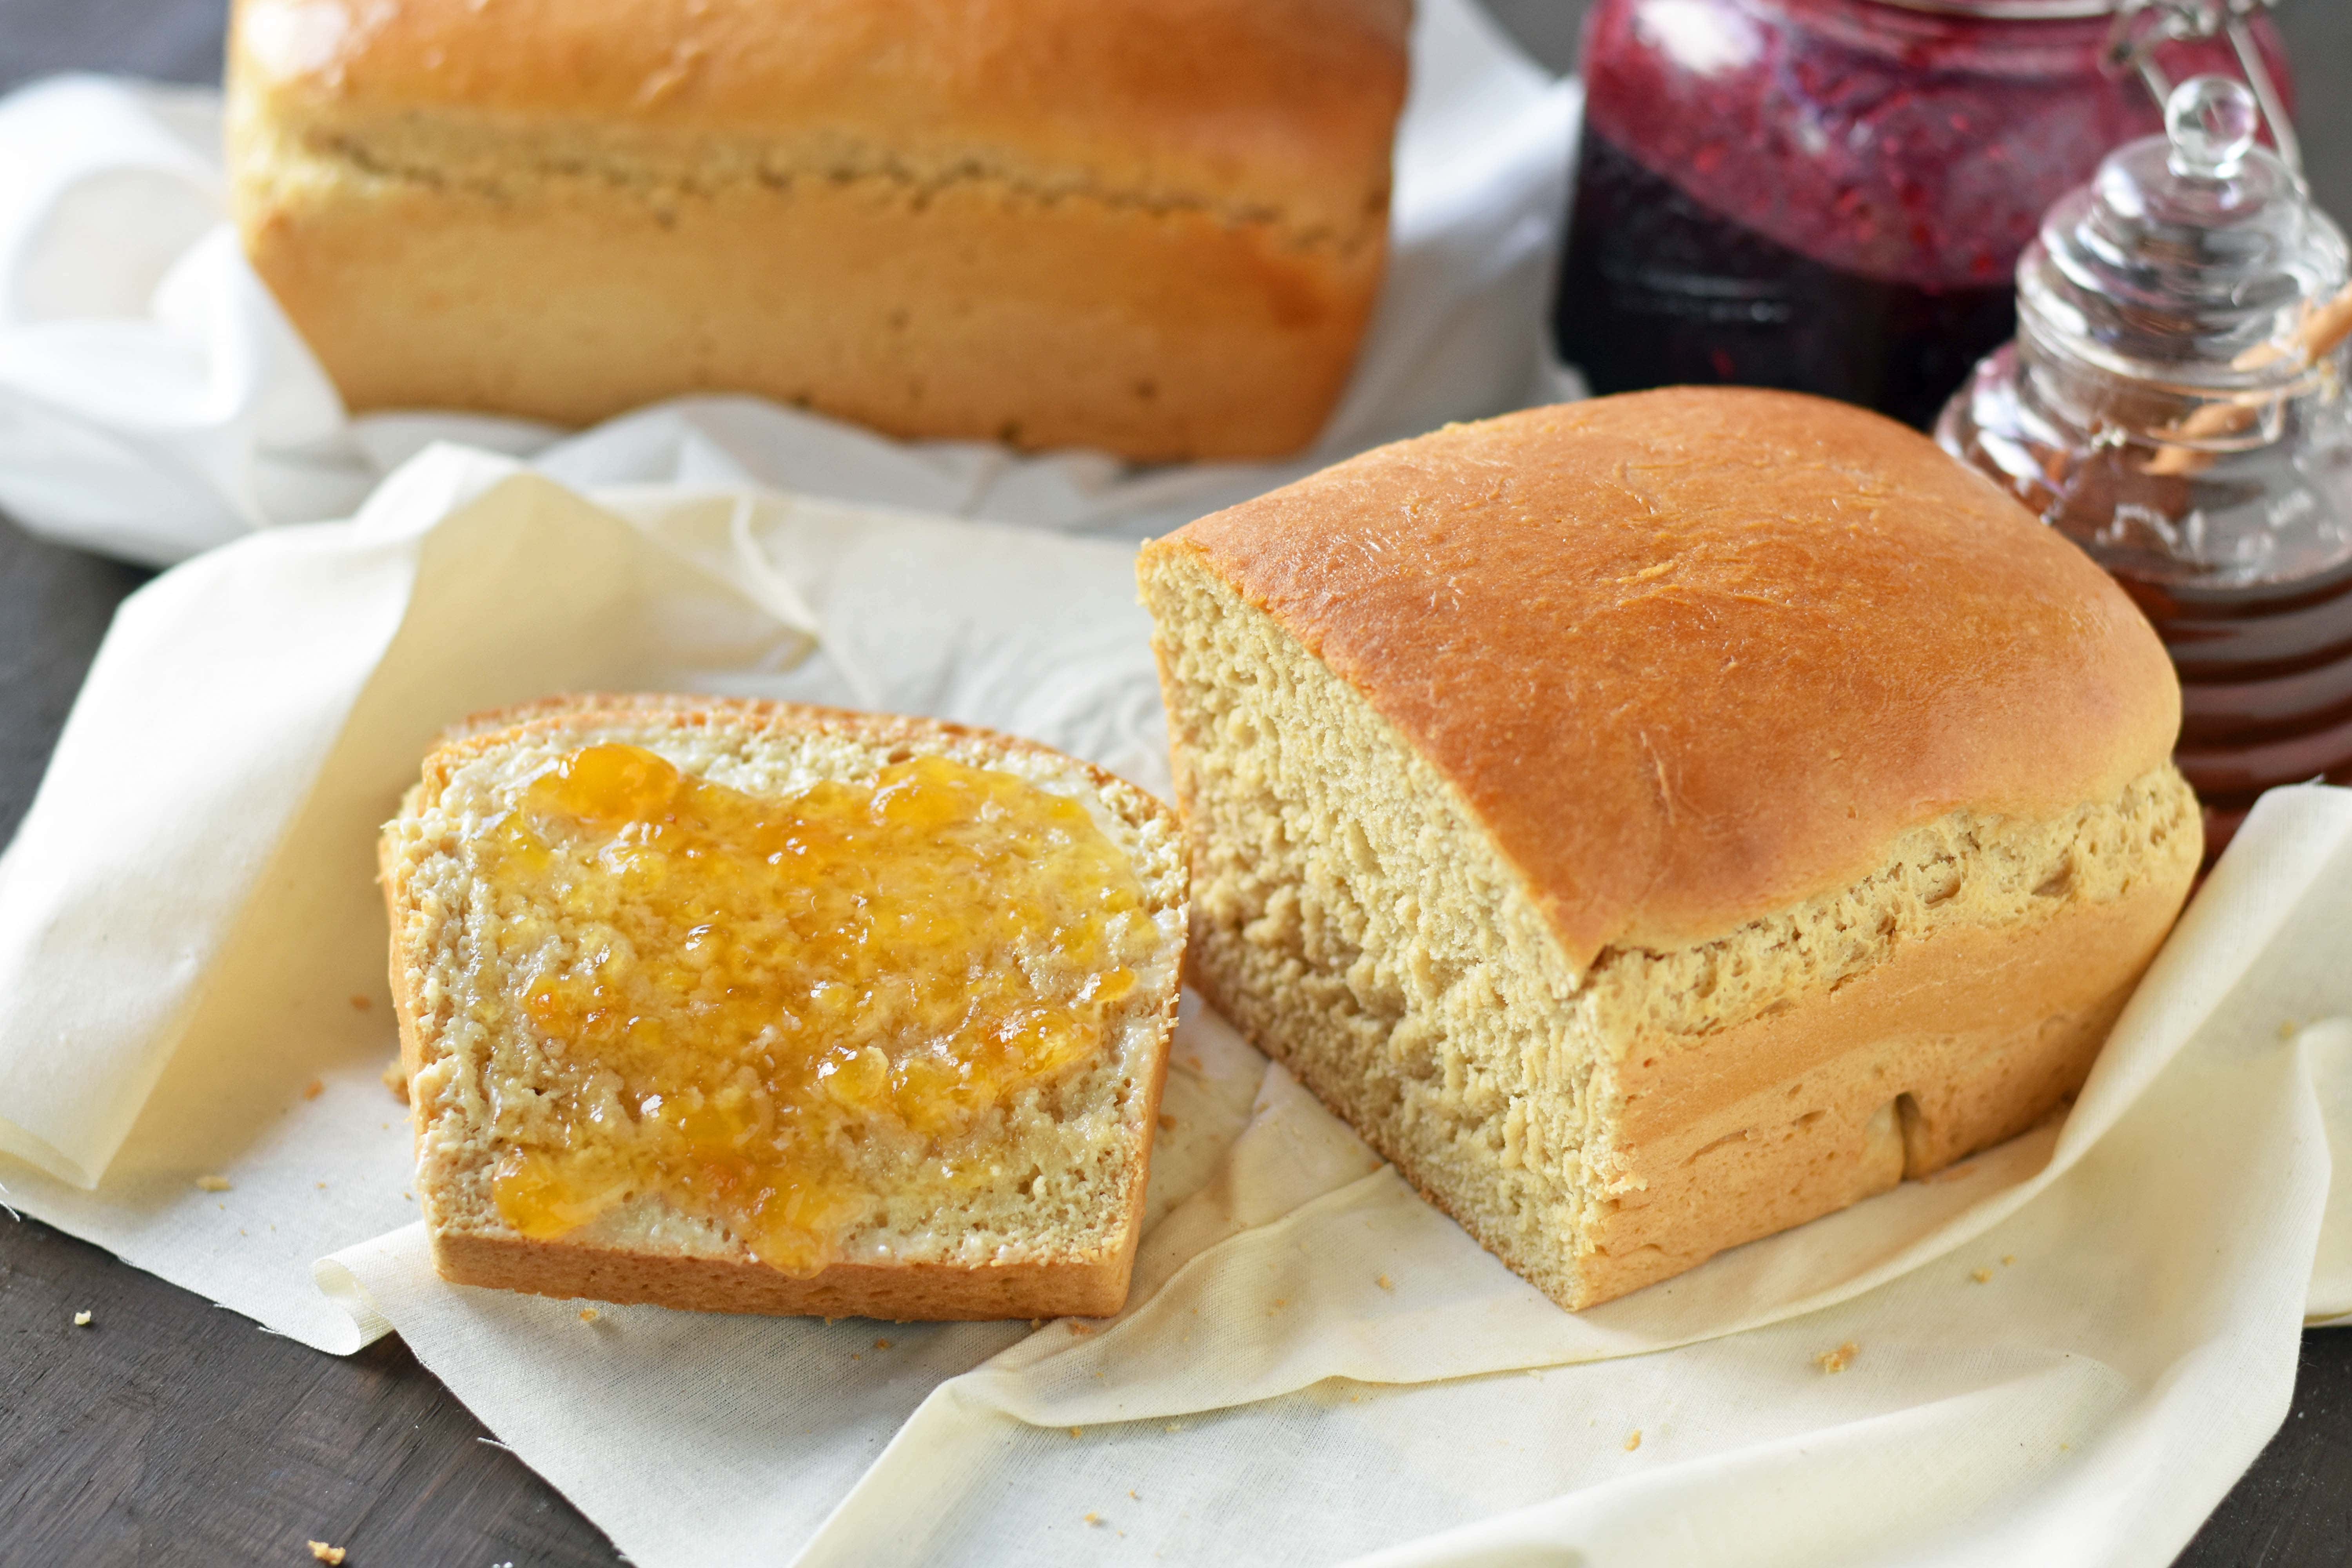
My Mom put on her apple apron, pulled out the flour containers, and kneaded homemade bread like nobody’s business. There was nothing like the smell of homemade bread straight out of the oven. I would run home from school much faster on those days when my Mom was baking homemade bread. I slathered the homemade bread with sweet cream butter and honey or berry jam. To this day it is still one of the most comforting foods that always reminds me of home.
I haven’t carried on my Mom’s tradition of weekly homemade bread because I have always said that it is way too time consuming. I still love to make it and feel a lot of satisfaction when it comes out of the oven but needed to find an easier way. Let me introduce to you the power of one hour bread!
Our good friend, Shannon Lundin, has finally shared her top secret bread recipe! After being sensitive to gluten for years, she found that she could eat homemade whole wheat bread made from scratch with zero issues. It is such an amazing discovery and she is sharing her whole wheat bread recipe with all of us. I called her and asked if I could share this with my readers and she was happy to share.
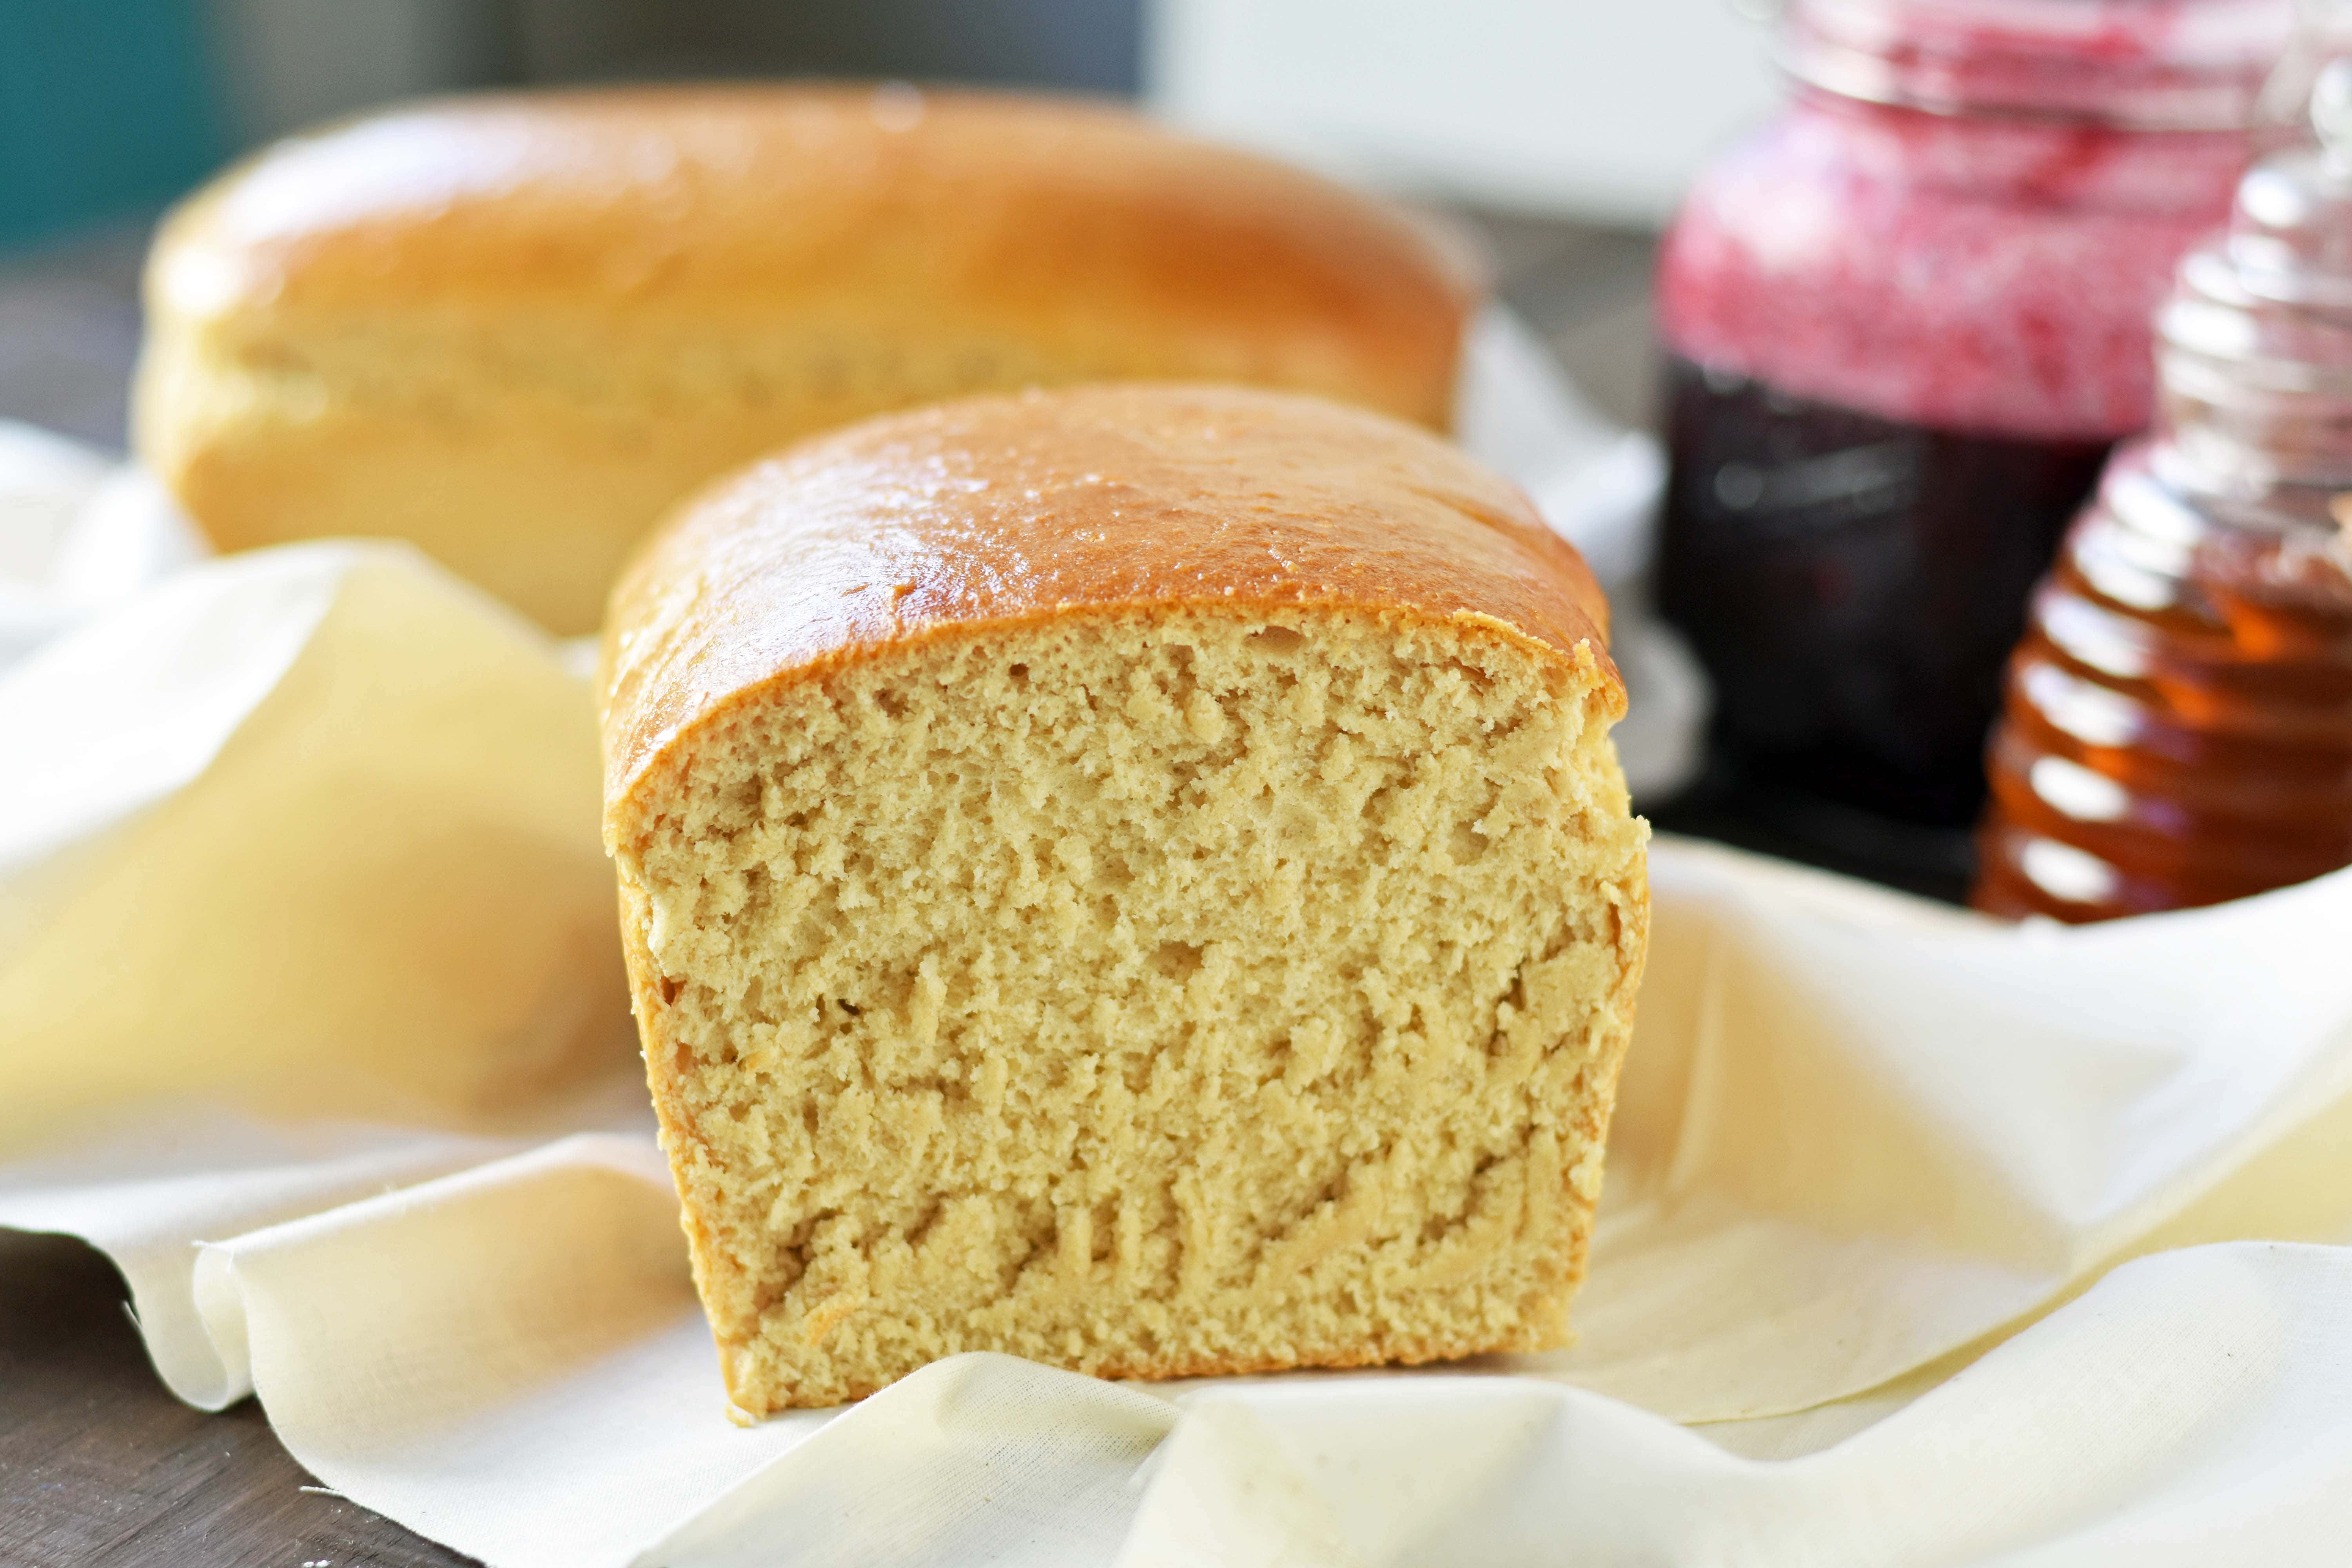
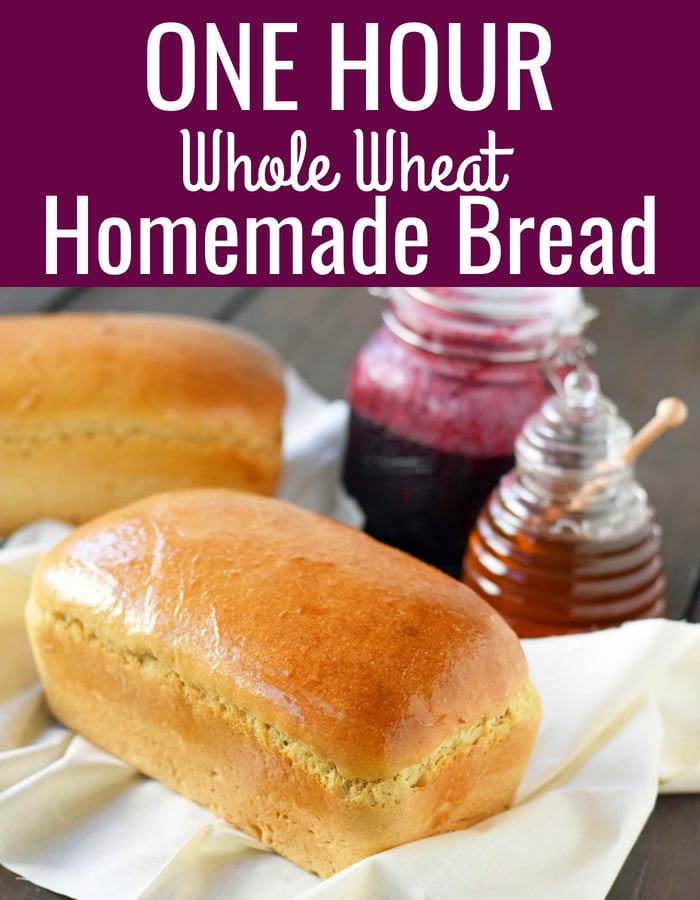
After trying this bread in Texas, I couldn’t wait to follow her recipe and try it at home. I halved her best homemade one hour whole wheat bread recipe. I was in shock that it only took ONE HOUR to make two loaves of homemade bread. Amazing! It is incredible that you can make homemade bread start to finish in one hour.
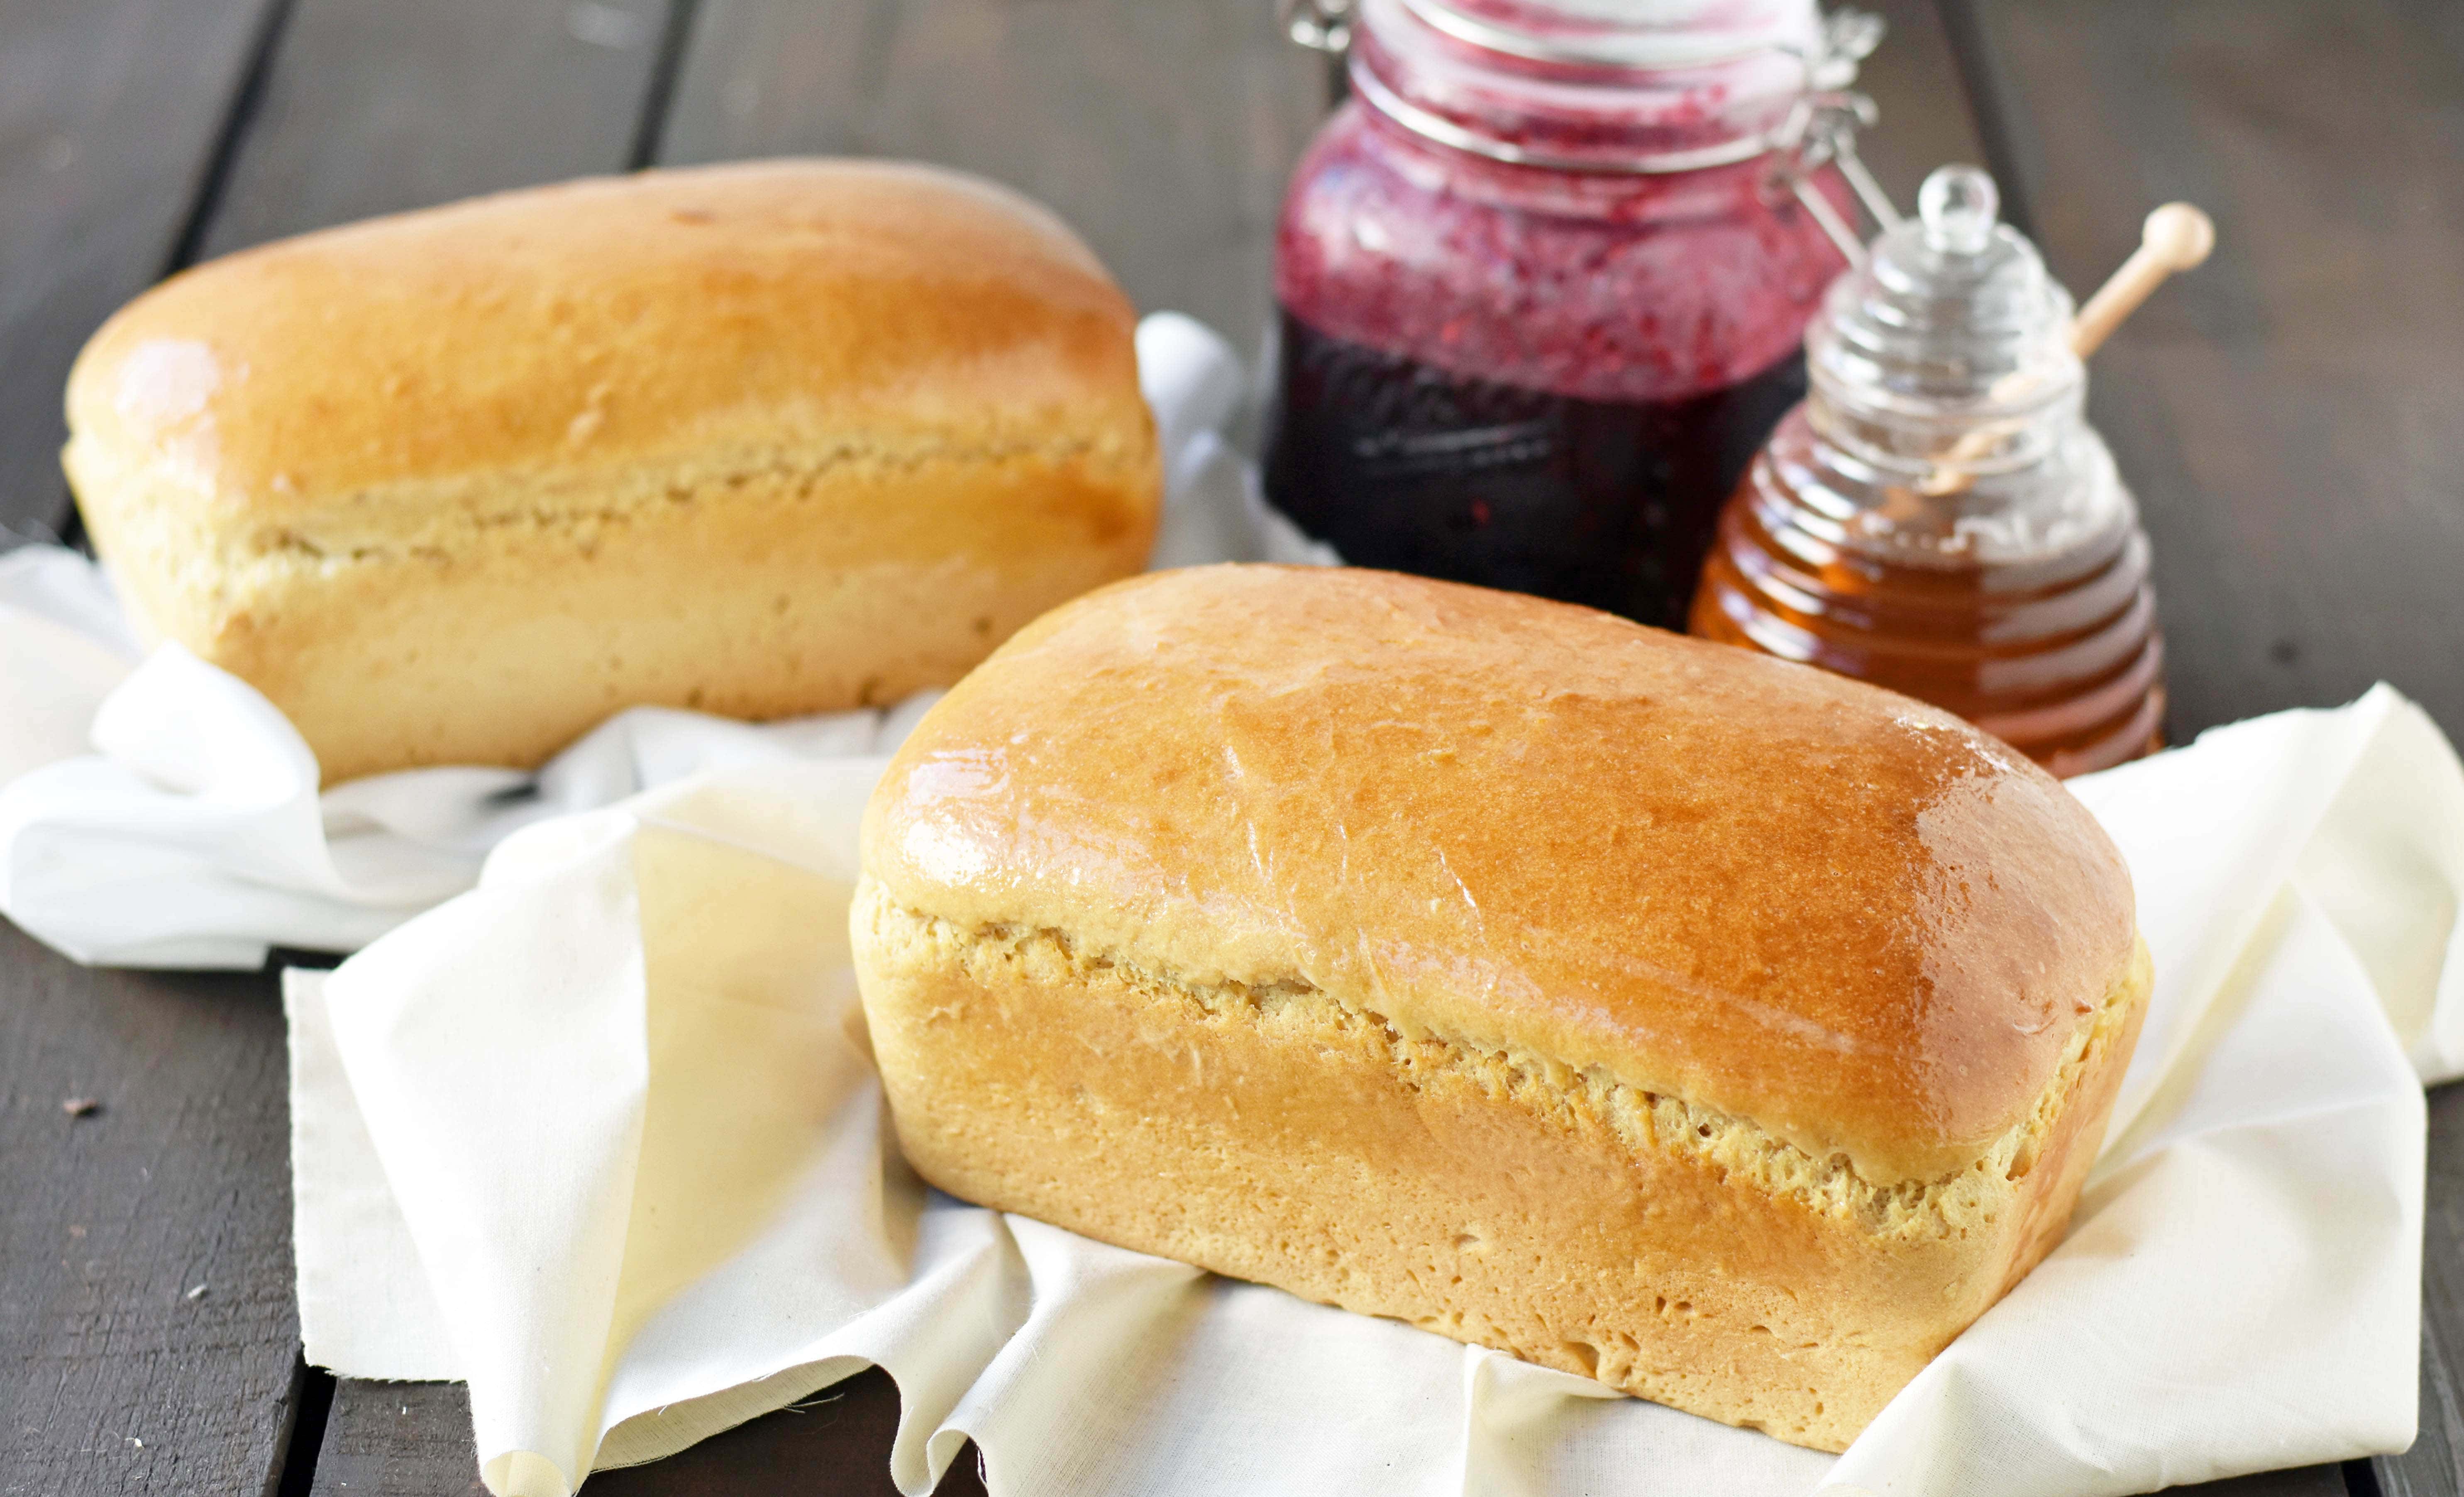
This Best Homemade One Hour Whole Wheat Bread is made with such simple ingredients — whole wheat flour, warm water, yeast, honey, oil, and salt. This bread is filled with all-natural ingredients and no sugar! It is healthy, hearty, and delicious.
TIPS on MAKING the BEST HOMEMADE ONE HOUR WHOLE WHEAT BREAD:
- Let your YEAST PROOF. The key is to use very warm water (about 110 degrees). Adding honey to the yeast helps it proof even faster. Let the yeast proof for at least 5 minutes. Remember to always use fresh yeast. You will know the yeast is working when it starts to form a creamy foam on the surface.
- Use WHOLE WHEAT FLOUR or half white bread flour and half whole wheat flour. If you have a , you can grind your own wheat. If not, look for organic whole wheat flour. You can always use half white flour and half whole wheat flour if you like a lighter bread.
- Use a STAND MIXER. This bread recipe is easiest with a stand mixer such as a Bosch. I love my Bosch mixer because it makes this bread so much easier! This is a huge time saver as you knead the bread for 10-12 minutes in the mixer. It saves you from doing it yourself! If you don’t own a stand mixer, you can knead the bread dough by hand. .
- Let RISE in WARM OVEN. This expedites the rising process and cuts the time in half. Set the oven to about 200 degrees and let the bread rise for approximately 20 minutes or until double in size. .
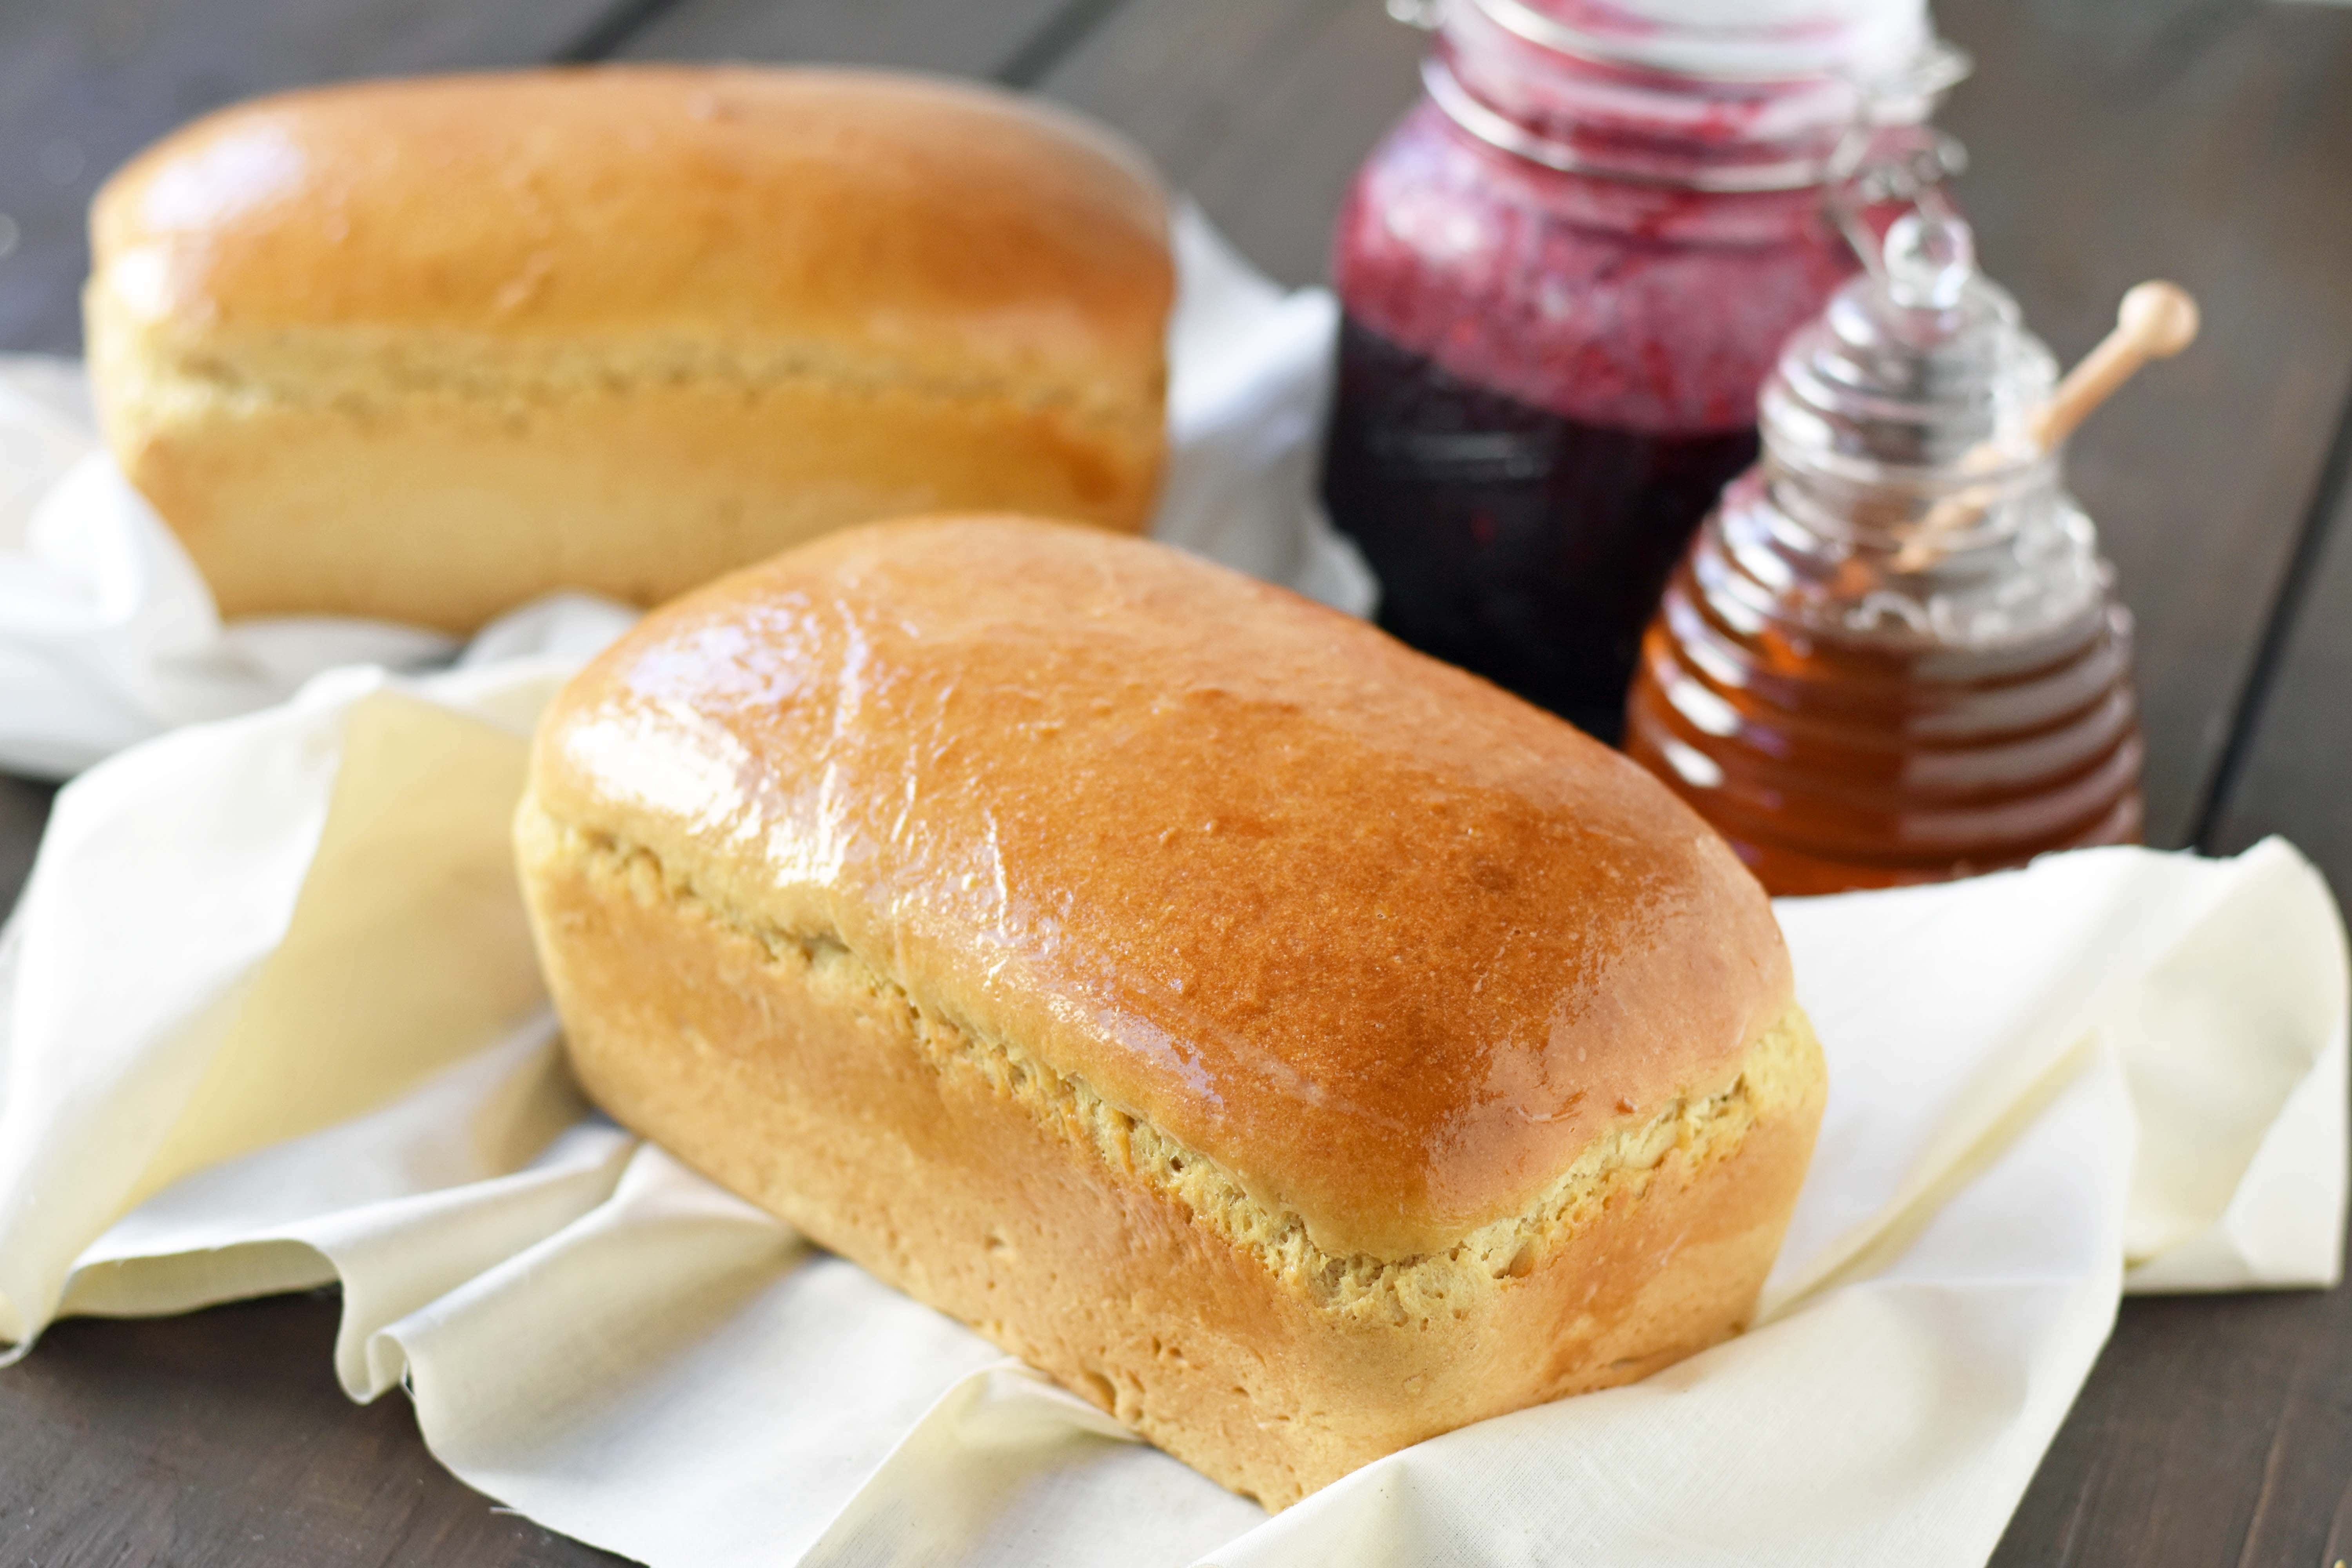
- BAKE until GOLDEN BROWN. Heat the oven to 350 degrees and bake until golden on the outside. Remove from oven and spread butter over top of loaves to give moisture and shine.
Once you remove the hot homemade whole wheat bread from the oven, remove from pans and spread with butter and jam.
Pin this now to find it later
Pin It
Best Homemade One Hour Whole Wheat Bread
Equipment
- kitchenaid mixer
- bread loaf pan
- emile henry bread loaf pan
- measuring cups and spoons
- mixing bowl set
Ingredients
- 3 Cups Warm Water approximately 110 degrees
- 1 Tablespoon Active Dry Yeast
- 2/3 cup Honey
- 1/3 cup Oil plus a little extra for hands
- 7 1/2 cups Whole Wheat Flour may use half whole wheat/half white flour
- 1 Tablespoon Salt
- Butter to spread on top of bread
Instructions
- Heat oven to warm about 200 degrees.
- Place warm water in large mixing bowl. Add yeast and stir. Stir in honey and let proof (start to form a creamy foam) for 5 minutes.
- Add oil, flour, and salt. Begin by adding 7 cups of flour. Start to mix using the dough hook. Add remaining 1/2 cup of flour until dough pulls away from sides of mixing bowl. Using Bosch or Kitchenaid, knead for 10 minutes at medium-high speed. If you don't own a stand mixer, you can knead by hand.
- Place a little oil on hands and shape into two bread loaves. Spray loaf pans with non-stick cooking spray. Put pans in a warm oven to let rise until double -- about 20 minutes.
- Once bread has raised, turn oven to 350 degrees. Leave bread in oven and set timer for 25 minutes.
- Check bread to see if it is golden brown. Once bread is done, remove from oven and spread butter all over warm loaves. Let cool for several minutes before removing from pan.
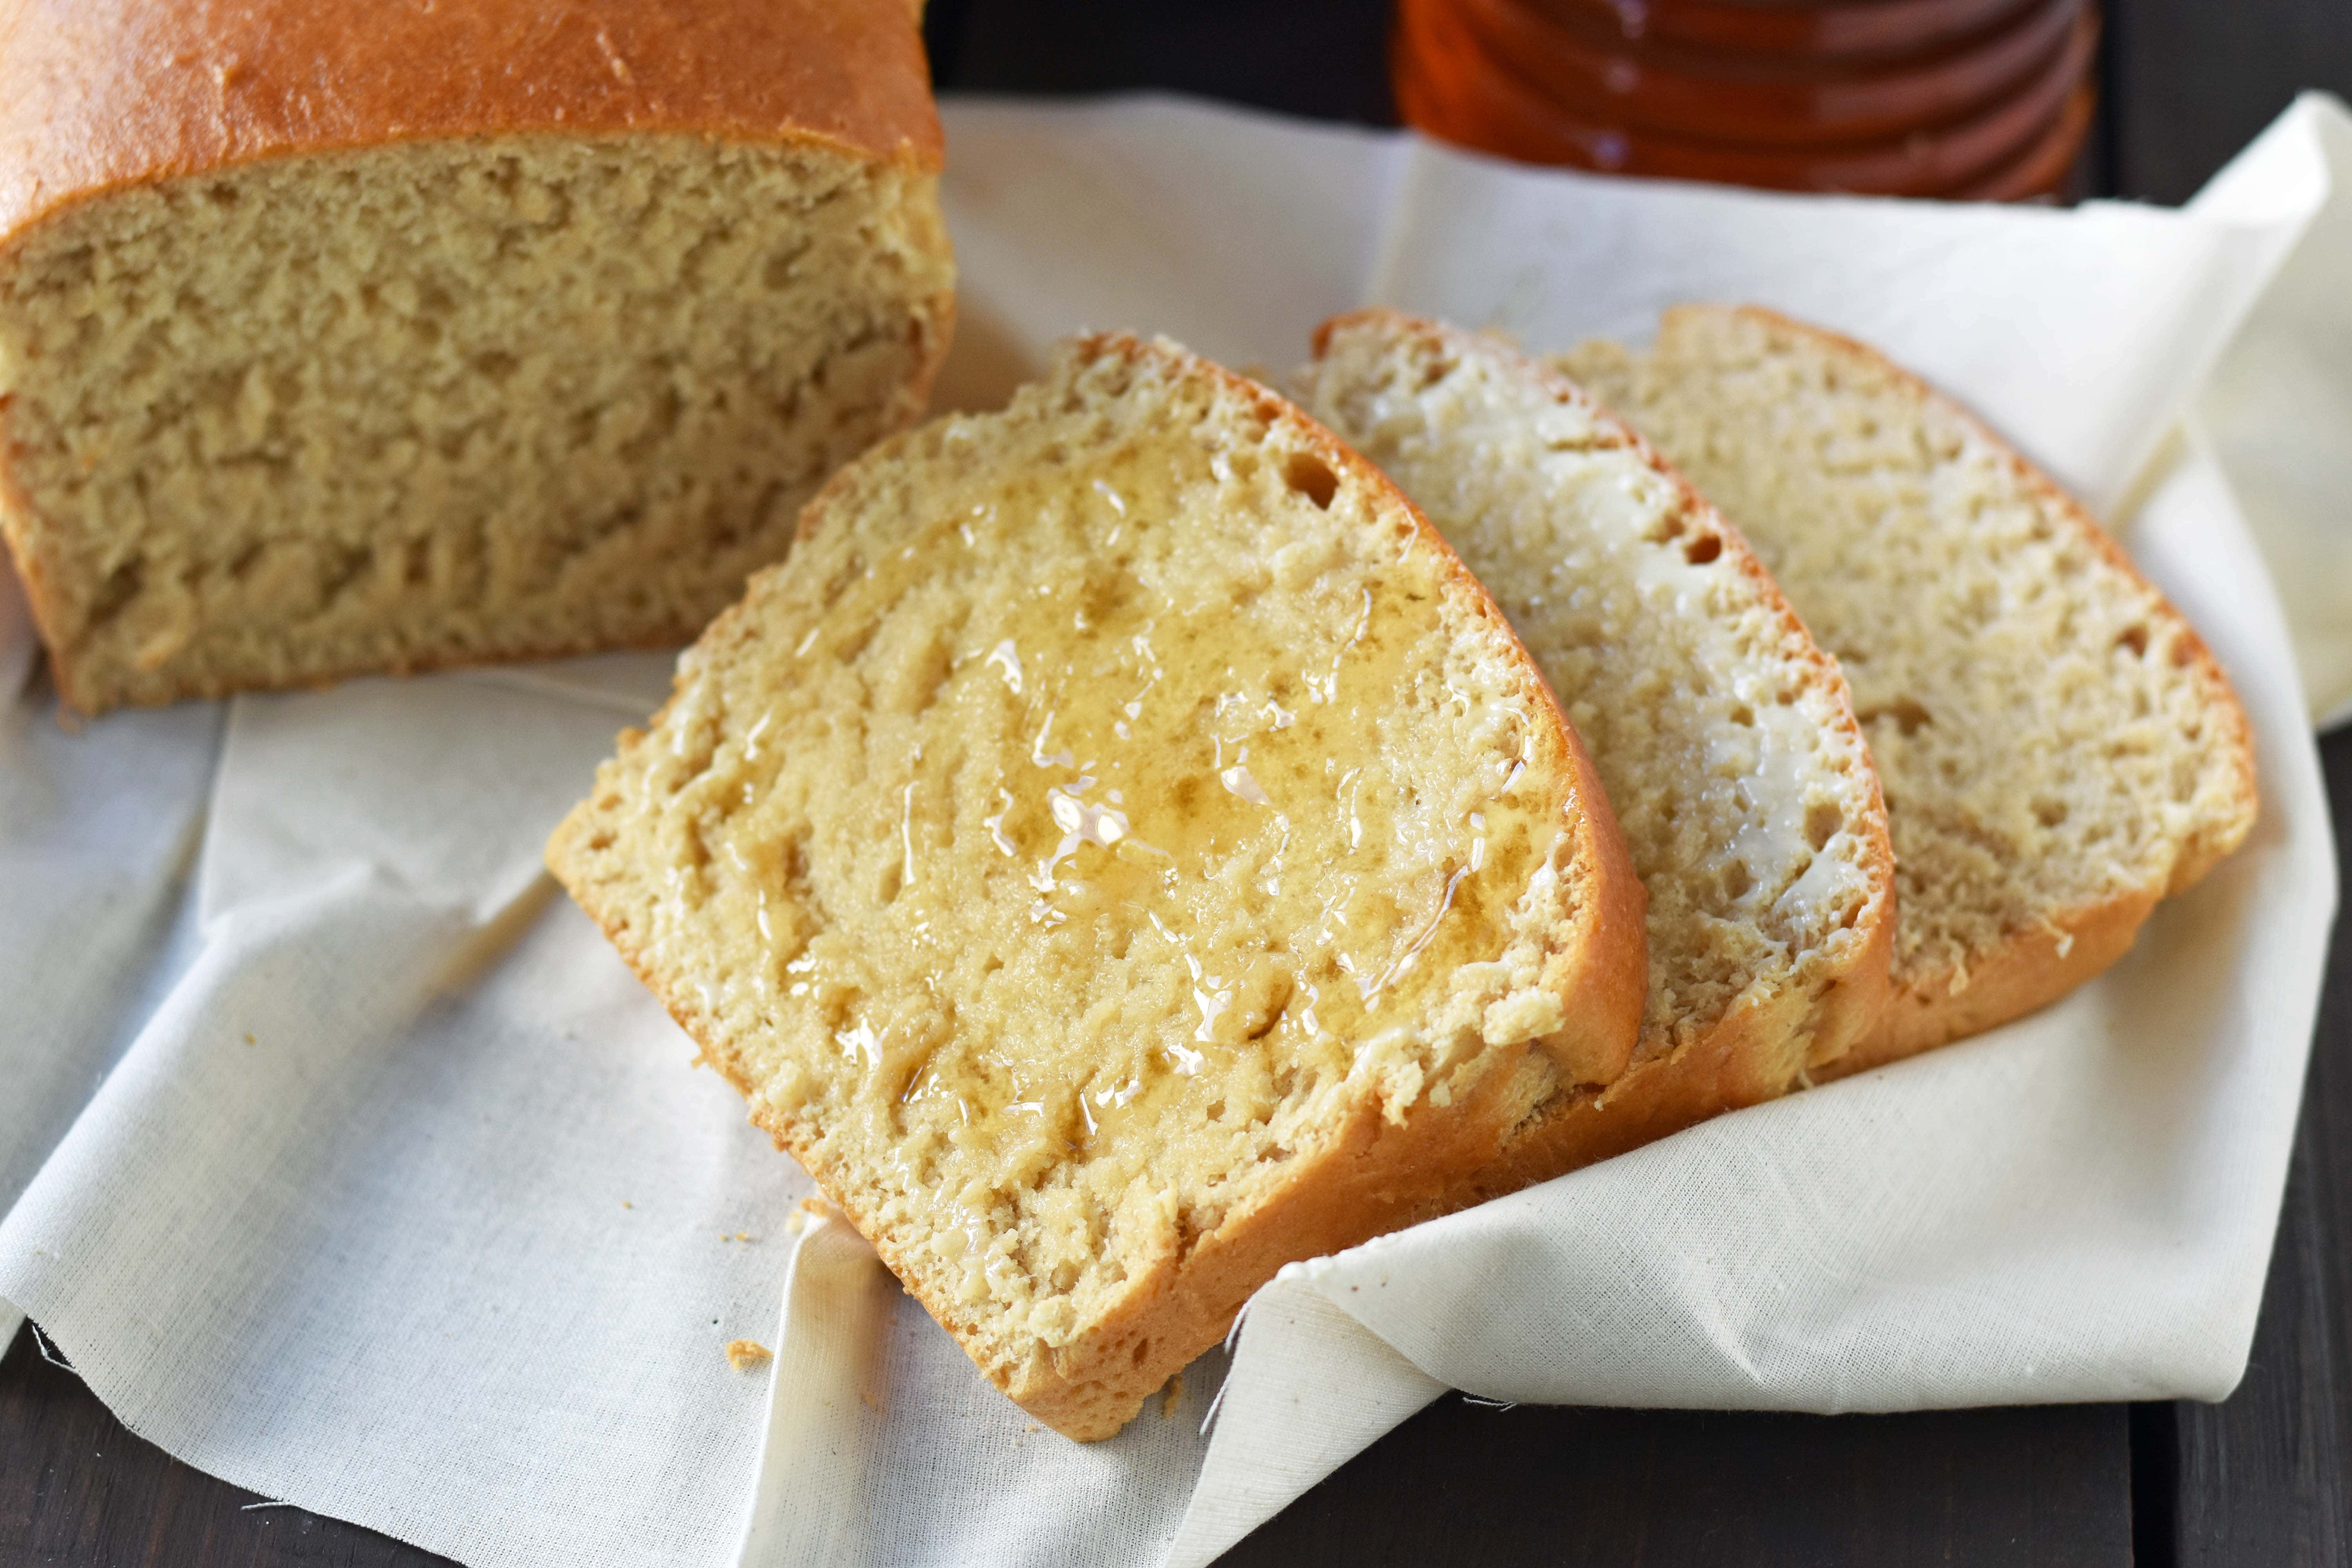
- Spread butter and jam or honey on warm bread.
- May freeze bread or eat within 2 days.
Nutrition
Nutrition information is automatically calculated, so should only be used as an approximation.
I can’t wait to see your pictures of your Best Homemade One Hour Whole Wheat Bread. Tag me using #modernhoney or @modern_honey on instagram. I would love to see your creations!


I am in the middle of making this bread and the dough is VERY sticky. I don’t know if it’s because of the honey or if I don’t have enough flour. I’ve put up to 9 cups of flour and the dough still isn’t smooth and will not keep much shape. I’m afraid to let it sit and rise because it is so wet. I’ve let it run in the stand mixer for at least 15 minutes and it’s a little improved but not much. I will let it rest and see what comes up it. Hopefully it’s just the honey making this dough so sticky. Two extra cups of flour seems like a lot. I hope it doesn’t come out dry!
My Kitchenaid overheated while making this – did this happen to anyone else? How can this be remedied?
Perfect bread. I used half honey half maple syrup. Been trying to bake whole wheat bread lately and they are dense and blah. This was awesome and next I will try subbing some oatmeal for flour and I feel it will be perfect too. I didn’t use mixer just mixed by hand.
Hi there, can anyone help.
Is this recipe in Degrees Celsius or Ferenhite?
My oven only goes up to 250 degrees celcius.
This is a Fahrenheit recipe! For celsius you will want to bake at 176 or 177.
Hi..I have a question. I am baking my first bread and so a dummy here. Should I preheat the oven to 200 and turn it off while letting the bread rise or should I keep it tuned on and then increase the temp after 20 mins.? Please help me. Thanks
I’m thinking of doing a 30-60 minute autolyse and then proceeeding with the recipe and checking that the bread reaches 210 degrees at the end of baking. Anyone have any thoughts on this? My 100%WW bread loaves often are very heavy and gummy. Thanks.
I’m fairly new to making bread, but this recipe was fast, easy and delicious. No bread machine (yet), plus I did use 1/2 & 1/2 of whole wheat flour and white flour. Will definitely be making this again. Thank you for recipe.
Love this bread! My baking skills are not that great and this bread turns out perfect every time. Thank you so much!!!! I love homemade bread and I can finally make it because of your recipe!!
Hi there, I love this recipe and have made the bread numerous times l. Today I am too lazy to venture out to the store and I am wondering if I could substitue white flour instead of the whole wheat?
I was amazed at making such a soft, springy and an excellent rising whole wheat bread. It was however too sweet and salty for me when I actually used less salt to begin with. I know salt does improve the protein structure, but to get a great tasting loaf I will try it without any salt and less honey next time and see if it even comes close.