
This post may contain affiliate links. Please read our disclosure policy.
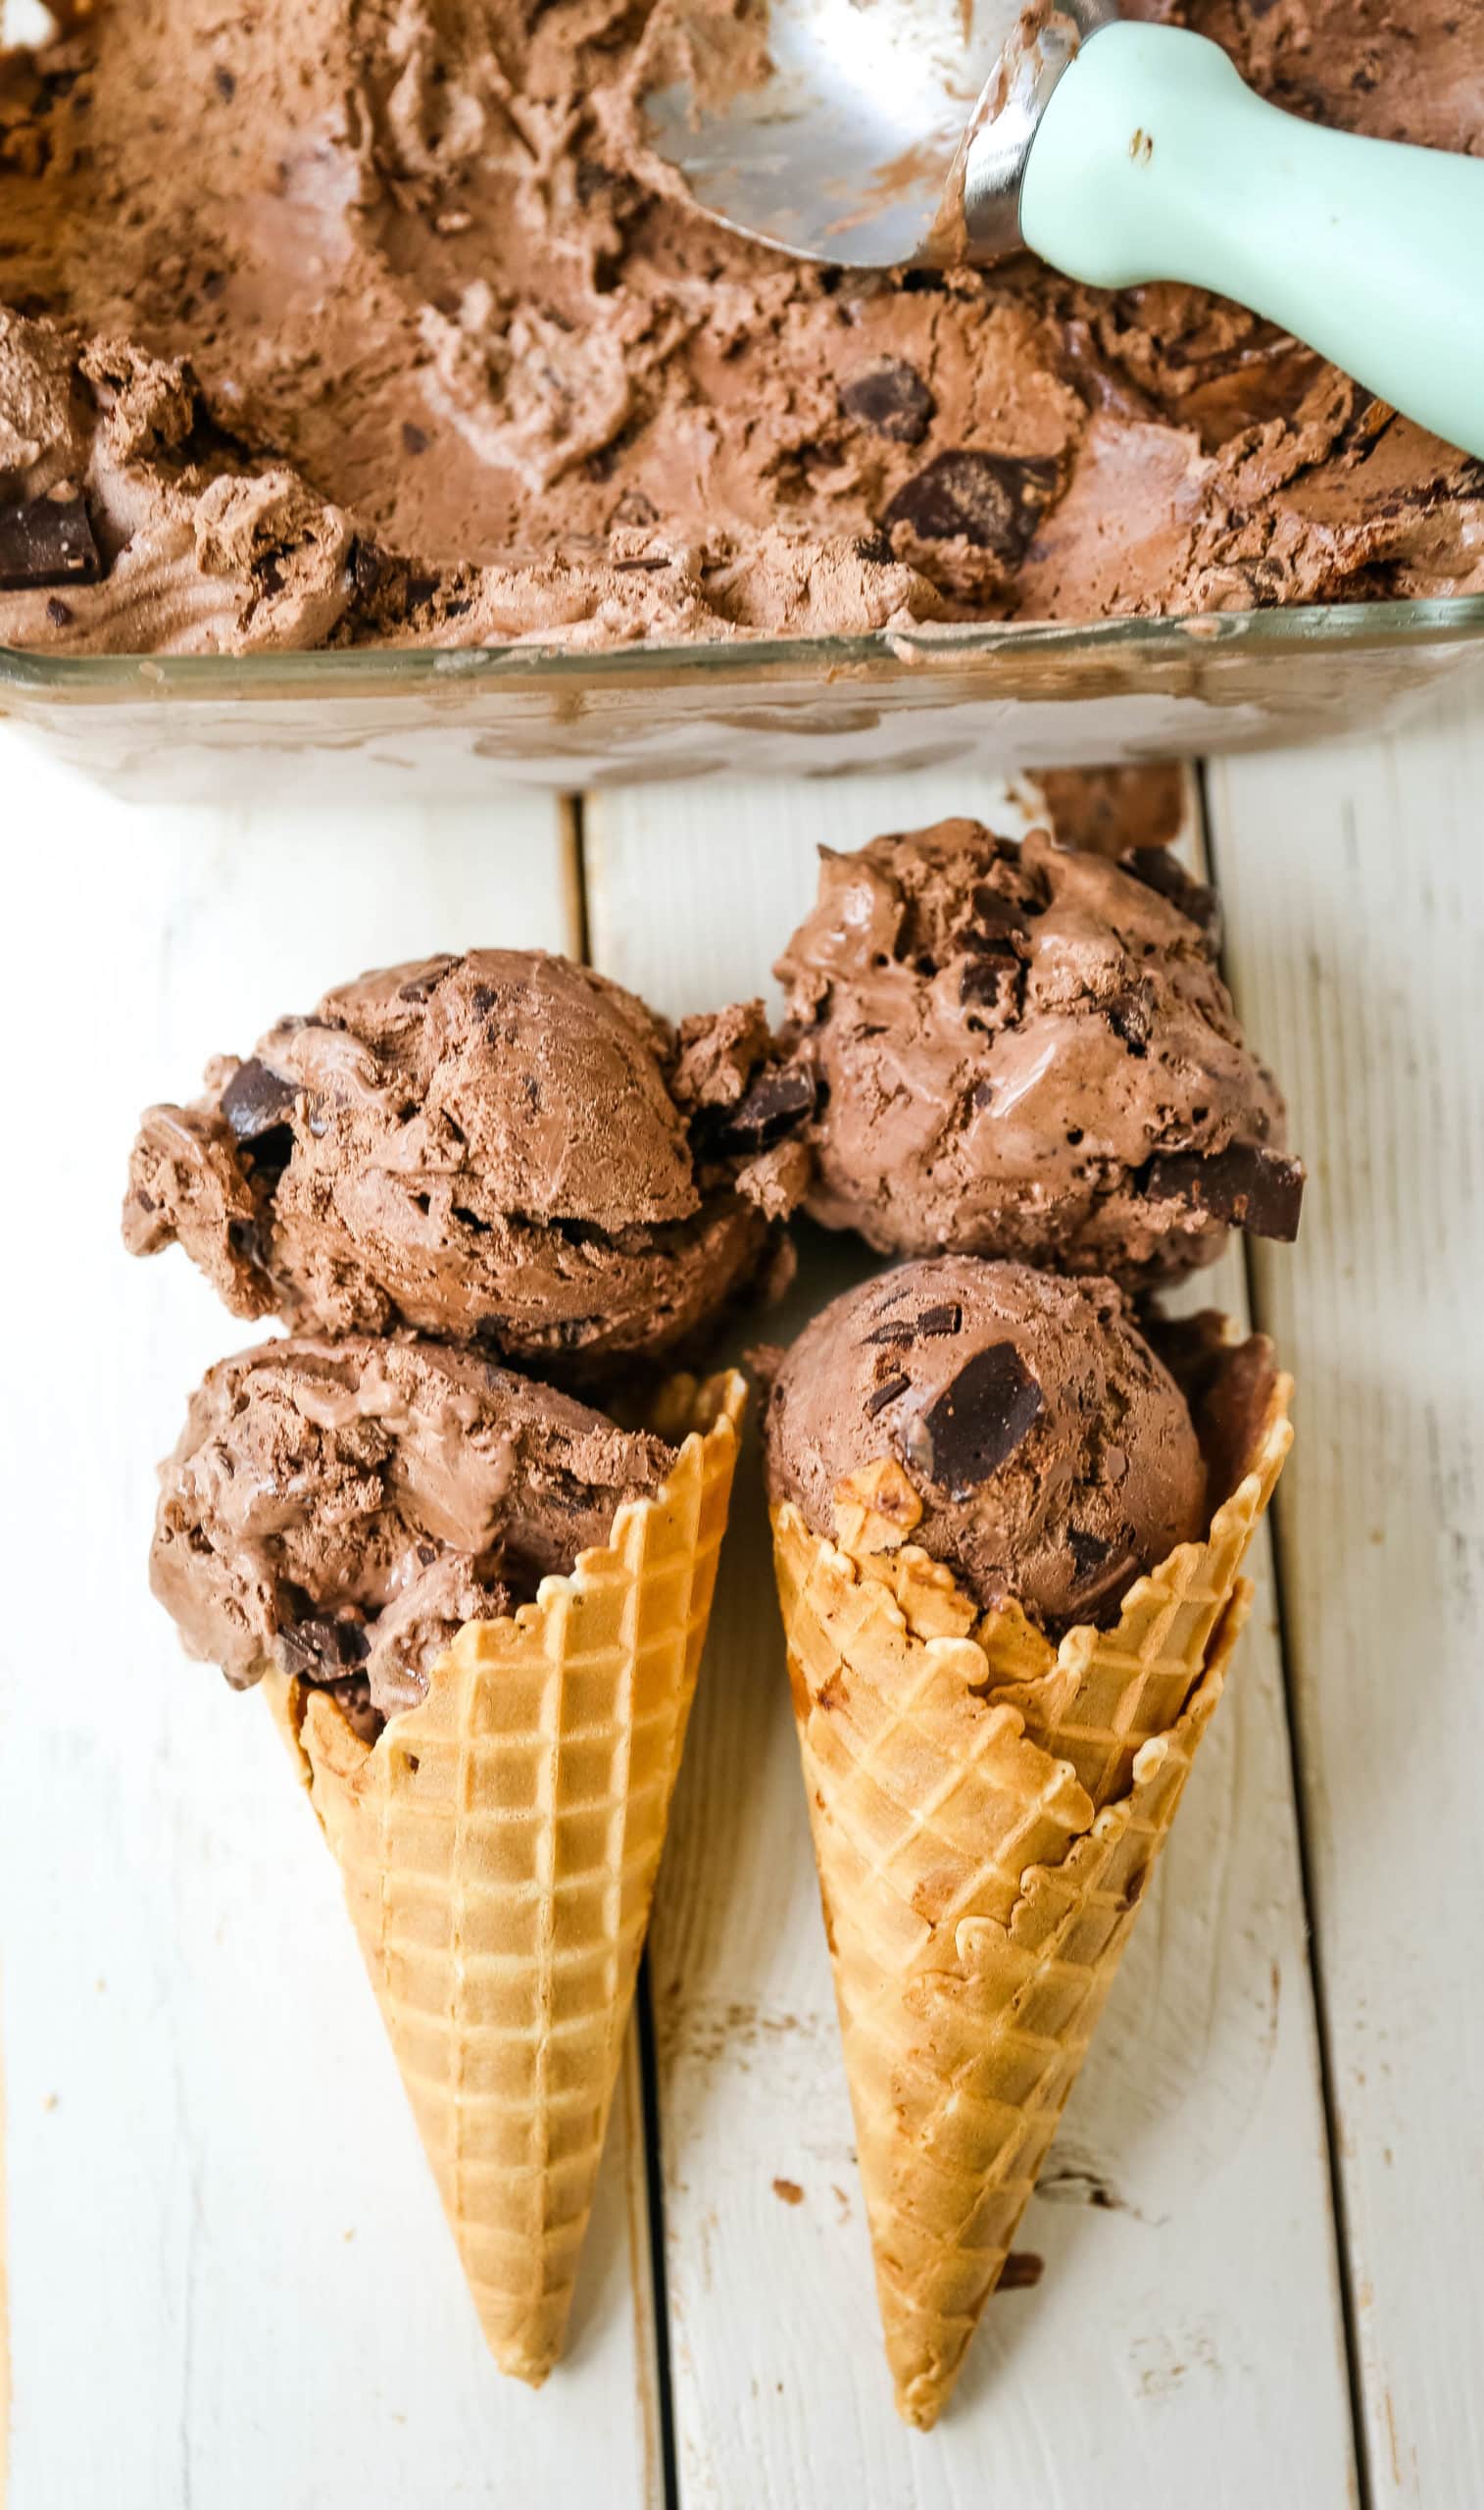
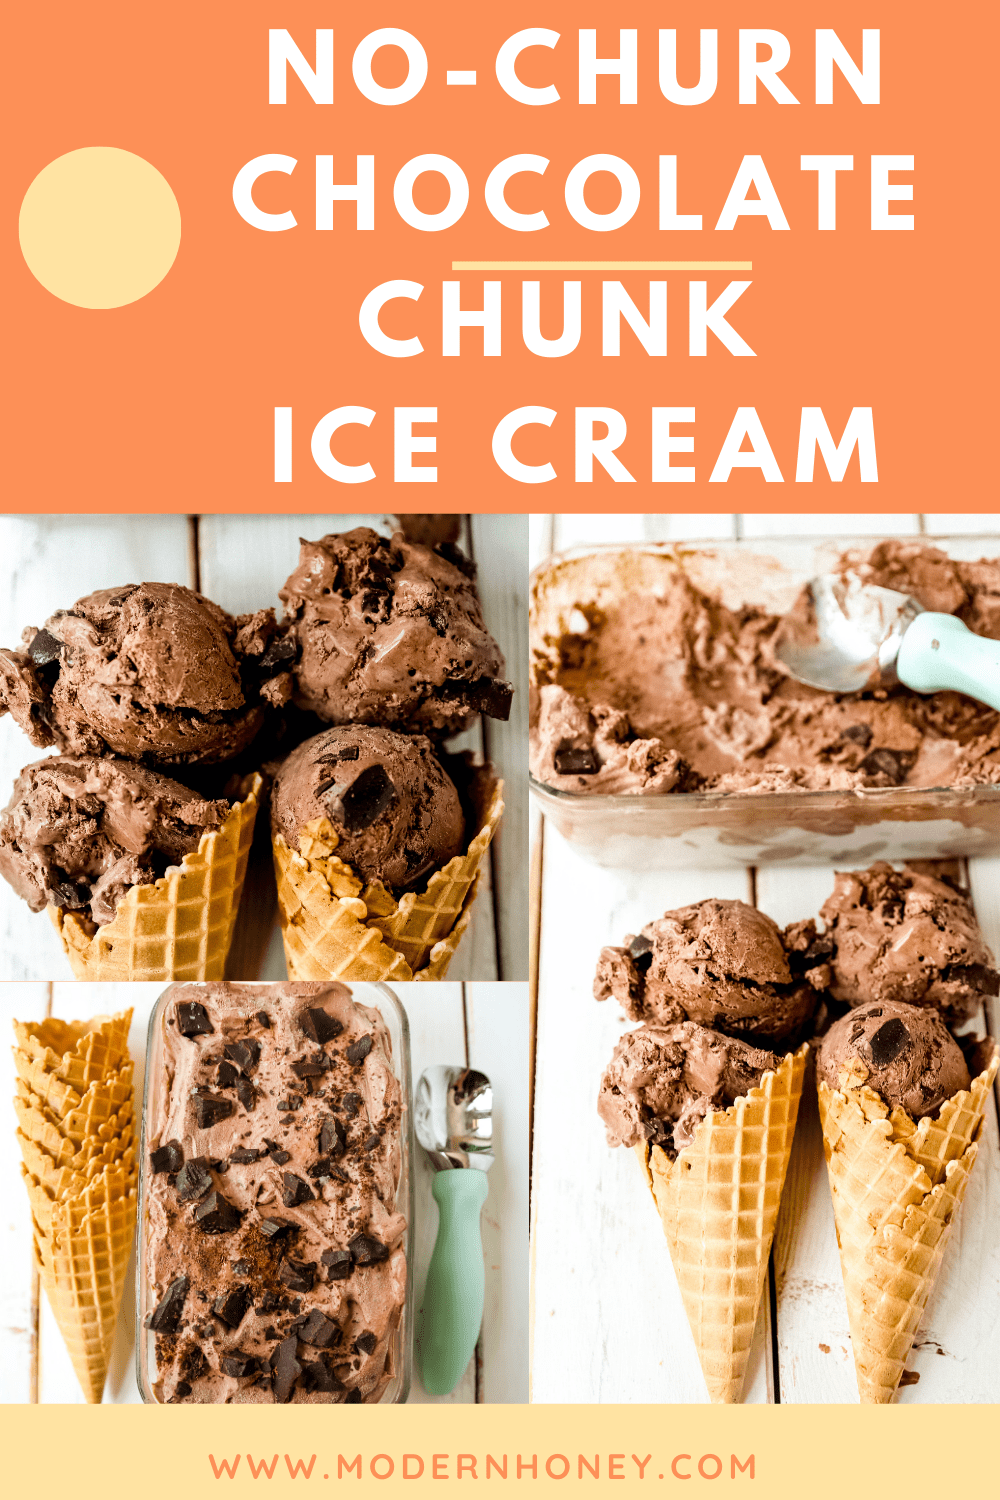
This easy No-Churn Chocolate Ice Cream is rich, creamy, and loaded with chocolate chunks — no ice cream maker needed. Just 5 ingredients and a few hours in the freezer for the best homemade chocolate ice cream.
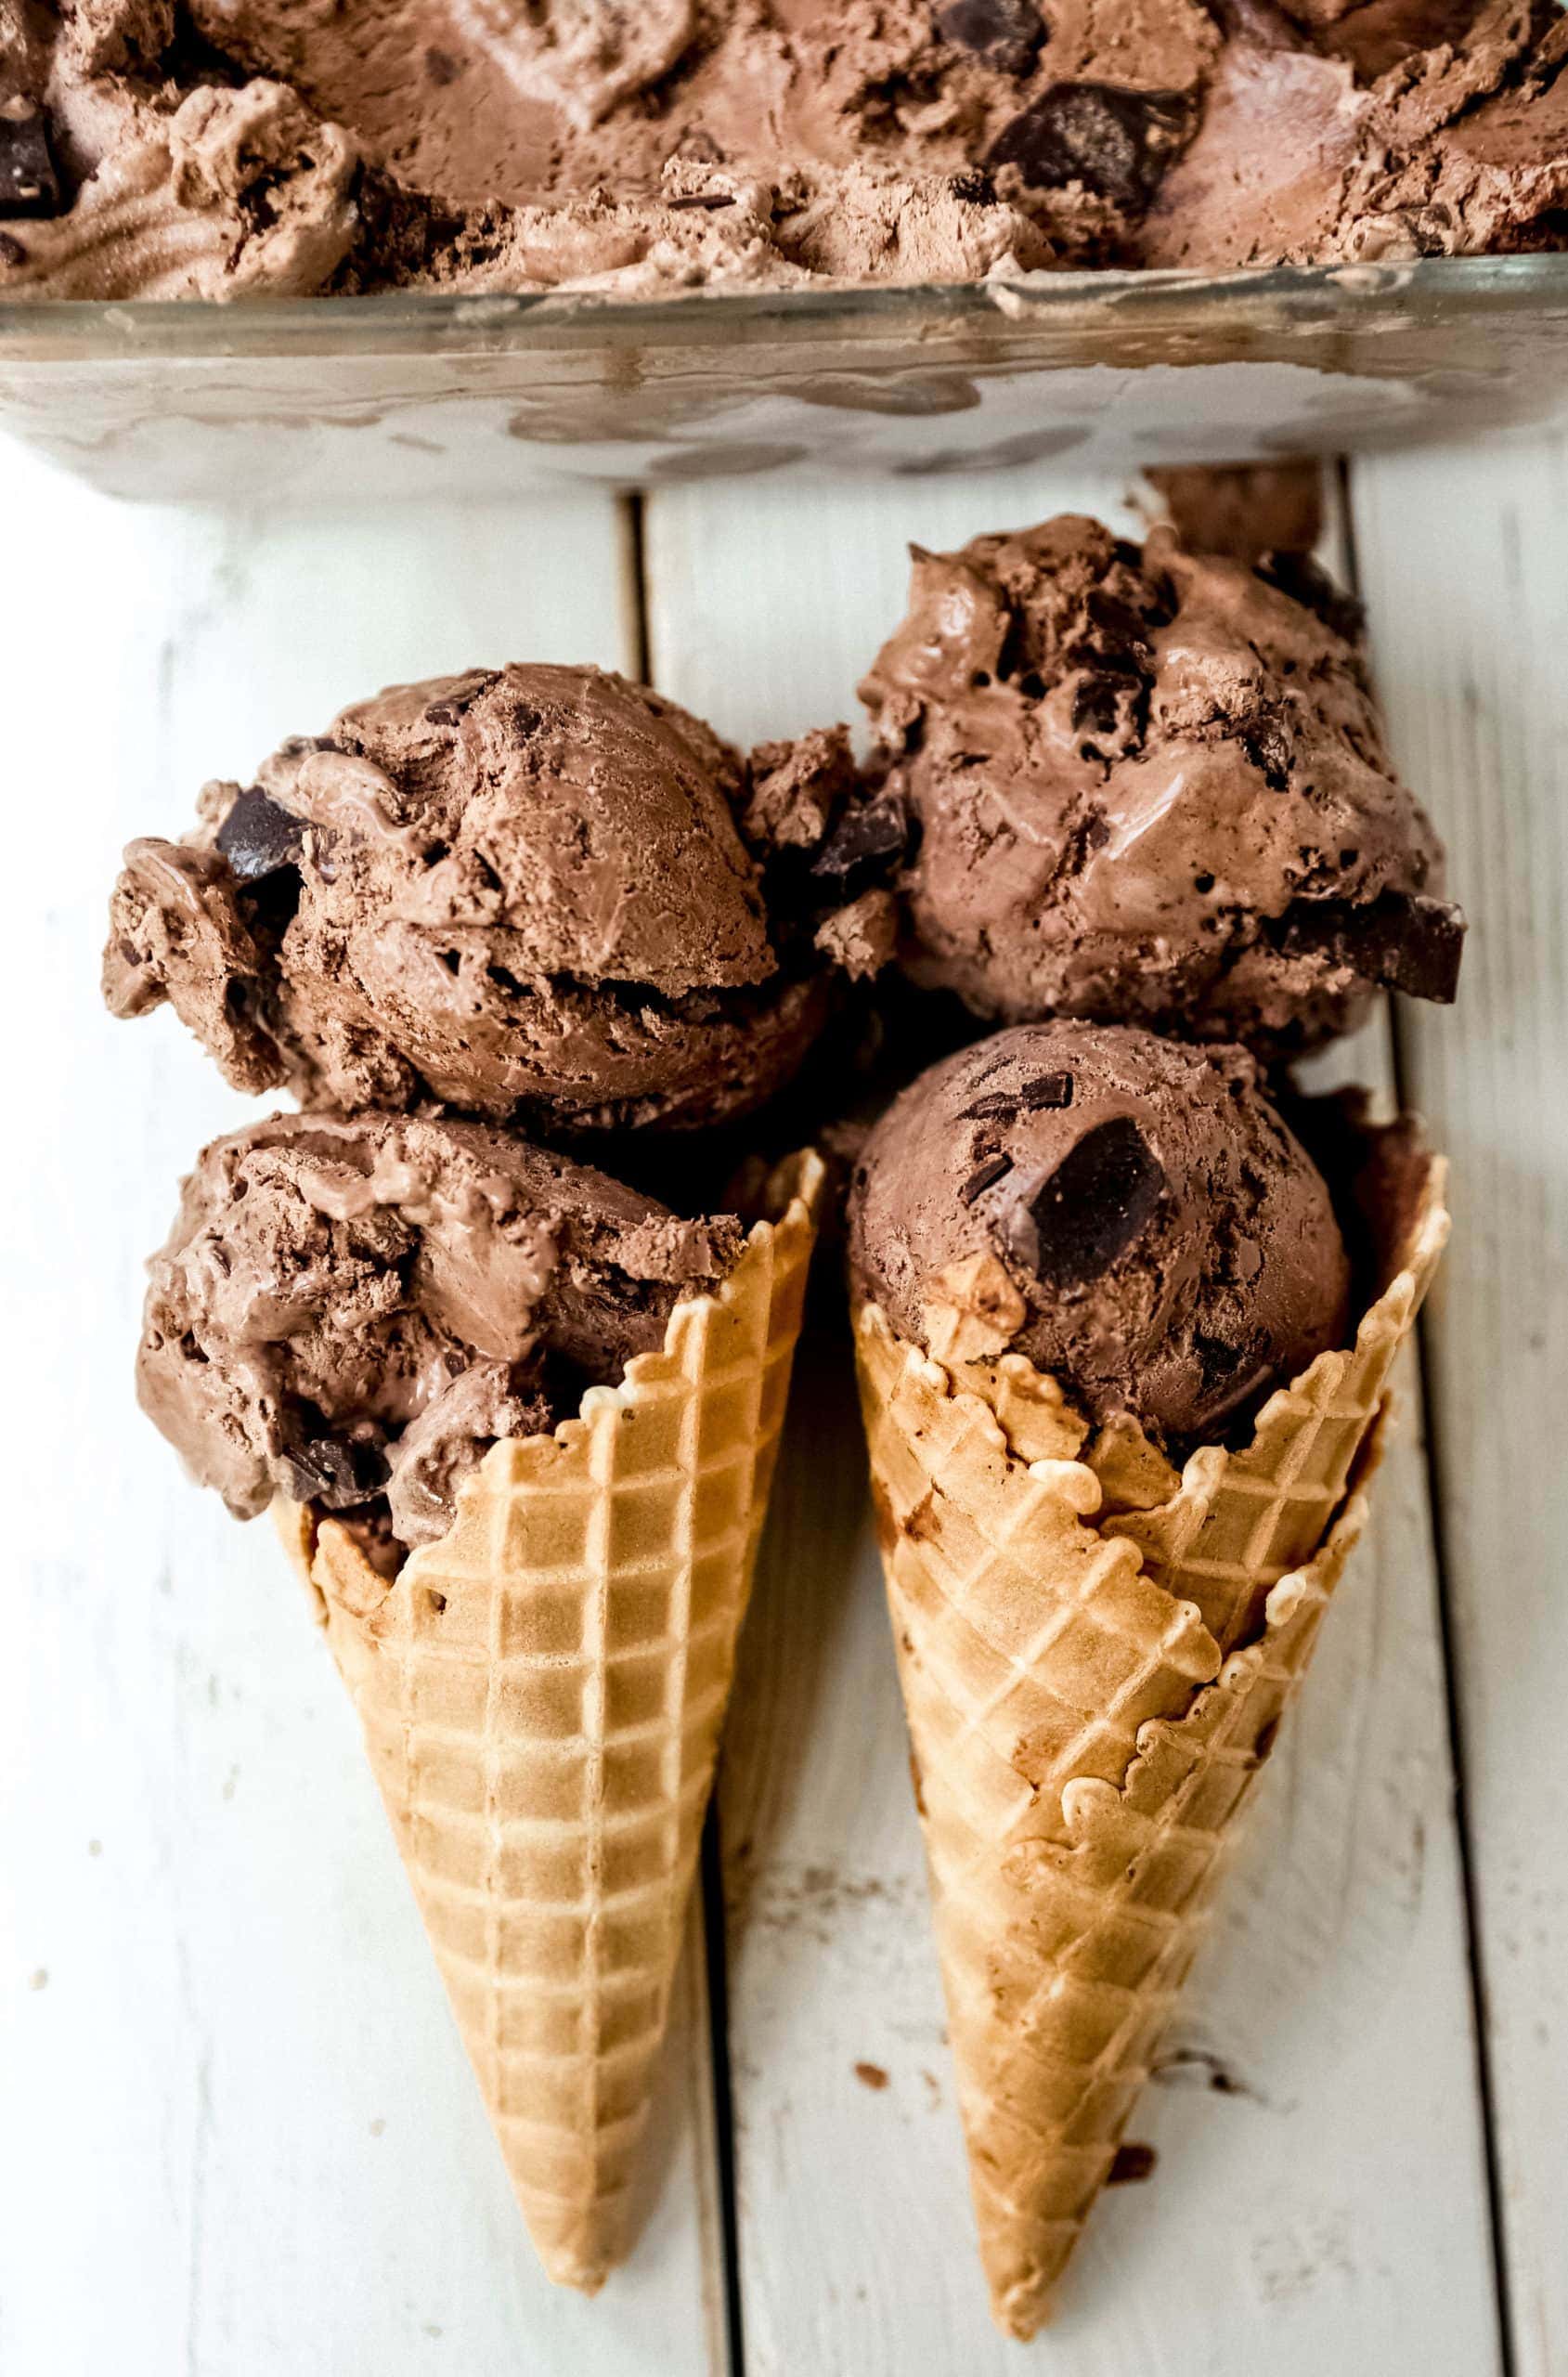
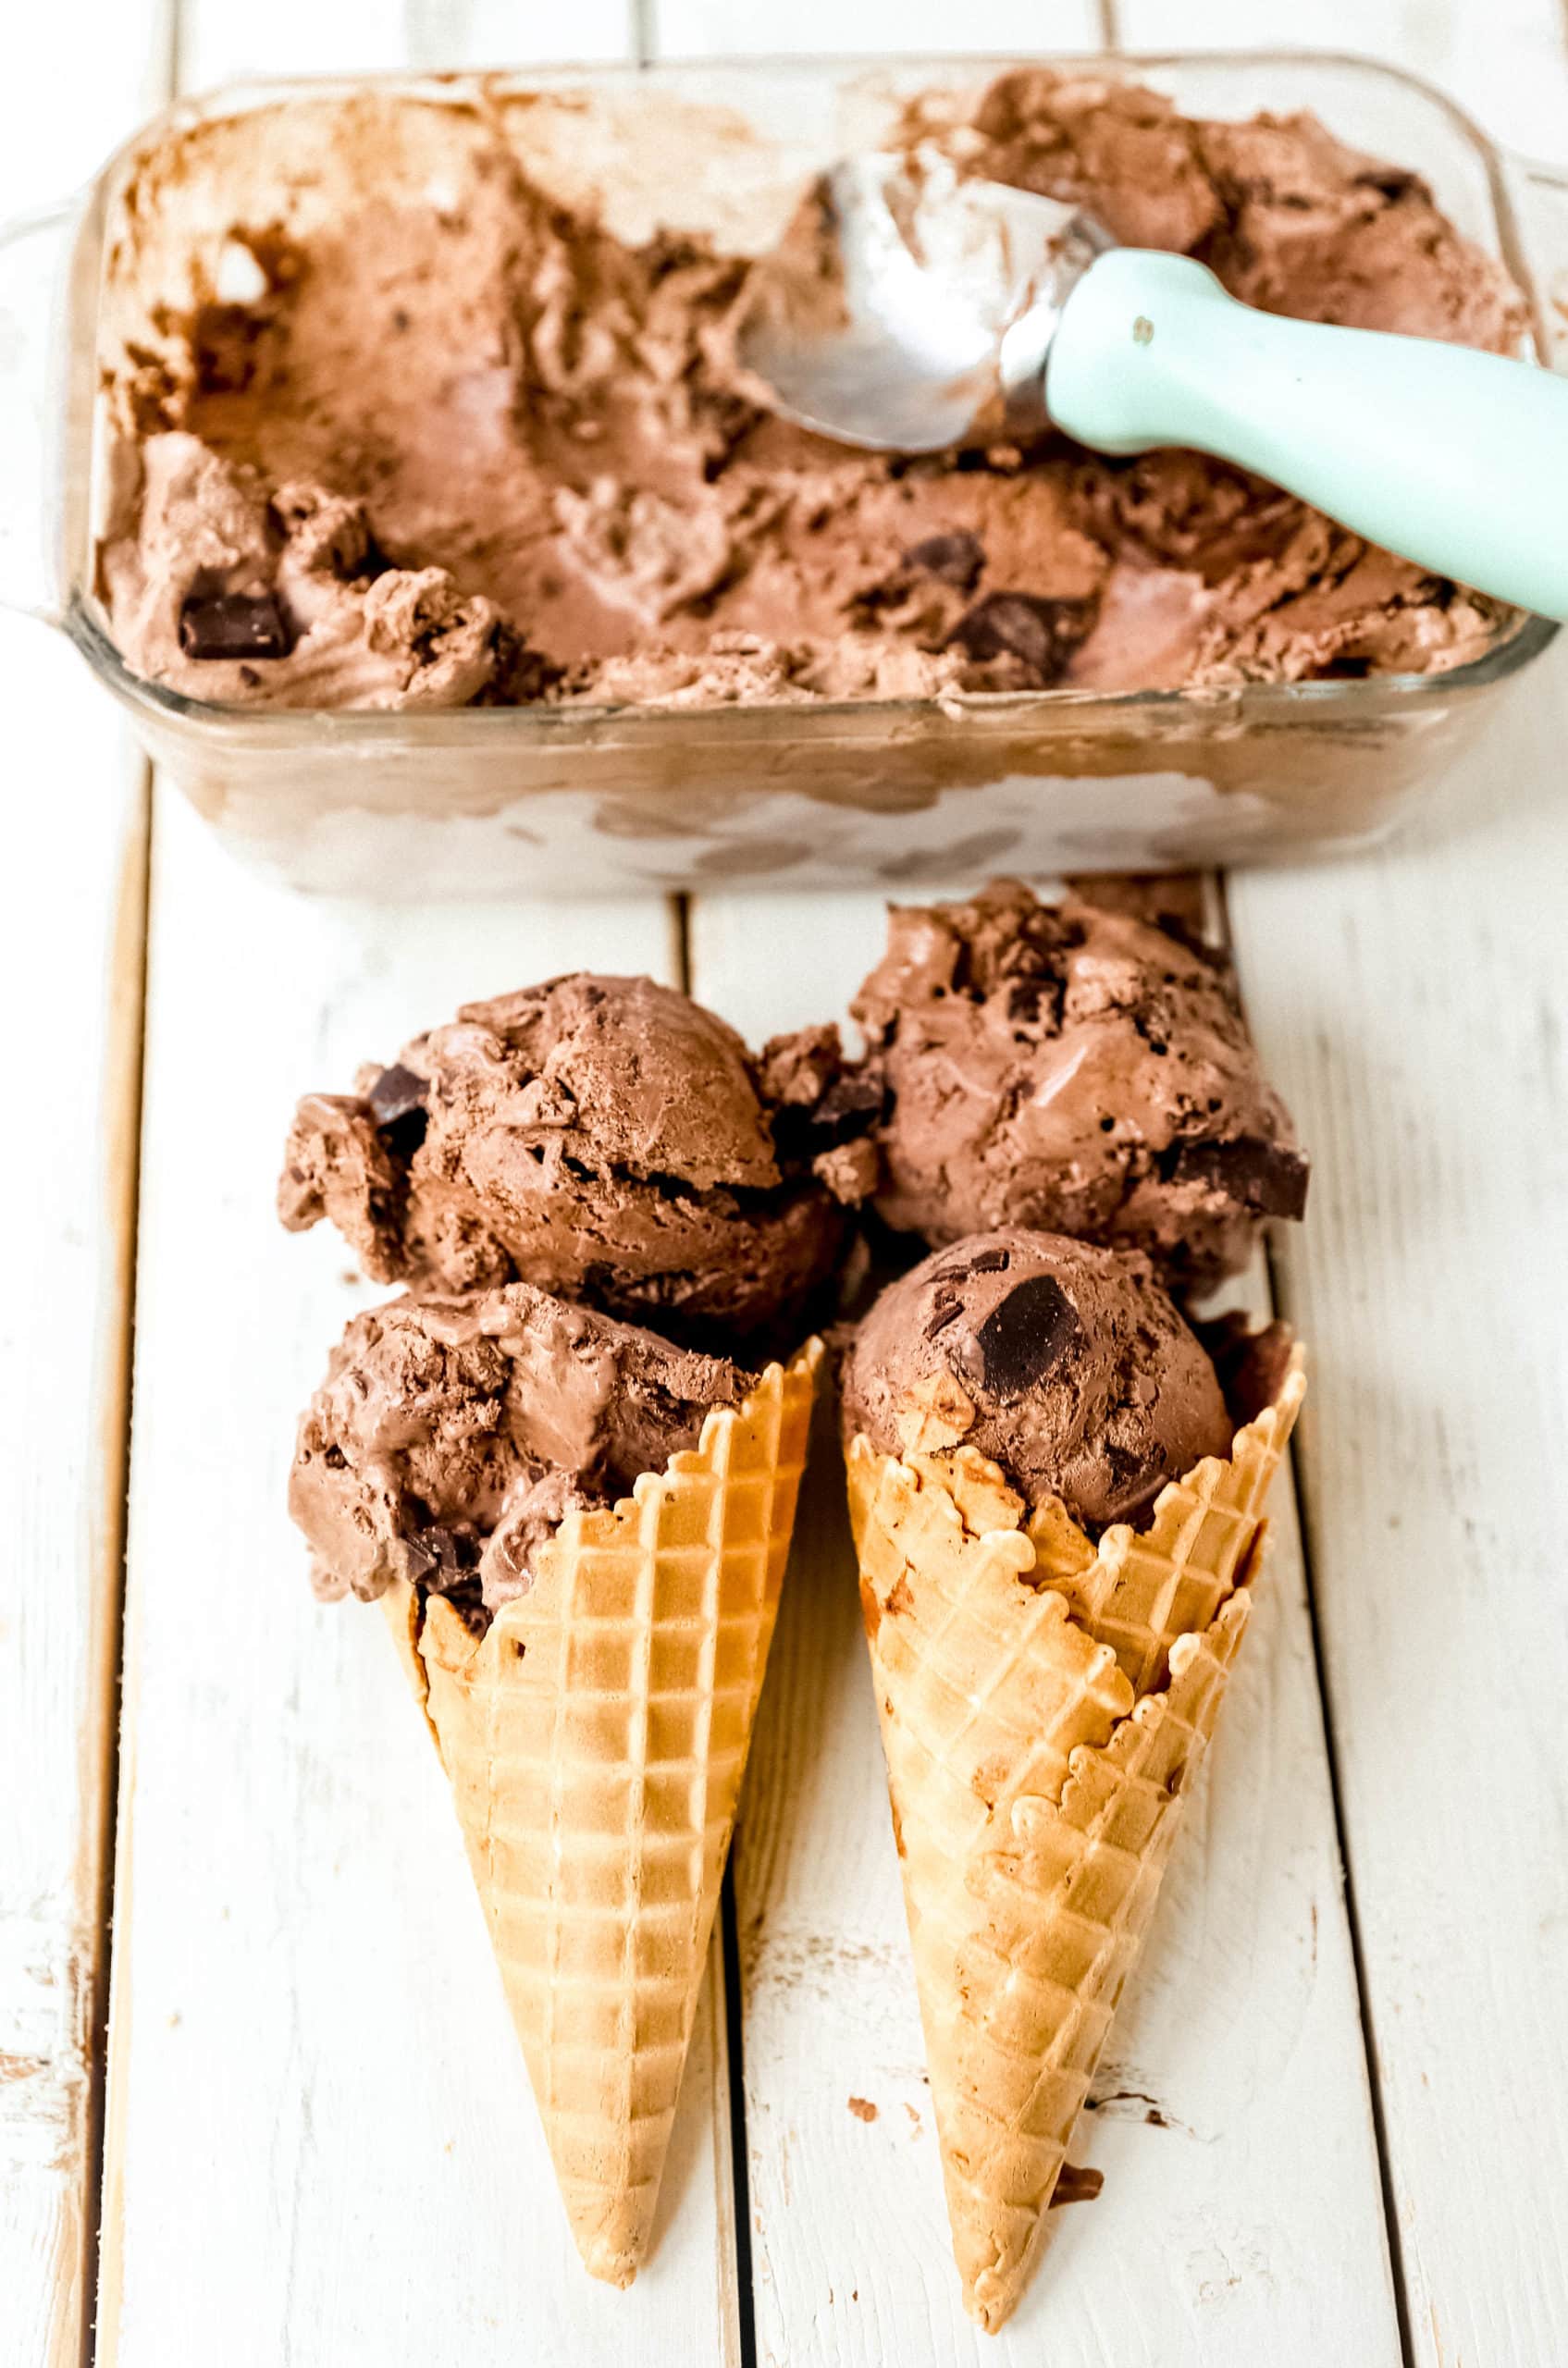
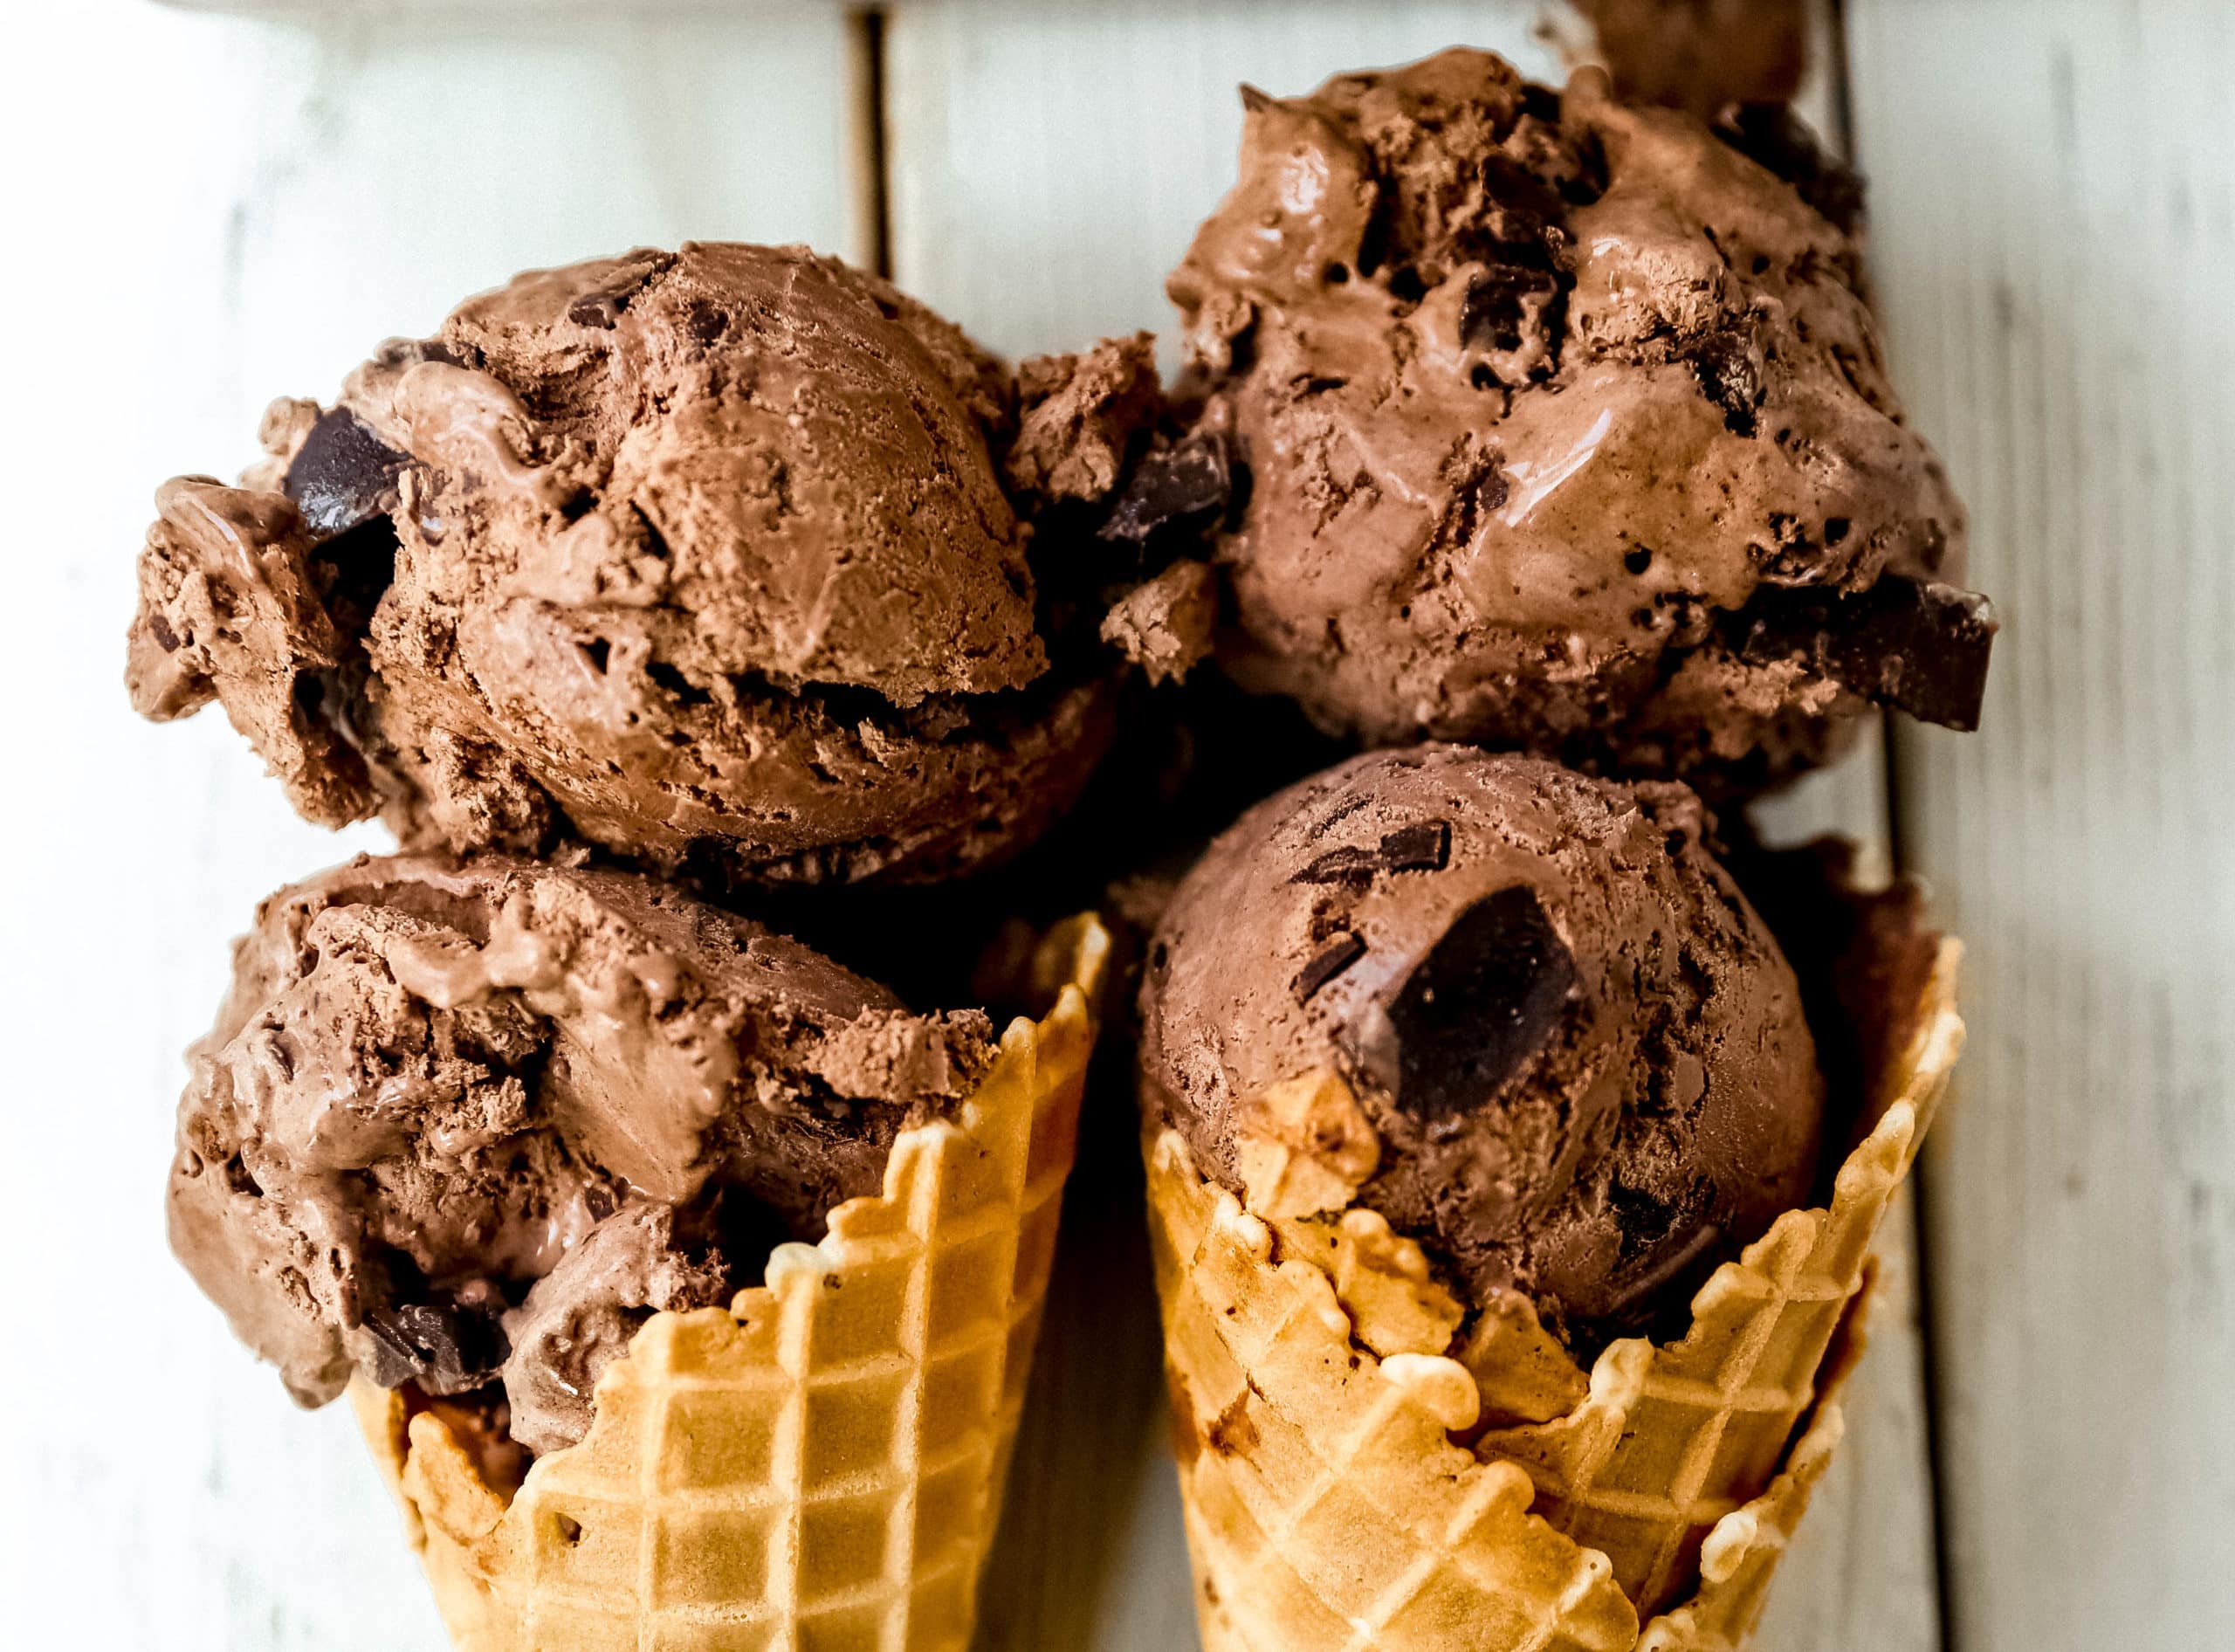
If you’ve ever wanted homemade chocolate ice cream but didn’t want to buy an ice cream maker just to make it a couple times a summer, this recipe is exactly what you need. No churning, no custard to cook, no machine — just a handful of ingredients, a mixer, and a few hours in the freezer. This is the easiest homemade chocolate ice cream you’ll ever make!
It is still 105 degrees in Arizona and it is the end of September. True story. So we are still eating ice cream way into October as a way to cool off. If you live in the Western United States, you may understand this situation. We always hope to celebrate crisp, cool Fall weather, but usually, our Fall comes in December.
So we are going to keep on keeping on eating ice cream, and I am not sad about that part of it. I discovered a way to make homemade ice cream without an ice cream maker and it is a game-changer. It takes less than 5 minutes to whip this up, and then you just have to exercise some serious patience and let it freeze and become hard in the freezer.
What Is No-Churn Ice Cream, and How Is It Different?
Traditional ice cream relies on constant churning in a machine to incorporate air and break up ice crystals as it freezes, which is what gives it that smooth, scoopable texture. So how do you get that same airy texture without a machine? Here’s the trick: instead of aerating the mixture while it freezes, you whip the heavy cream ahead of time. It sounds almost too simple, but whipping the cream to stiff peaks before folding it into the chocolate base does the exact same job a machine would — incorporating air right from the start, so the ice cream freezes up light and creamy instead of dense and icy. Pair that with sweetened condensed milk (which keeps the mixture soft enough to scoop straight from the freezer, since its sugar is already fully dissolved), and you get a homemade ice cream that’s every bit as creamy as the churned version, without needing any special equipment.
Why This Recipe Works:
- Whipped cream does the work of churning. Traditional ice cream needs constant churning to incorporate air and prevent ice crystals. Whipping the heavy cream to stiff peaks first accomplishes that same airy texture without any machine at all.
- Sweetened condensed milk is the secret to scoopability. Because its sugar is already dissolved into the milk (rather than needing to dissolve during churning), it keeps the ice cream soft and scoopable straight from the freezer instead of freezing into a solid block.
- Chocolate chunks add texture in every bite. Folding chunks into the base — and reserving some for topping — means you get pockets of melty, semi-frozen chocolate throughout, not just a uniformly smooth base.
What ingredients are in No-Churn Chocolate Chunk Ice Cream?
This No-Churn Chocolate Chunk Ice Cream is made with five simple ingredients. Grab a carton of ice cream at the store and count how many ingredients are listed. You will be hard-pressed to find any ice cream from the grocery store with only 5 ingredients! Plus this homemade chocolate ice cream tastes so much better!
For the Ice Cream
- Heavy whipping cream
- Sweetened condensed milk
- Unsweetened cocoa powder
- Vanilla extract
- Chocolate chunks, divided (some folded in, some reserved for topping)
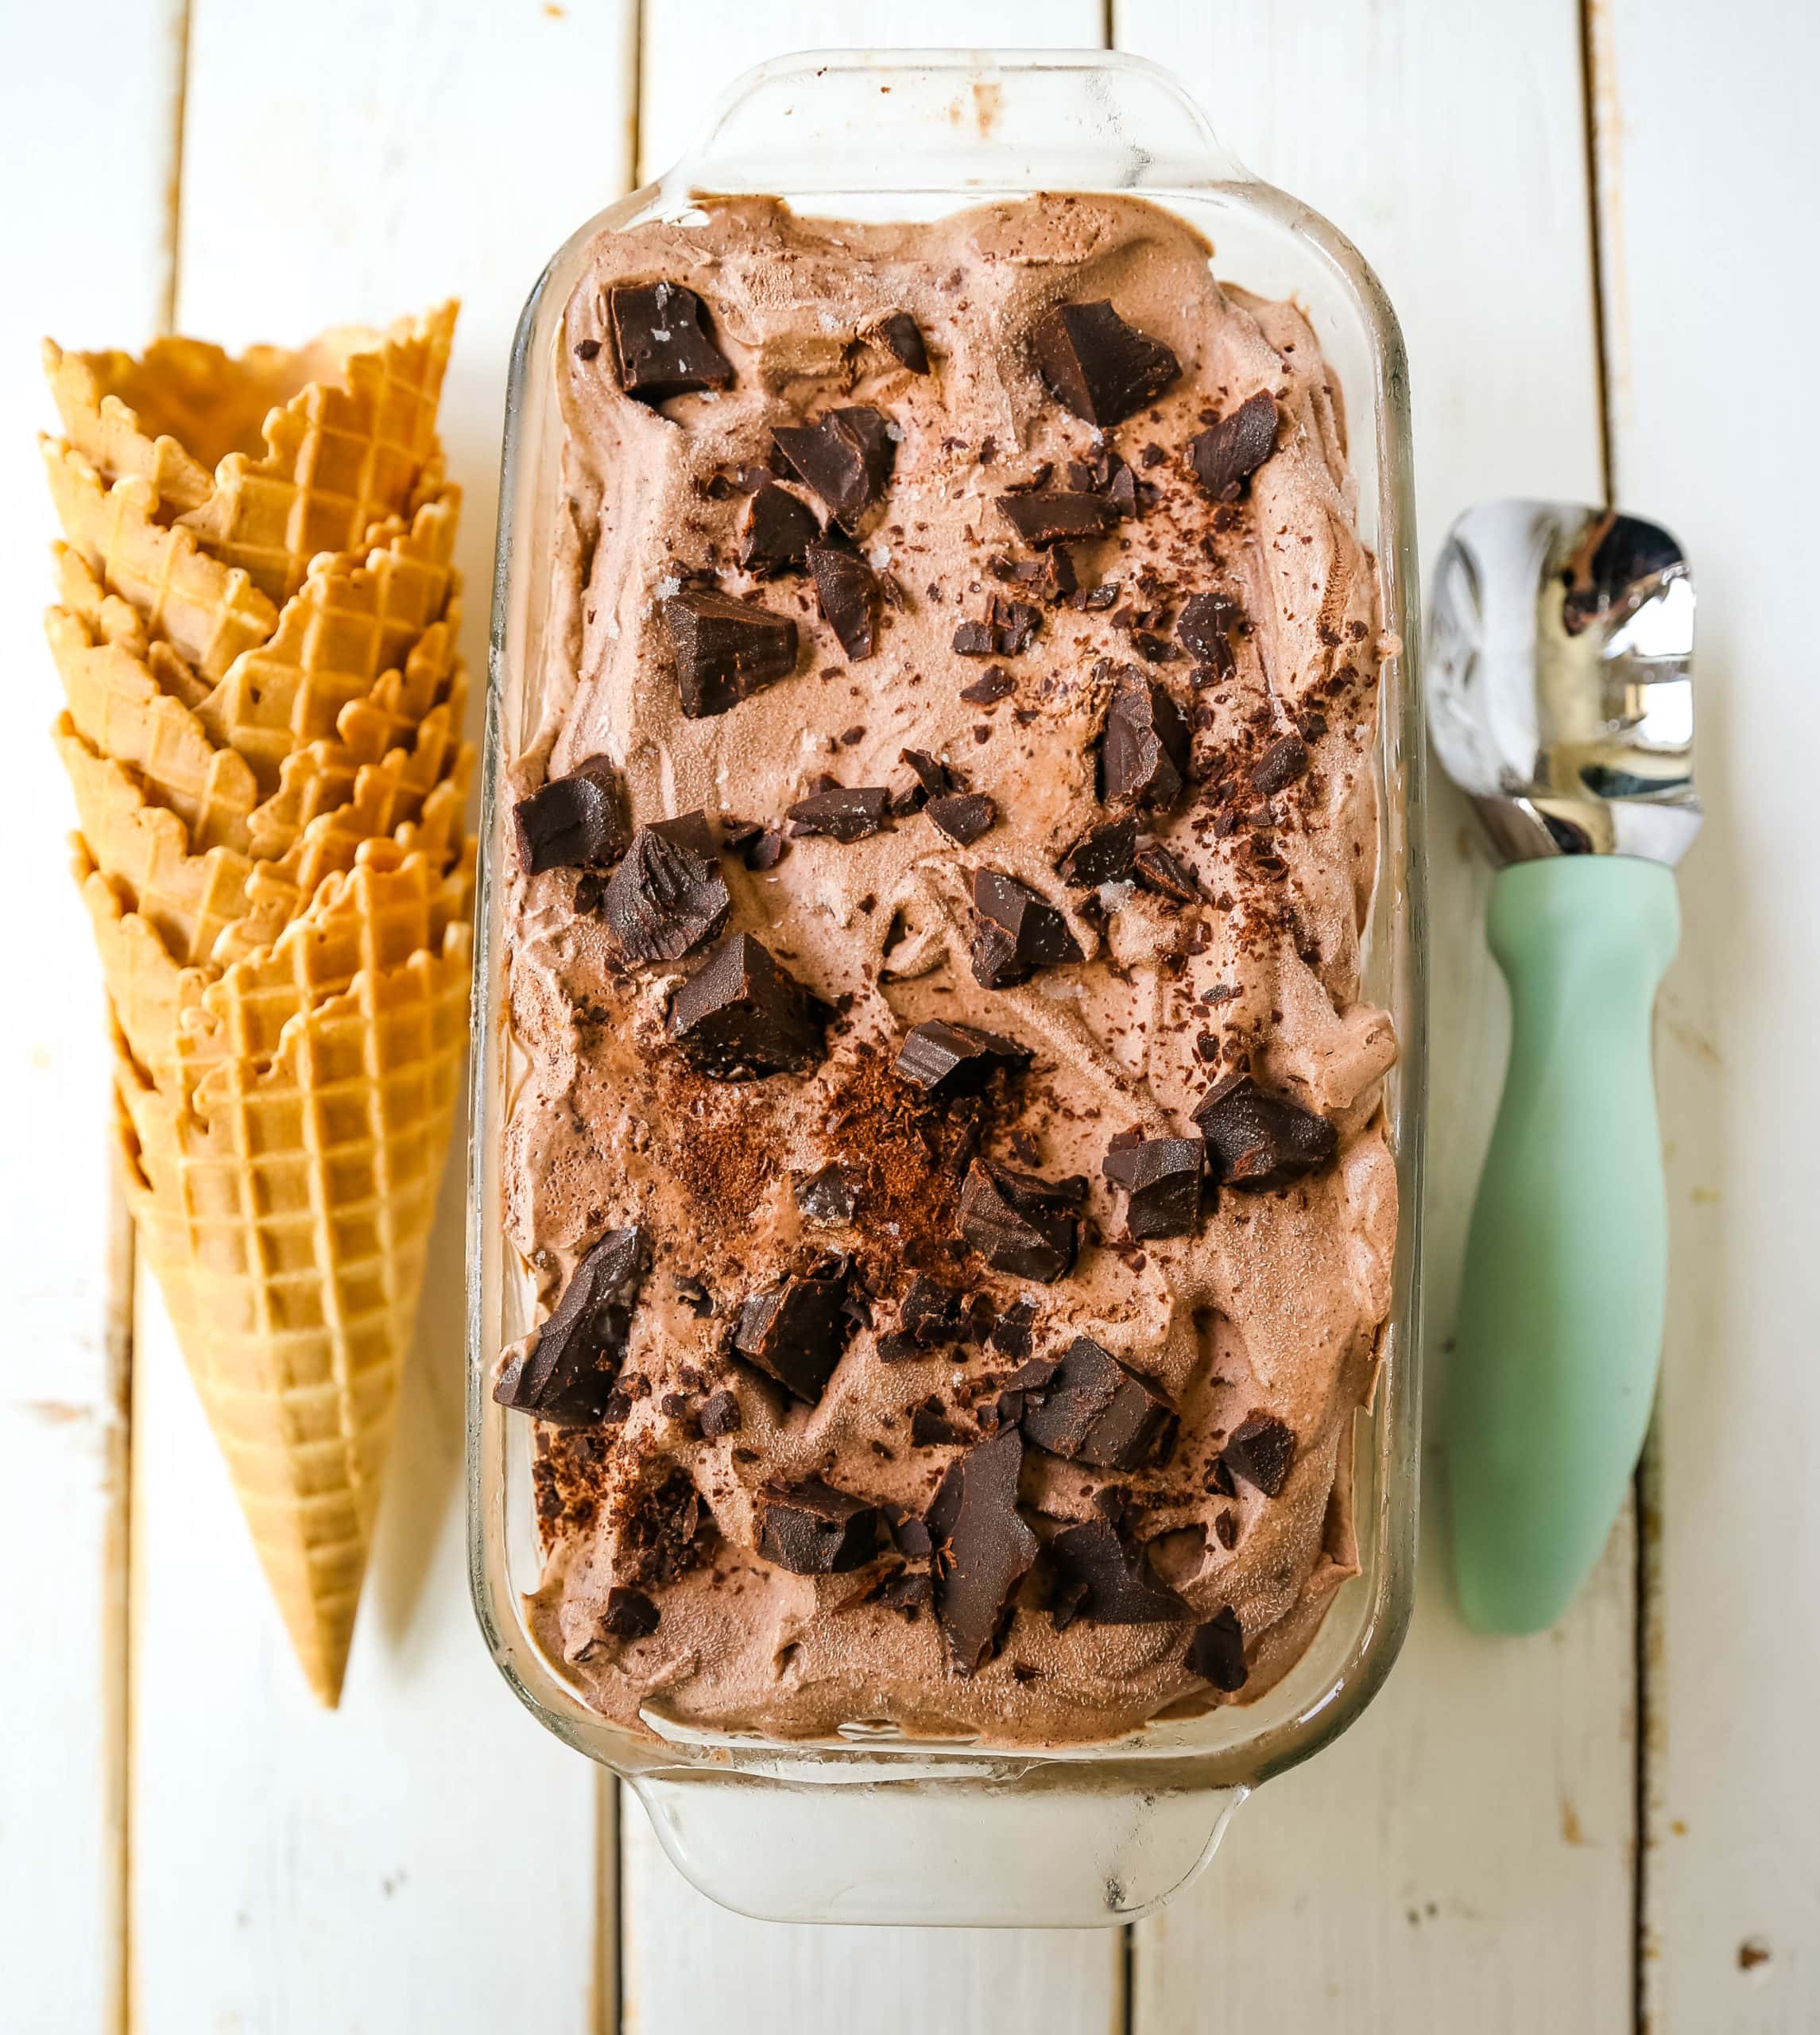
This homemade chocolate chunk ice cream is made with heavy whipping cream, unsweetened cocoa powder, sweetened condensed milk, vanilla, and chocolate chunks.
This recipe doesn’t call for sugar, which can end up grainy if you don’t heat it and melt it down or eggs that needs to be cooked in order to be safe. The sweetened condensed milk adds sweetness and creaminess to the chocolate ice cream.
The rich chocolate flavor comes from unsweetened cocoa powder. Then when you add chunks of semi-sweet or dark chocolate, you get double the chocolate. I love to chop up high-quality chocolate bars and throw it in the chocolate ice cream mixture. You can also use chocolate chips.
How to make Homemade No-Churn Chocolate Chunk Ice Cream:
1. Whip the cream. In a large bowl, beat the heavy whipping cream with a hand mixer or stand mixer until stiff peaks form — this is what gives the ice cream its light, airy texture, so don’t rush this step.
2. Make the chocolate base. In a separate bowl, whisk together the sweetened condensed milk, cocoa powder, and vanilla extract until completely smooth.
3. Fold the two together. Gently fold the whipped cream into the chocolate mixture in two or three additions, being careful not to deflate the whipped cream. Fold just until no white streaks remain.
4. Add the chocolate chunks. Fold in the chocolate chunks (reserving about ½ cup for topping), distributing them evenly throughout the mixture.
5. Freeze. Pour the mixture into a loaf pan or airtight freezer-safe container, smoothing the top with a spatula. Sprinkle the reserved chocolate chunks over the top and gently press them in.
6. Let it set. Cover tightly and freeze for at least 6 hours, or overnight, until firm and scoopable.
Ingredient Notes & Tips
- Cocoa powder matters more than you’d think. Since cocoa powder is doing most of the flavor work here, using a good-quality one makes a noticeable difference. Dutch-process cocoa in particular gives a deeper, richer chocolate flavor and darker color compared to natural cocoa powder.
- A pinch of salt goes a long way. Adding about ¼–½ teaspoon of salt to the cocoa mixture helps balance the sweetness and actually makes the chocolate flavor taste more pronounced, not salty.
- Bloom the cocoa for deeper flavor (optional but worth trying). Whisking the cocoa powder with a small amount of warm liquid (like a tablespoon of hot water or warm milk) before combining it with the condensed milk helps it dissolve more fully and intensifies the chocolate flavor. If you try this, let the mixture cool slightly before folding in the whipped cream.
- A touch of instant espresso powder (about ½ teaspoon, dissolved in a little water) is a popular trick for deepening chocolate flavor without making the ice cream taste like coffee — entirely optional, but worth knowing about if you want an even richer result.
- Make sure your cream is very cold before whipping — cold cream whips faster and holds its structure better than room-temperature cream.
- Chop your own chocolate bar instead of using chips if you want chunks that melt more smoothly into the ice cream rather than staying firm and separate — both work, it’s just a texture preference.
STORAGE:
Store in an airtight, freezer-safe container for up to 2 months. For the best texture, press a piece of parchment paper or plastic wrap directly onto the surface of the ice cream before sealing the lid — this helps prevent ice crystals and freezer burn.
Common Mistakes to Avoid:
- Not whipping the cream to full stiff peaks. This is the single biggest cause of icy, dense no-churn ice cream. Under-whipped cream doesn’t hold enough air, so the finished ice cream ends up dense and hard instead of light and scoopable.
- Using evaporated milk instead of sweetened condensed milk. These are easy to mix up at the store, but they behave completely differently — evaporated milk won’t give you the right sweetness or texture.
- Overmixing when folding. Stirring too vigorously after adding the whipped cream deflates all that air you just worked to whip in, undoing the “no machine needed” texture.
- Skipping the surface cover before freezing. Leaving the ice cream uncovered (or without plastic wrap pressed directly on top) invites freezer burn and ice crystals over time.
- Using low-quality or old cocoa powder. Since cocoa powder is doing most of the flavor work here, stale or low-quality cocoa can make the finished ice cream taste dull or slightly bitter.
Frequently Asked Questions
Do I need an ice cream maker for this recipe? No — that’s the entire point of a no-churn recipe. All you need is a hand mixer or stand mixer to whip the cream.
Can I use sweetened cocoa powder instead of unsweetened? No, stick with unsweetened cocoa powder. The sweetness in this recipe is already built in through the sweetened condensed milk, so using sweetened cocoa would make the ice cream overly sweet and unbalanced.
What’s the difference between sweetened condensed milk and evaporated milk? They are not interchangeable. Sweetened condensed milk has sugar added and a thick, syrupy texture, while evaporated milk is unsweetened and thinner. Using evaporated milk by mistake will result in an ice cream that doesn’t set properly and isn’t sweet enough.
Why is my no-churn ice cream icy instead of creamy? This is usually caused by not whipping the cream to full, stiff peaks before folding, or from ice crystals forming during storage. Make sure the cream is properly whipped, and press plastic wrap directly onto the surface before freezing to help prevent this.
Can I add other mix-ins? Absolutely. Crushed cookies, chopped nuts, mini marshmallows, or a swirl of caramel or peanut butter would all work well folded in alongside (or instead of) the chocolate chunks.
How long does it need to freeze before it’s ready to eat? At least 6 hours, though overnight gives the best texture and the easiest scoopability.
Is no-churn ice cream as good as ice cream made in a machine? It’s genuinely comparable in creaminess and flavor, though the texture can be very slightly denser than a machine-churned custard-based ice cream. Most people can’t tell the difference once it’s frozen and scooped.
Can I double this recipe? Yes, this recipe doubles easily — just make sure you have a large enough bowl to whip the cream and fold everything together without overflowing, and a large enough container to freeze it in.
Why does my ice cream taste more like frozen whipped cream than ice cream? This usually means the cocoa powder and condensed milk mixture wasn’t fully incorporated into the whipped cream, or there wasn’t quite enough of the chocolate base relative to the cream. Make sure to fold thoroughly (without deflating the cream) until no streaks remain.
Can I use milk chocolate instead of semi-sweet or dark chocolate chunks? Yes — milk chocolate will make the finished ice cream taste a bit sweeter and milder, while dark or semi-sweet chocolate keeps it rich and balanced. Use whichever you prefer.
Homemade Ice Cream Recipes:
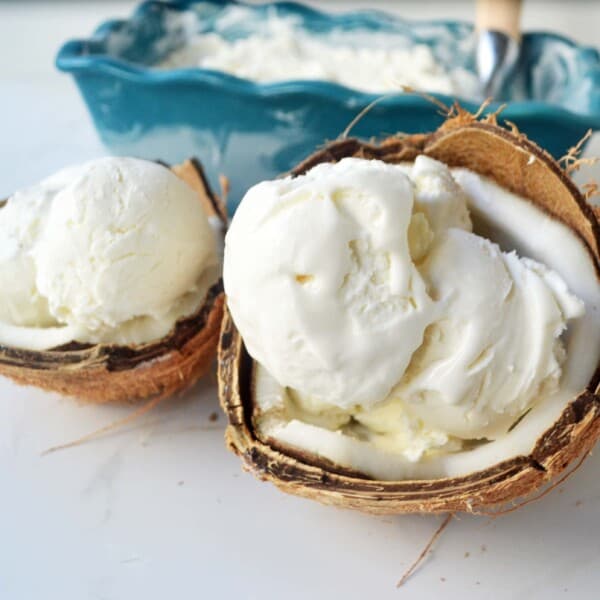
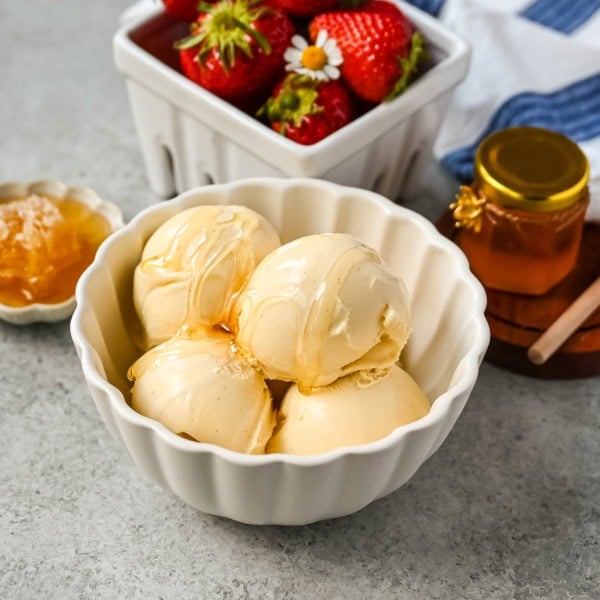
This No-Churn Chocolate Ice Cream proves that you don’t need fancy equipment to make genuinely great homemade ice cream. Rich, creamy, and loaded with chocolate in every bite, it’s the kind of easy summer dessert that comes together in minutes of active effort and rewards you with something better than store-bought.
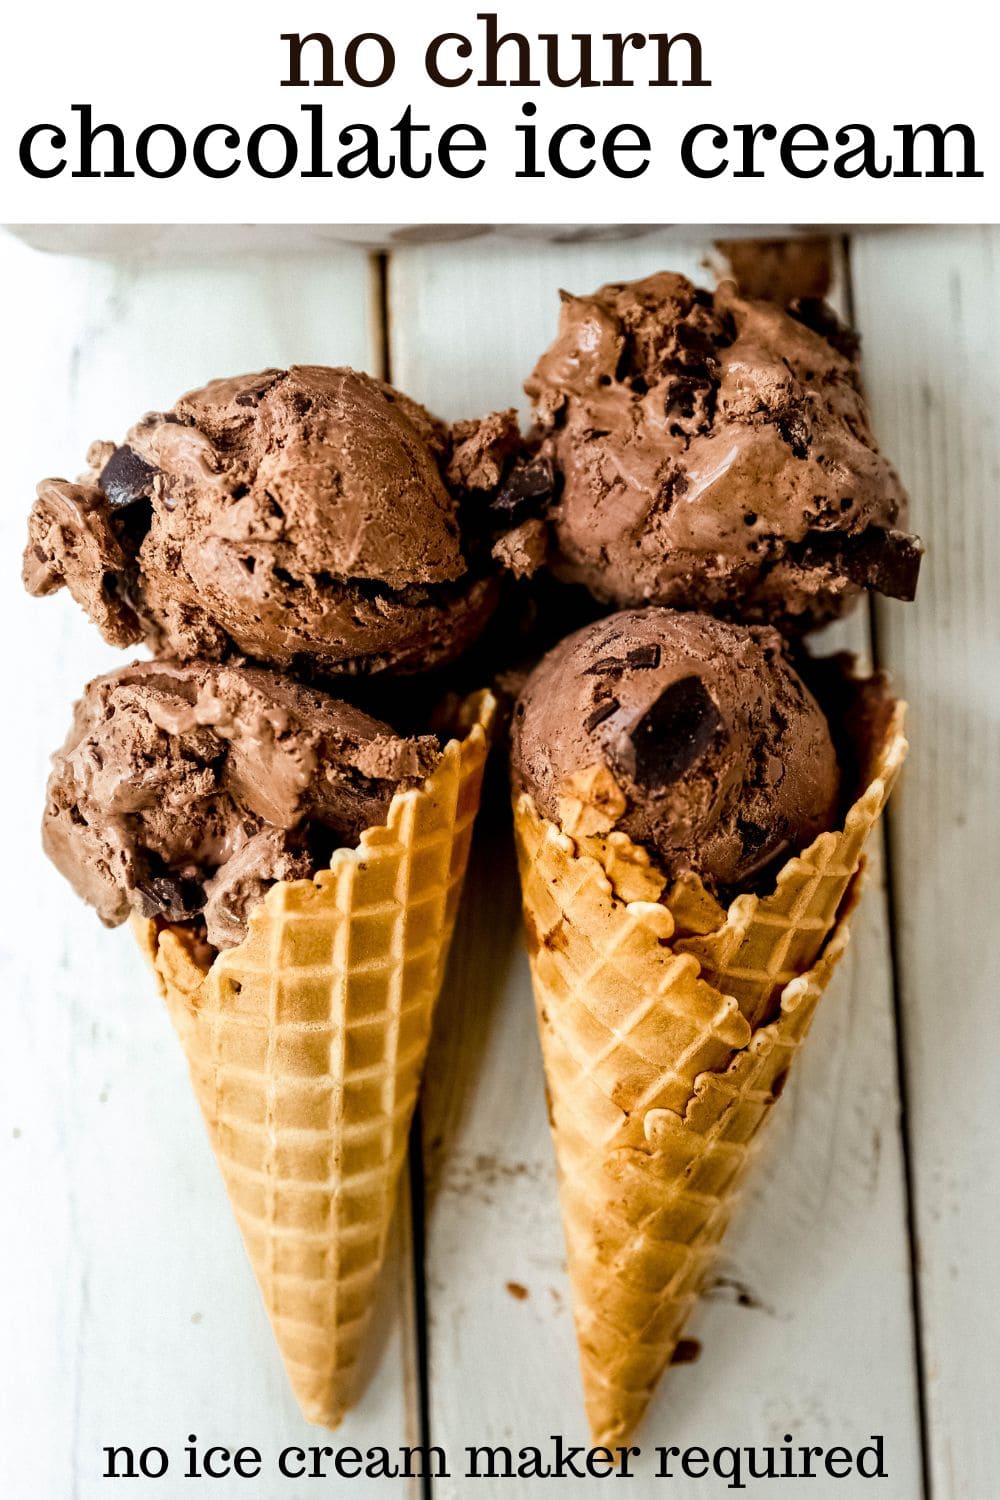
Pin this now to find it later
Pin It
No-Churn Chocolate Chunk Ice Cream
Equipment
- mixing bowl set
- bread loaf pan
- ice cream scooper
Ingredients
- 2 cups Heavy Whipping Cream
- (1) 14-ounce can Sweetened Condensed Milk
- 1/3 cup Unsweetened Cocoa Powder
- 1 teaspoon Vanilla
- 2 cups Chocolate Chunks (reserve 1/2 cup for topping)
Instructions
- In a large bowl, whip the heavy whipping cream until stiff peaks form, about 3-4 minutes. Set aside.
- In a small bowl, mix together sweetened condensed milk, cocoa powder, vanilla, and 1 1/2 cups of chocolate chunks.
- Carefully add mixture to whipped cream. Delicately fold in the whipped cream into the chocolate mixture.
- Pour into a loaf pan. Sprinkle with remaining 1/2 cup of chocolate chunks. Cover with plastic wrap and freeze for 18-24 hours. 24 hours is ideal for hard-packed ice cream.
Notes
Nutrition information is automatically calculated, so should only be used as an approximation.










Delicious! I wanted to share this recipe with you, I used 3 large avocado instead of chocolate !
Mine is more of a question . I whipped the cream in l bowl and mixed the cocoa mixture in a small bowl . When it came time to blend the two of them I had to add the cocoa mixture to the whipped cream and when you said be mindful of mixing so as not to deflate the whipped cream I was not able to get the chocolate colour consistency like yours turned out in the picks . Mine looks more like a ripple ice cream than a solid chocolate. I was disappointed in the colour. I just froze it now so we will see what the taste is like tomorrow when I serve it. (when you said small bowl for the cocoa mixture maybe I went too small ….What did I do wrong
Making this right now! Can not wait! Do you have any tricks to breaking up the Pound Plus bar from Traders? I’m not having much success with my mallet and ziploc bag.
Hi Aubrey! I like to use a chef knife and chop it up into pieces. I run the knife along side of it to create chocolate chunks. I hope that helps!
Making this right now! Can not wait! Do you have any tricks to breaking up the Pound Plus bar from Traders? I’m not having much success with my mallet and ziploc bag.