
This post may contain affiliate links. Please read our disclosure policy.
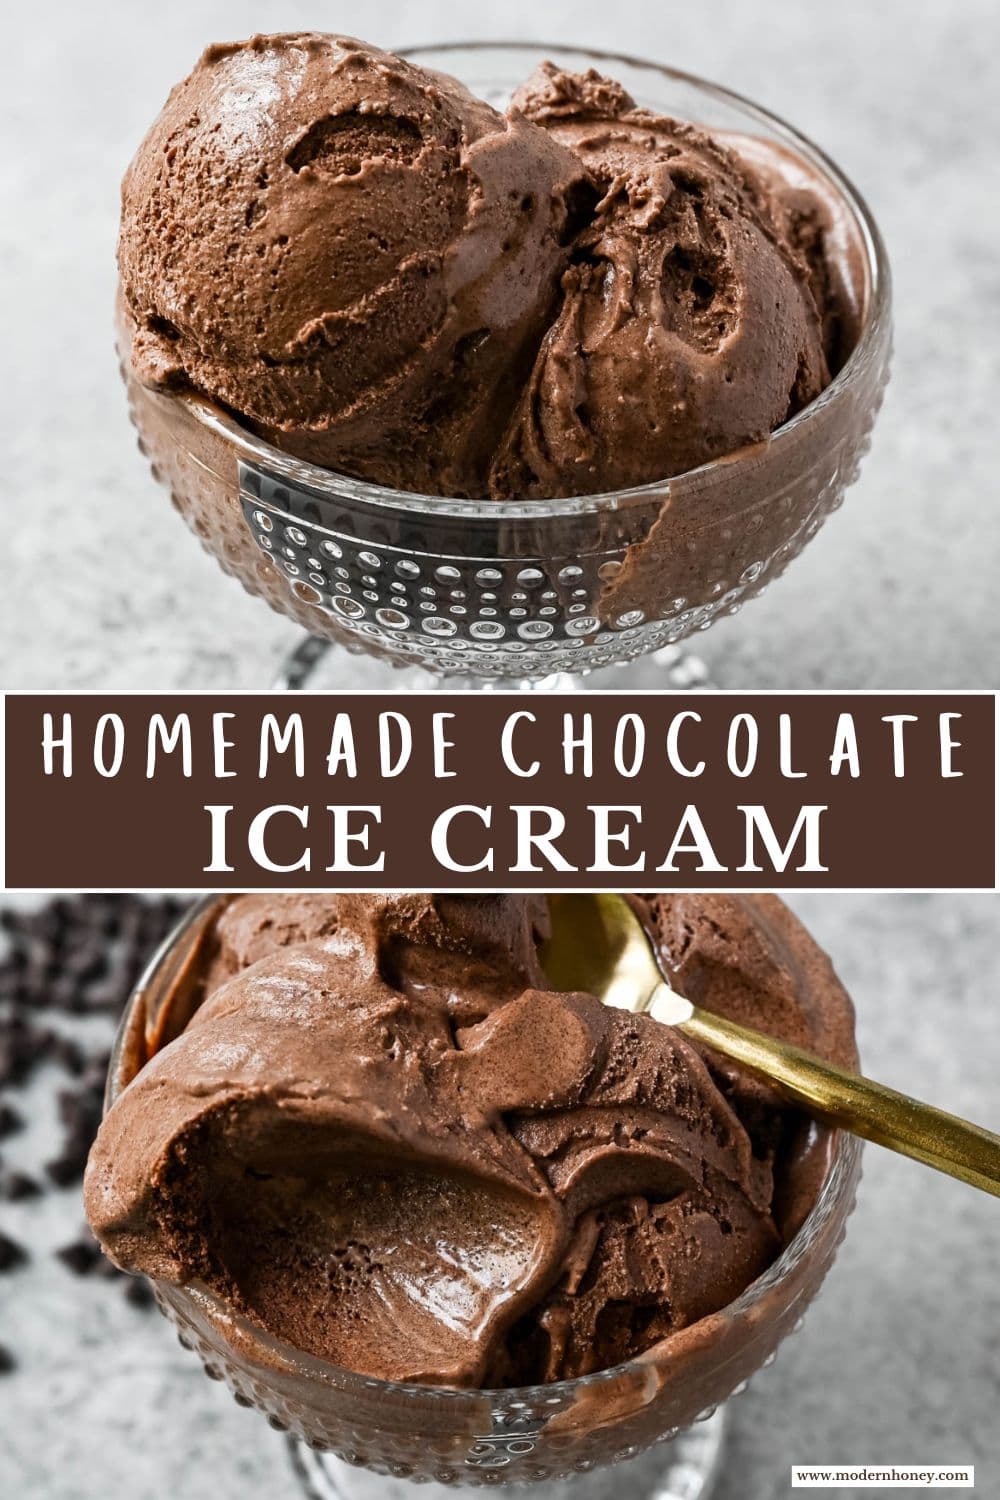
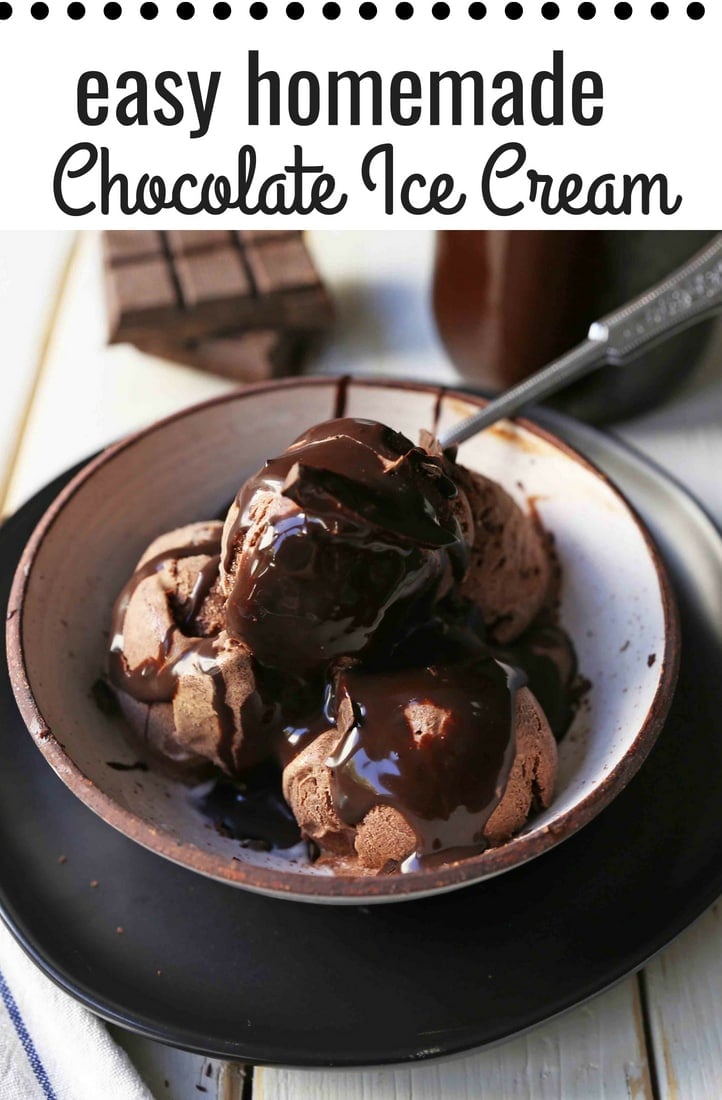
This easy Homemade Chocolate Ice Cream is rich, creamy, and made with real dark chocolate — no eggs required. Learn how to make the best chocolate ice cream from scratch.
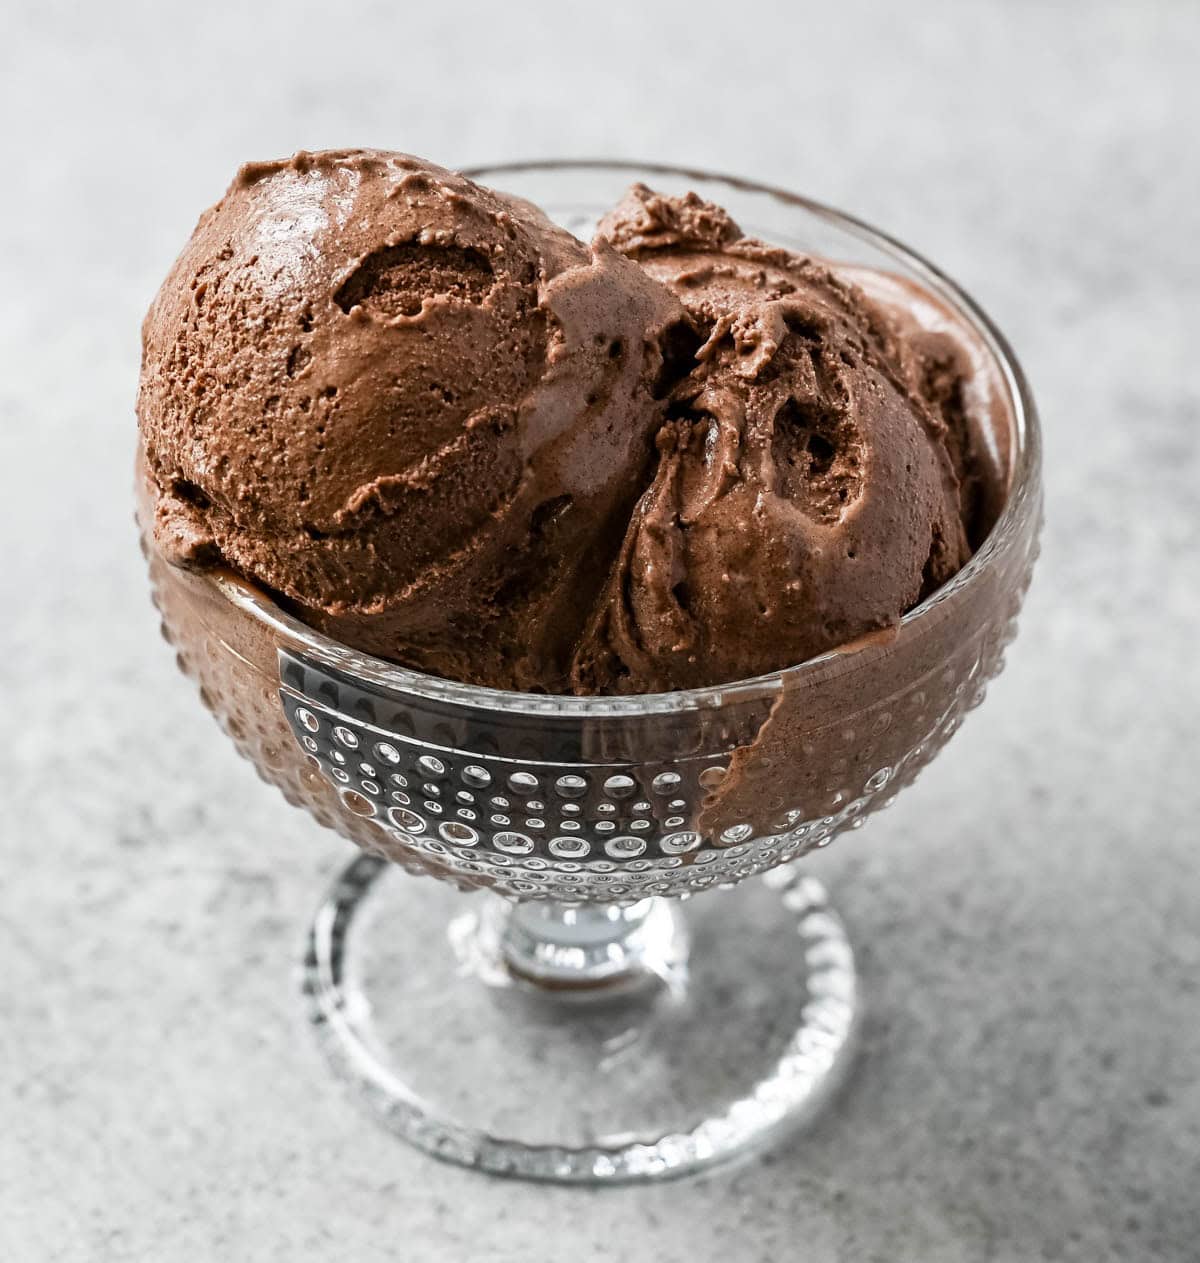
Chocolate Ice Cream
It’s 110 degrees today in perpetually sunny Arizona so we are trying everything we can to stay cool. If this means eating ice cream every day to stay cool…sign me up!
I always wanted to create a silky smooth, creamy melted chocolate ice cream made from scratch. This handcrafted chocolate ice cream is made from super simple ingredients — dark chocolate, sugar, heavy cream, whole milk, and vanilla. No need to add egg yolks or filler ingredients. It is all about simplicity to let the chocolate flavor come through.
Store-bought chocolate ice cream can taste more like “chocolate flavor” than actual chocolate. This homemade version fixes that by using real chopped dark chocolate as the base, giving you a deep, genuine chocolate flavor in every scoop.
The key is to let the heavy cream, whole milk, and sugar simmer until the sugar is dissolved. This ensures the ice cream base is super smooth. Once the sugar is completely dissolved, it is time to whisk in the chocolate. Choose your favorite type of dark chocolate. I suggest using anywhere from 50% – 72% semi-sweet dark chocolate.
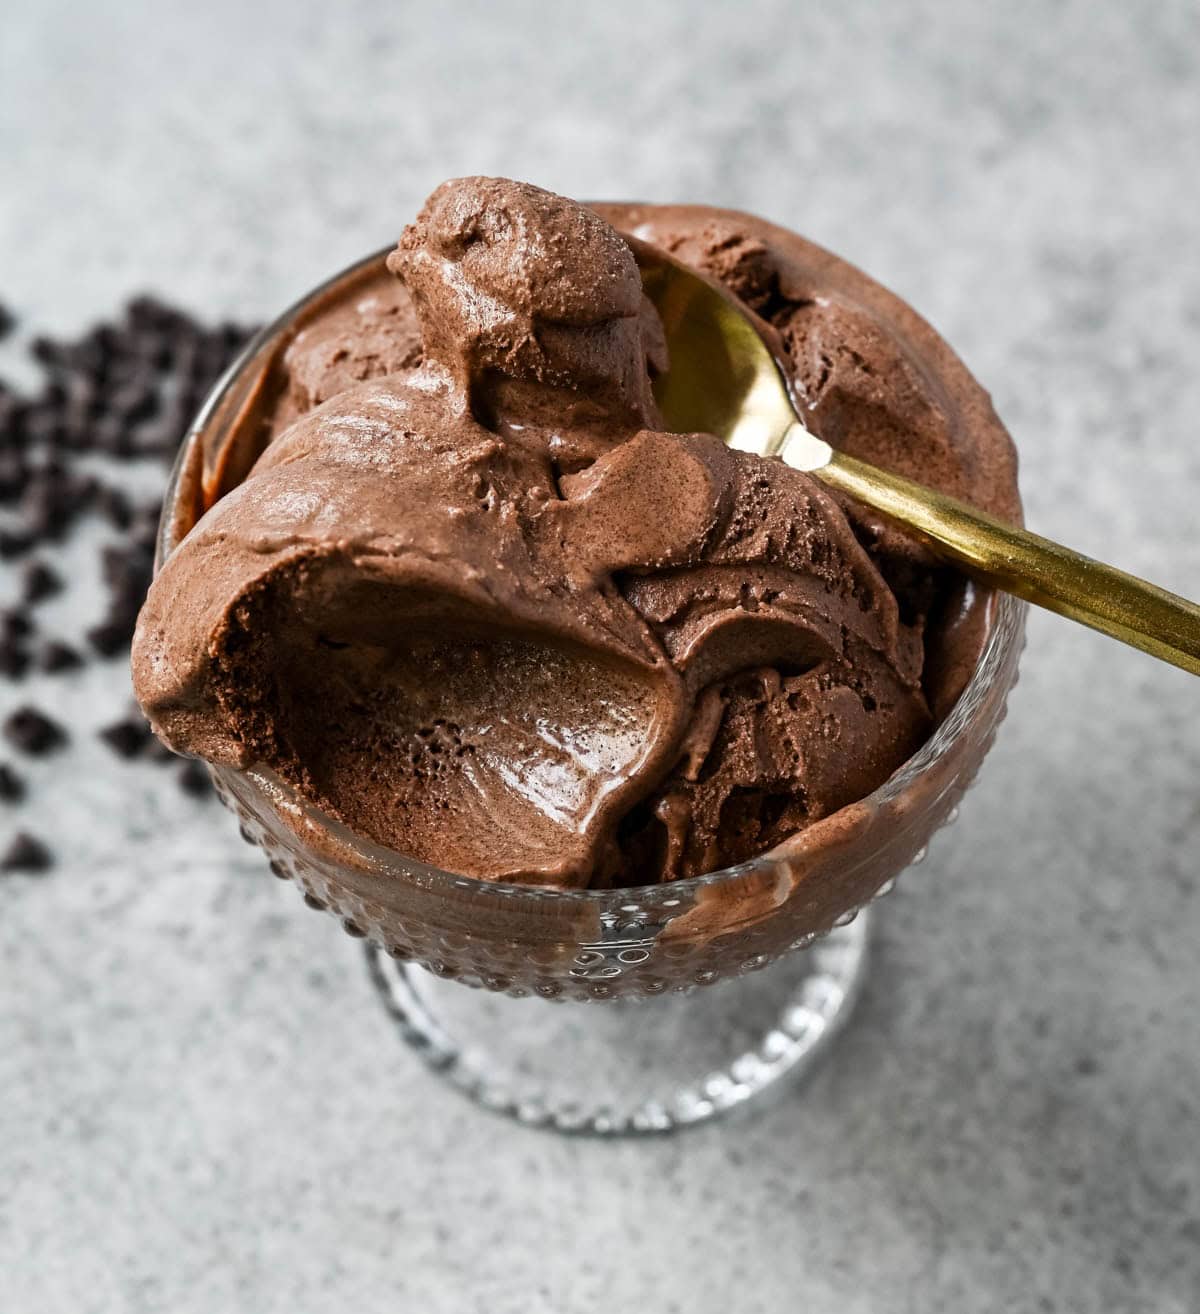
Why this chocolate ice cream works:
- Real chocolate, not just cocoa powder. Using finely chopped 50–70% dark chocolate as the base (rather than relying only on cocoa powder) gives this ice cream a deeper, more authentic chocolate flavor — since the chocolate you choose directly shapes the final taste, using one you genuinely enjoy eating makes a real difference here.
- No eggs, no custard-cooking required. This is a Philadelphia-style ice cream base, meaning it skips the egg yolks and stovetop custard-cooking process that many chocolate ice cream recipes require.
- A short second simmer locks in smoothness. Returning the chocolate-cream mixture to the heat for a couple of minutes after melting helps everything fully emulsify together, so you get a smooth, glossy base rather than one that separates or turns grainy once frozen.
A Note on Chocolate Ice Cream Styles:
Not all homemade chocolate ice cream is built the same way, and it’s worth knowing the difference:
- Philadelphia-style (this recipe) — made without eggs, using cream, milk, sugar, and chocolate. It’s simpler to make and has a lighter, cleaner texture.
- Custard-style (French-style) — made with egg yolks cooked into a custard base before churning. This produces a denser, richer, more decadent ice cream, but takes more time and technique (tempering eggs, cooking a custard, straining).
Both styles are genuinely delicious — this recipe leans into the simplicity and clean chocolate flavor of the Philadelphia-style method, letting high-quality dark chocolate be the star rather than eggs.
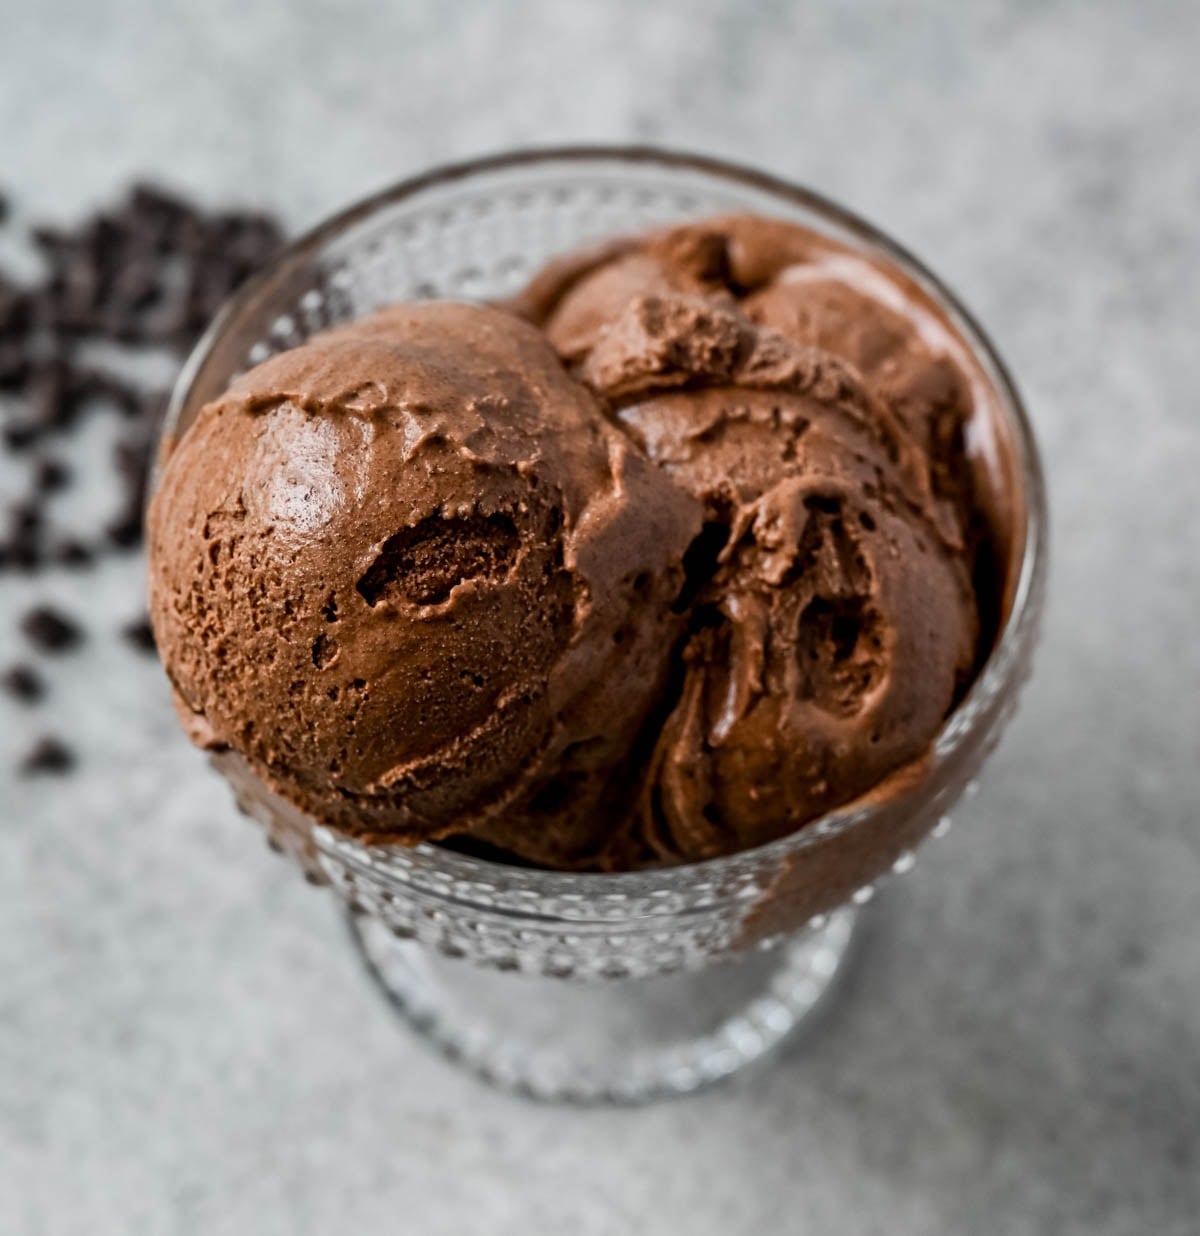
Ingredients
For the Ice Cream
- Dark chocolate (50–70% cacao), finely chopped
- Heavy cream
- Whole milk
- Sugar
- Vanilla extract
Ingredient Notes & Tips:
- Chocolate percentage matters. Staying within the 50–70% range keeps the ice cream rich without becoming bitter. Going much higher (80%+) can make the finished ice cream taste noticeably more bitter once the sugar and cream mellow it out.
- Chop the chocolate finely. Smaller pieces melt more quickly and evenly into the hot cream mixture, helping you avoid unmelted chocolate bits or a grainy texture.
- Use chocolate you’d enjoy eating on its own. Since it’s doing most of the flavor work here (rather than cocoa powder), a chocolate bar you actually like the taste of will make a noticeable difference in the final result.
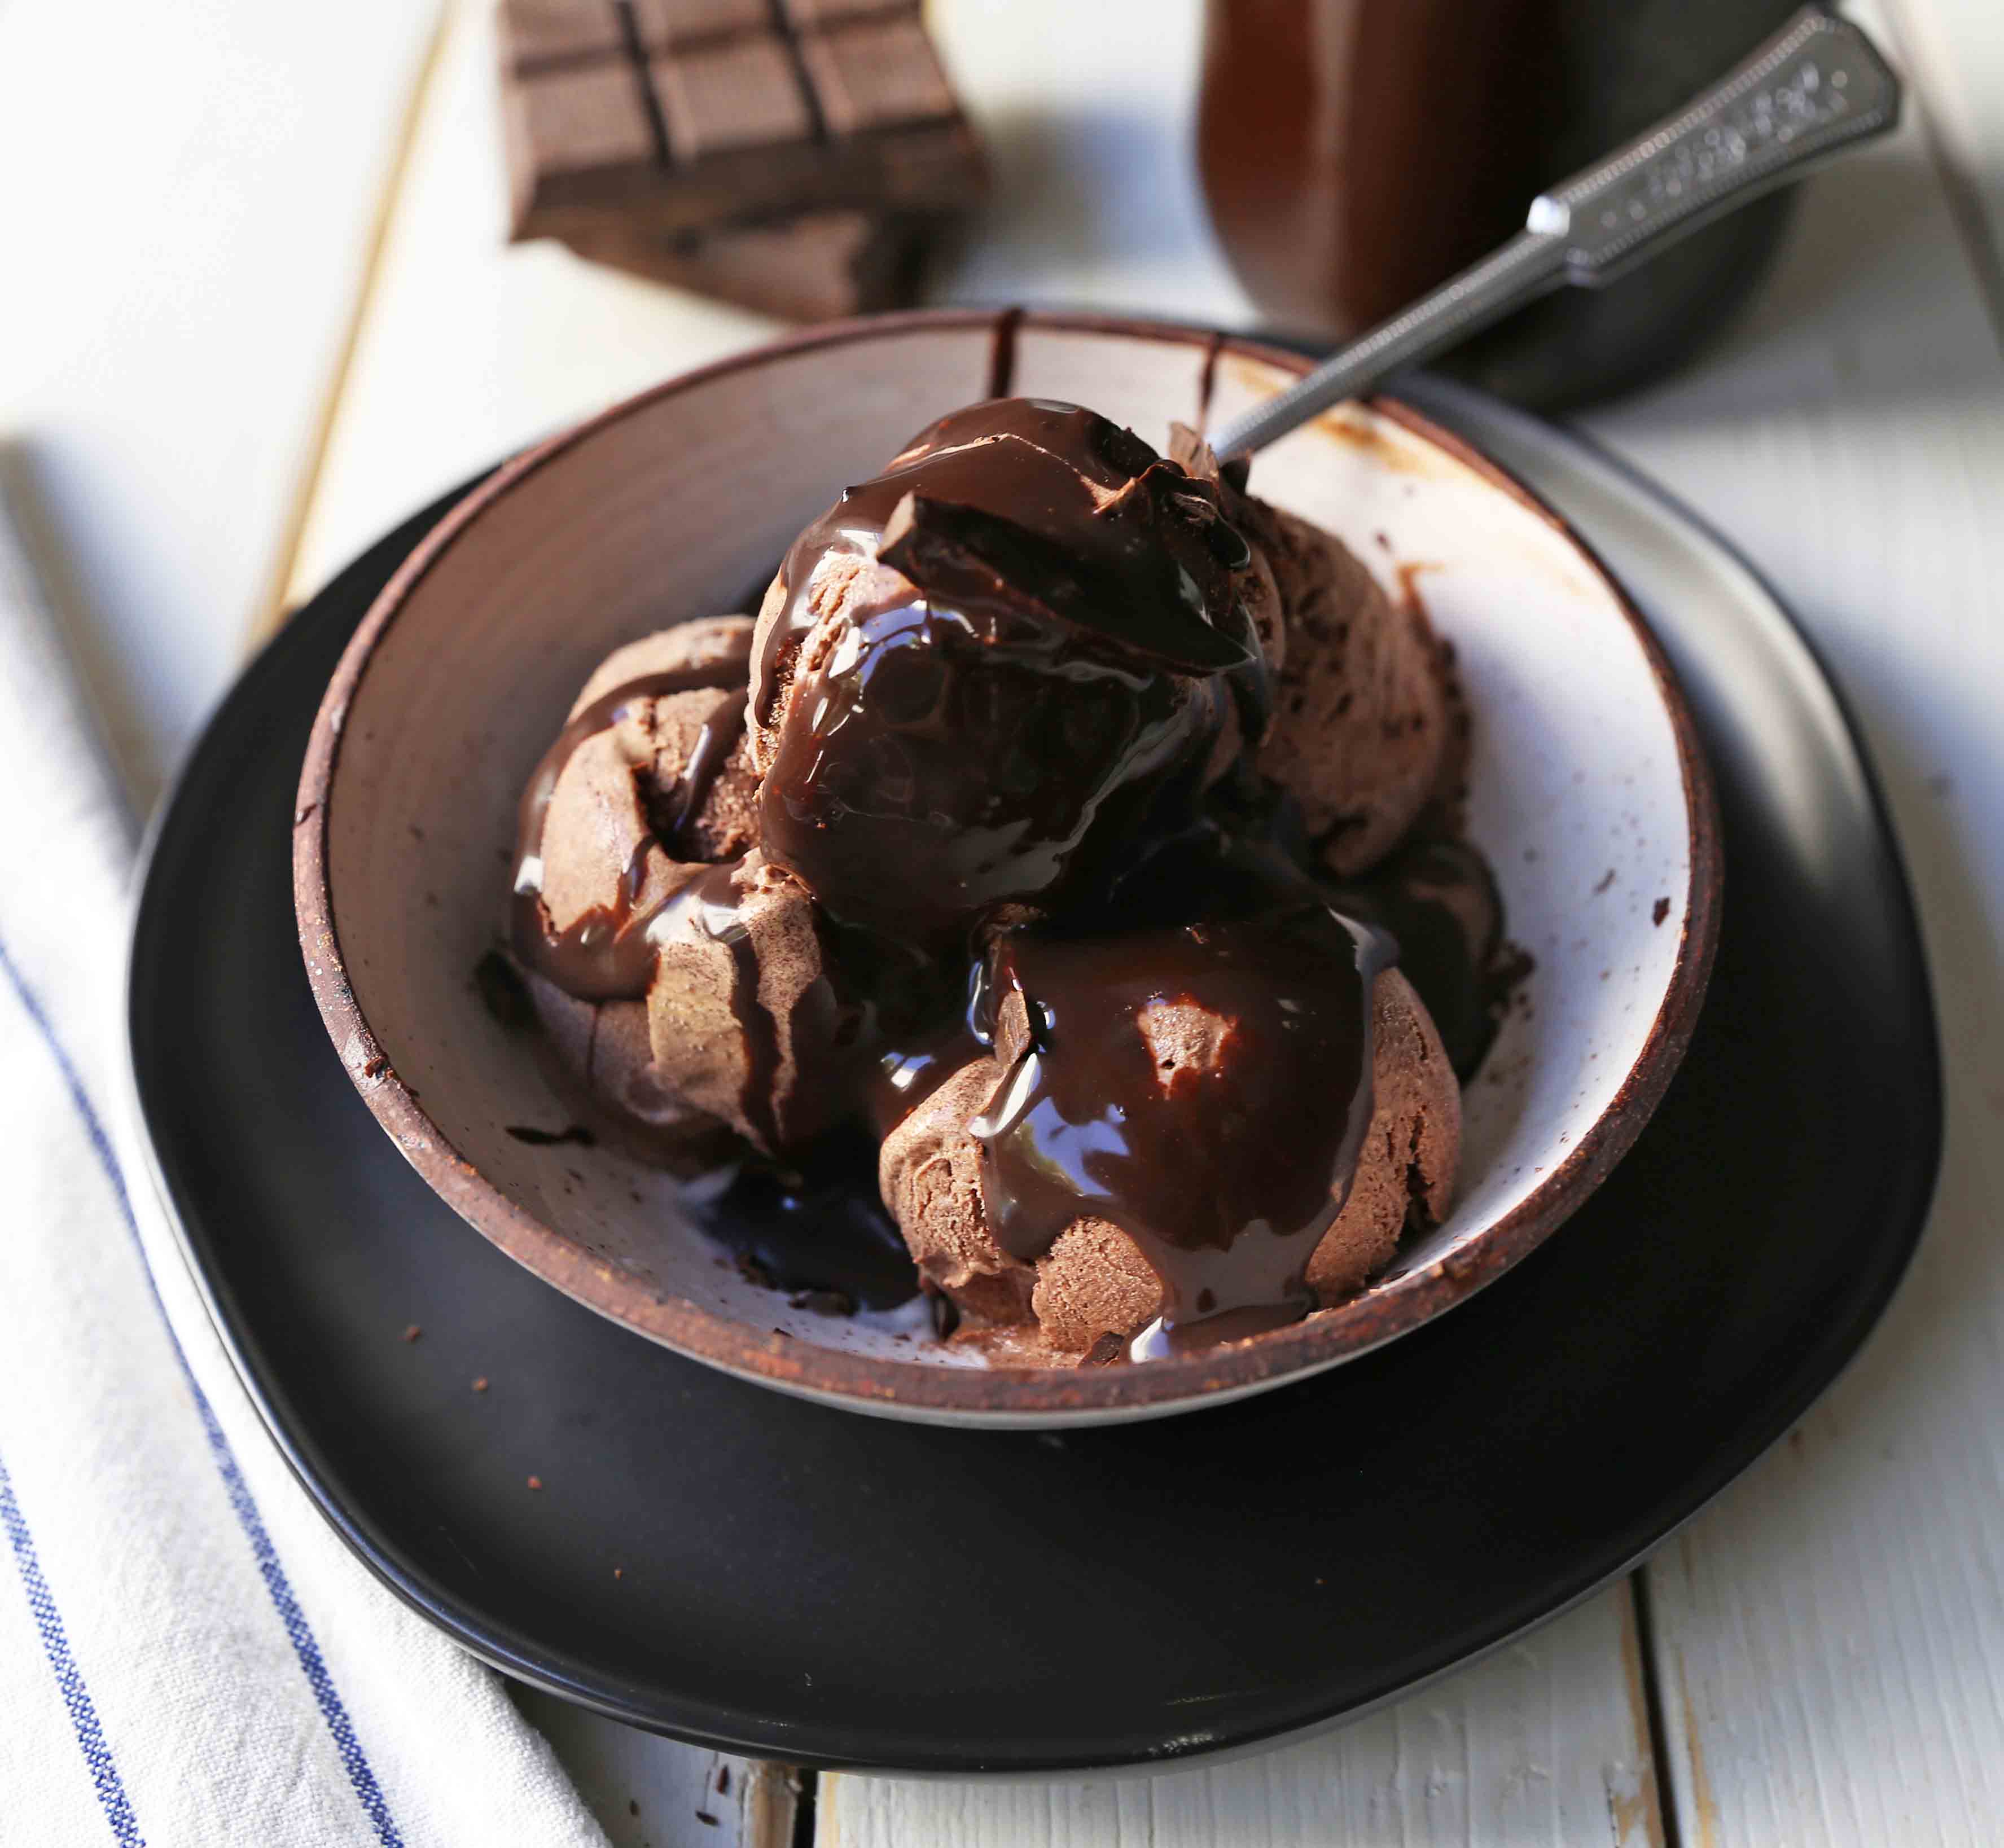
How to Make Homemade Chocolate Ice Cream:
Forget everything you know about store-bought chocolate ice cream. This homemade version is made with real, finely chopped dark chocolate — not just cocoa powder — for a deep, genuine chocolate flavor in every single scoop. No eggs, no complicated custard, just a few simple ingredients and an ice cream maker doing the rest.
1. Prep the chocolate. Place the finely chopped dark chocolate in a large heatproof bowl and set aside.
2. Heat the cream mixture. In a heavy-bottomed saucepan, combine the heavy cream, whole milk, and sugar. Heat over medium-low heat, whisking often to help dissolve the sugar. Remove from heat just before the mixture comes to a boil.
3. Melt the chocolate. Pour the hot cream mixture over the chopped chocolate and whisk vigorously until the chocolate is completely melted and the mixture looks smooth and glossy.
4. Return to the heat briefly. Pour the mixture back into the saucepan and return to medium-low heat for about 2 minutes, whisking constantly. This step helps everything fully combine into a smooth, stable base.
5. Chill completely. You can chill the base one of two ways:
Refrigerator method: Pour the mixture into a bowl, cover, and refrigerate for at least 1–2 hours, until completely chilled.
Ice bath method (faster, and may help prevent graininess): Fill a large bowl with ice and a small amount of cold water. Pour the chocolate mixture into a smaller bowl and set it inside the ice bath, making sure the water doesn’t splash into the mixture. Whisk occasionally as it chills, about 20–30 minutes, until completely cold. Churn the same day rather than letting it sit overnight.
6. Stir in the vanilla. Once the mixture is completely cold, stir in the vanilla extract.
7. Churn. Pour the chilled base into your ice cream maker and churn according to the manufacturer’s instructions.
8. Freeze until firm. Transfer the churned ice cream to a freezer-safe container. Cover tightly and freeze until firm and scoopable, at least 4 hours or overnight.
Ice Cream Making Tips:
- Freeze your ice cream maker bowl ahead of time. Most machines require the canister to be fully frozen (often 24 hours in advance) before churning — check your specific machine’s instructions before you start, since this is one of the most common reasons homemade ice cream doesn’t set up properly.
- Don’t skip chilling the base completely. Churning a base that isn’t fully cold will result in a softer, less scoopable finished ice cream, since the machine won’t be able to freeze it properly.
- Add a pinch of salt. About ¼ teaspoon stirred in with the sugar helps balance the sweetness and makes the chocolate flavor taste more pronounced, not salty.
- Don’t overfill your ice cream maker. Ice cream expands as it churns, so fill the canister only about ¾ full to avoid overflow.
- Add mix-ins at the right time. If you want to fold in chocolate chunks, cookie pieces, or swirls of caramel or fudge, add them during the last few minutes of churning, once the ice cream has reached a soft-serve consistency.
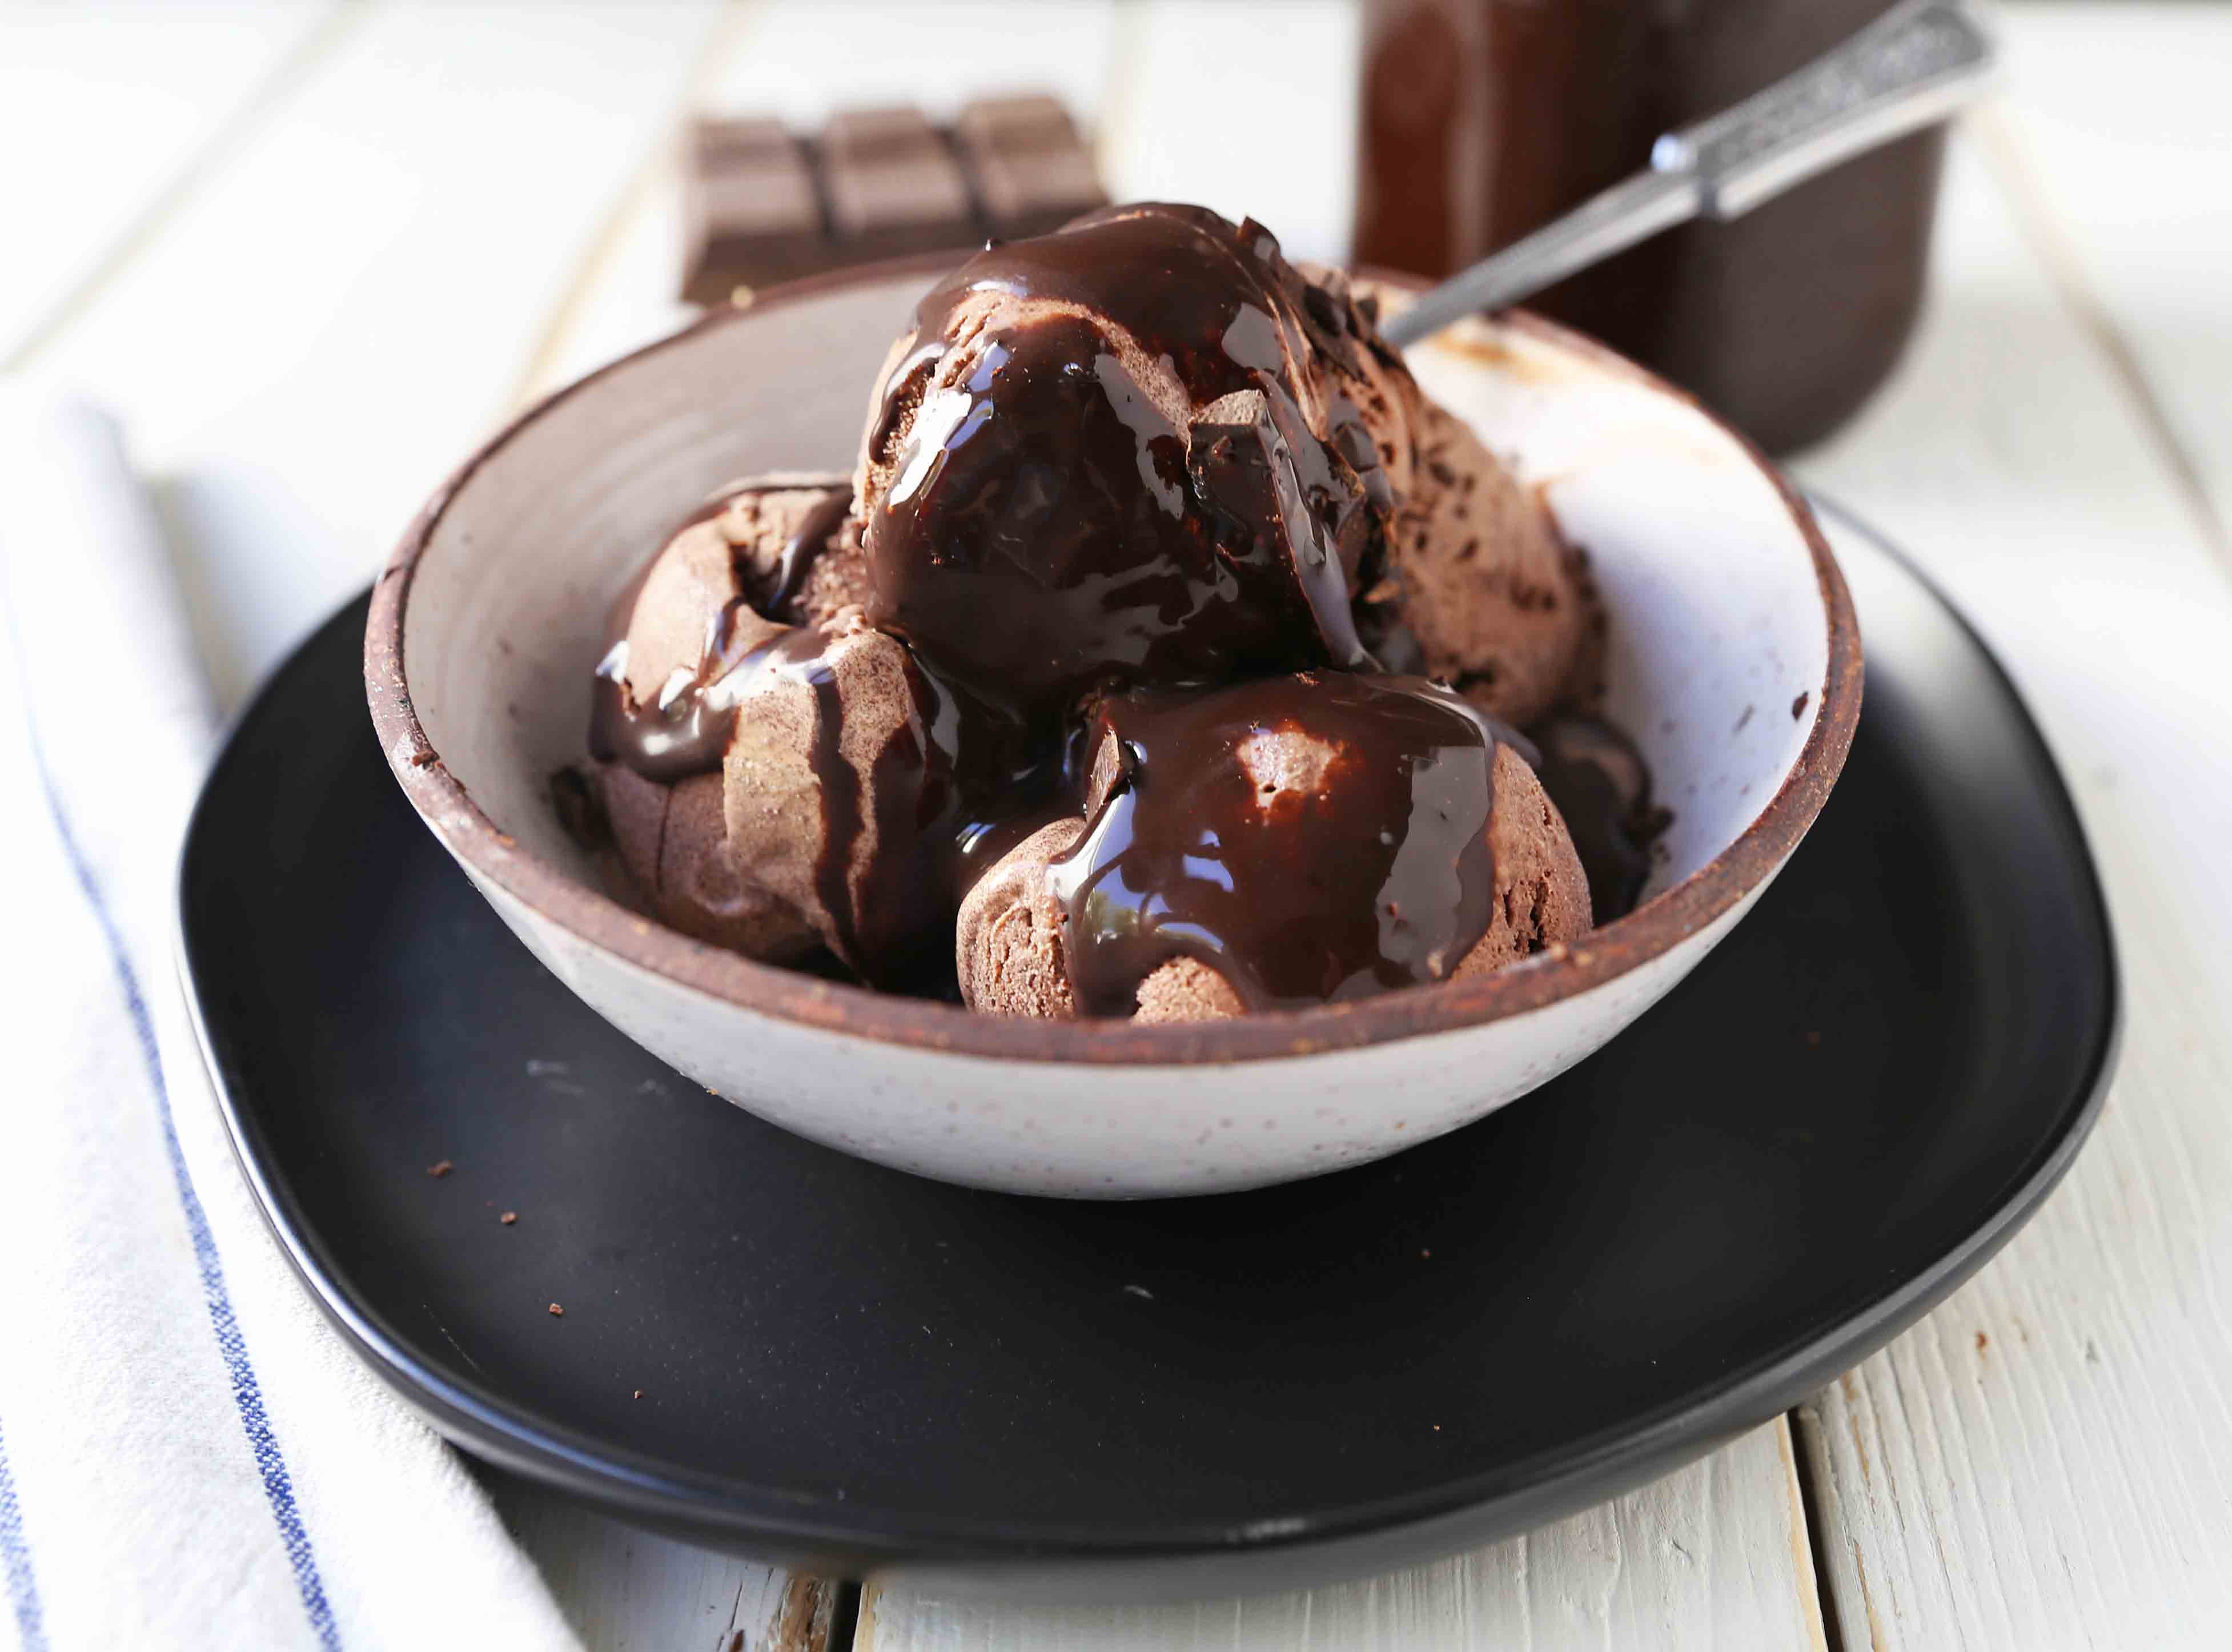
How to FREEZE Homemade Chocolate Ice Cream:
Before adding the homemade chocolate ice cream mix to your favorite ice cream maker, it needs to be COLD. It needs to be placed in the refrigerator for at least 1-2 hours to become completely chilled. If it is even room temperature, it will not get cold enough even in an ice cream maker to become hard and scoopable. Prepare and plan ahead of time so it has plenty of time to chill.
Storage:
Homemade ice cream doesn’t keep quite as long as store-bought, since it lacks the stabilizers that extend shelf life in commercial ice cream. Store in an airtight, freezer-safe container with a piece of parchment or plastic wrap pressed directly onto the surface to help prevent freezer burn. For the best texture and flavor, eat within 2–3 weeks, though it will keep safely in the freezer longer than that.
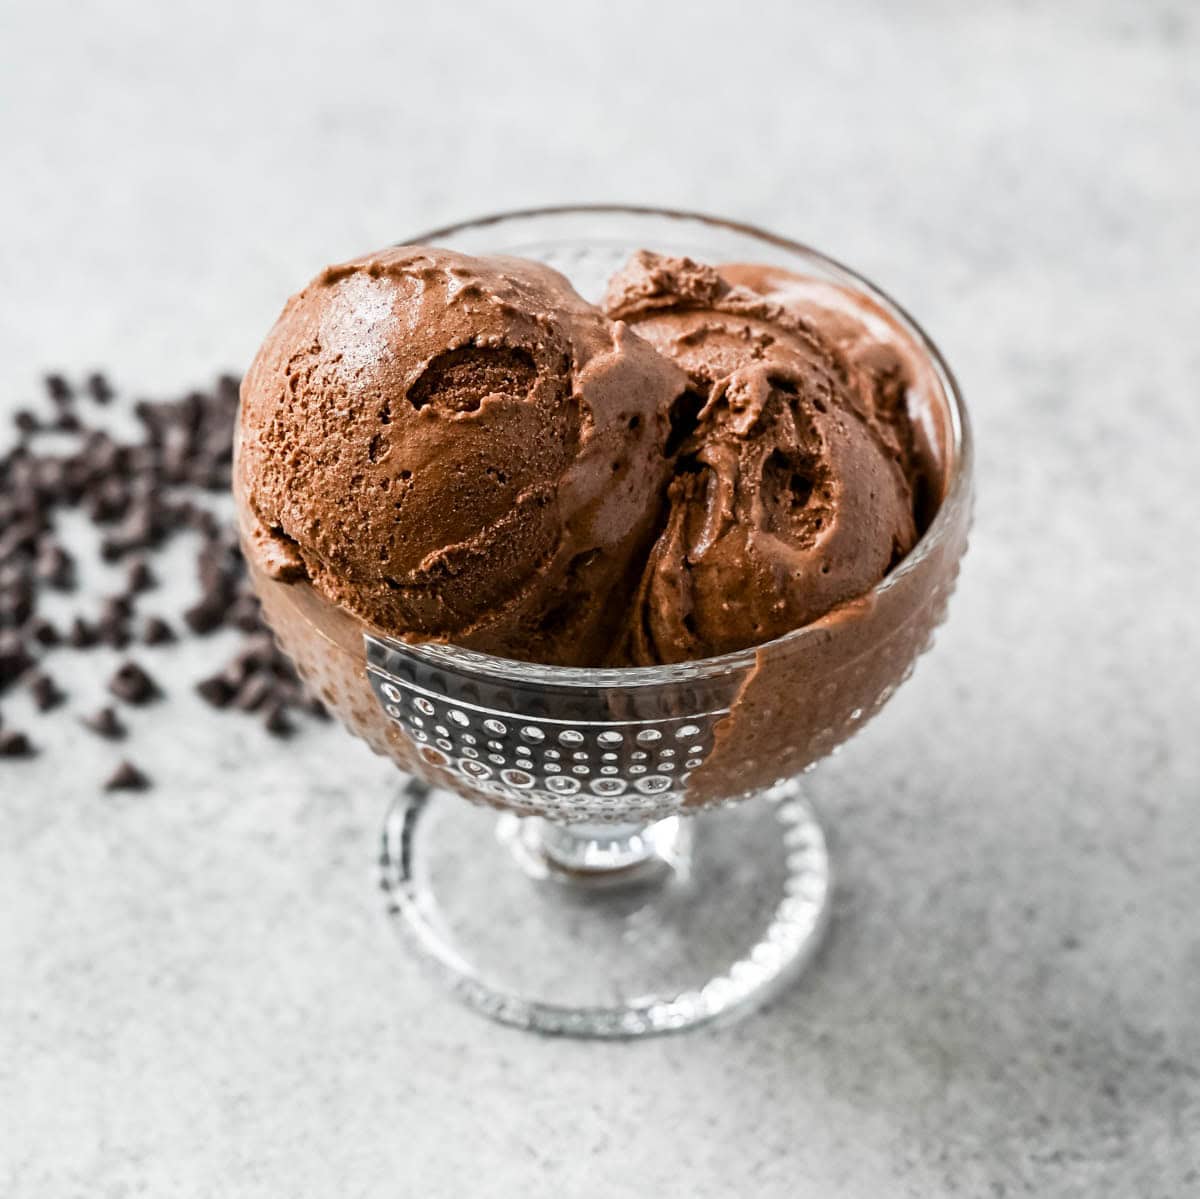
Frequently Asked Questions
Do I need an ice cream maker for this recipe? Yes, this recipe is designed for a traditional ice cream maker, which churns the base while freezing it. I do have a recipe for no churn chocolate ice cream (using whipped cream and sweetened condensed milk) is a different technique entirely and would require a different recipe.
Why is my chocolate ice cream grainy? This is usually caused by the chocolate not being fully melted and incorporated, or the base chilling too slowly, which can cause the cocoa butter in the chocolate to separate slightly. Chilling the base quickly over an ice bath (rather than a slow refrigerator chill) and churning it the same day tends to produce a smoother result.
Can I use milk chocolate instead of dark chocolate? You can, though the ice cream will taste noticeably sweeter and less rich. If using milk chocolate, consider reducing the sugar slightly to keep the sweetness balanced.
What percentage of dark chocolate is best? Somewhere between 50–70% cacao gives you a rich chocolate flavor without becoming overly bitter once combined with the cream and sugar.
Can I add mix-ins? Yes — chocolate chunks, chopped nuts, crushed cookies, or a swirl of caramel or fudge all work well. Fold them in during the last few minutes of churning.
Why didn’t my ice cream maker’s bowl freeze the mixture properly? Most ice cream makers with a freezer-bowl design need that bowl fully frozen (often for a full 24 hours) before use. If it wasn’t frozen solid, the base won’t churn and freeze correctly.
How long does homemade chocolate ice cream last in the freezer? For the best texture and flavor, aim to eat it within 2–3 weeks. It will remain safe to eat longer than that, but the texture may become icier over time since homemade ice cream lacks commercial stabilizers.
This Homemade Chocolate Ice Cream proves that you don’t need a long list of ingredients or a complicated custard process to get rich, genuine chocolate flavor. Good dark chocolate, cream, and a little patience while it chills and churns is really all it takes to make something better than anything you’ll find in the ice cream aisle.
Popular Ice Cream Recipes:
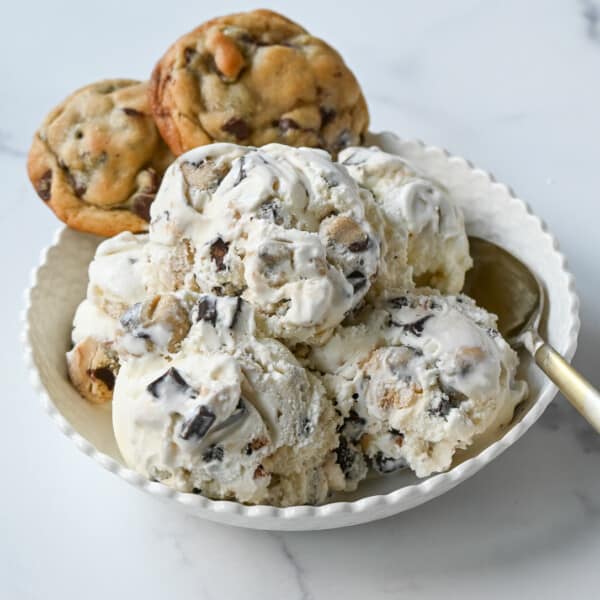
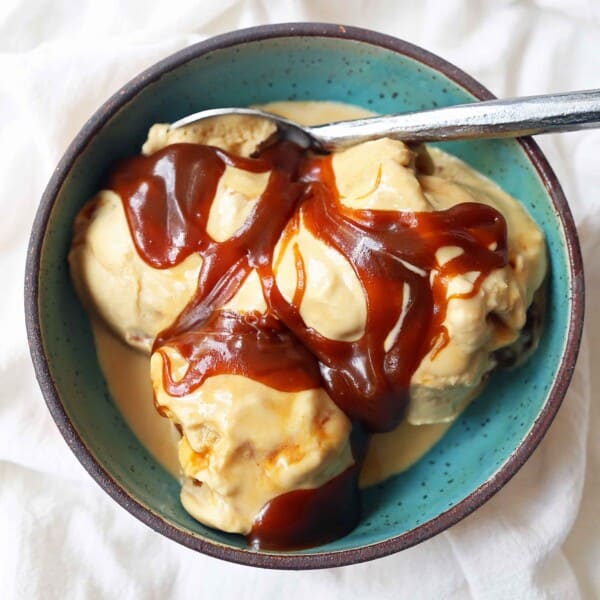
If you love vanilla ice cream, check out my Homemade Vanilla Bean Ice Cream Recipe. If you love authentic vanilla gelato, check out my Italian Vanilla Gelato Recipe. If you want an easy chocolate ice cream recipe, check out my No-Churn Chocolate Ice Cream Recipe.
Pin this now to find it later
Pin It
Homemade Chocolate Ice Cream
Equipment
- ice cream scooper
- ice cream maker
Ingredients
- 7 ounces 50% – 70% Dark Chocolate finely chopped (1 cup)
- 2 cups Heavy Cream
- 1 cup Whole Milk
- 3/4 cup + 2 Tablespoons Sugar
- 2 teaspoons Vanilla Extract
- 1/8 to 1/4 teaspoon Salt
Instructions
- Place the chopped chocolate in a large bowl and set aside.
- In a heavy-bottomed saucepan, add heavy cream, whole milk, and sugar and heat over medium-low heat. Whisk often to dissolve the sugar. Before the mixture comes to a boil, remove from heat.
- Pour hot cream mixture over chocolate and vigorously whisk until chocolate is completely melted.
- Return to medium-low heat for 2 minutes, whisking constantly.
- You can chill the base one of two ways:Refrigerator method: Pour the mixture into a bowl, cover, and refrigerate for at least 1–2 hours, until completely chilled.Ice bath method (faster, and may help prevent graininess): Fill a large bowl with ice and a small amount of cold water. Pour the chocolate mixture into a smaller bowl and set it inside the ice bath, making sure the water doesn't splash into the mixture. Whisk occasionally as it chills, about 20–30 minutes, until completely cold. Churn the same day rather than letting it sit overnight.
- Once the mixture is completely cold, stir in vanilla and salt.
- Pour into ice cream maker and mix according to manufacturer’s instructions. To harden ice cream so it is scoopable, transfer ice cream to a freezer-proof container. Cover tightly and freeze until ice cream is firm, at least 4 hours or overnight.
- *Recipe adapted from Molly Moon’s Ice Cream Cookbook
Notes
Nutrition
Nutrition information is automatically calculated, so should only be used as an approximation.










Best chocolate ice cream I’ve had in a while! Thank you for this great recipe!
This ice cream was such a hit for my family and I! It had the best results than any other chocolate ice cream recipe I have tried. Rich, creamy, and so delicious. I’d recommend this to everyone.
Made this on the weekend. My particular son really liked it. It’s Tuesday and it’s almost gone. Very easy for my first time making ice cream. Will make again. Thank you for the recipe!
This makes me so happy to hear! Thank you so much for making my recipe Heather.
The Whynter isn’t a high end ice cream maker. For that look at the Italian Musso machines. They are expensive ($600+), but faster and more capable (20 minutes or less, can freeze to lower temperatures, make gelato and sorbet and do continuous production. These are the low end of commercial ice cream makers)
what type of chocolate do you recommend?
Oh yeah, THIS! I am the queen of ice cream and always take homemade ice cream to family gatherings. This one knocked it out of the park! Just when I thought I had all the ice cream recipes I needed, I found this one to add to my collection. It is so rich and creamy and super DEE-LISH!!! Thank you for an amazing recipe = )