This post may contain affiliate links. Please read our disclosure policy.
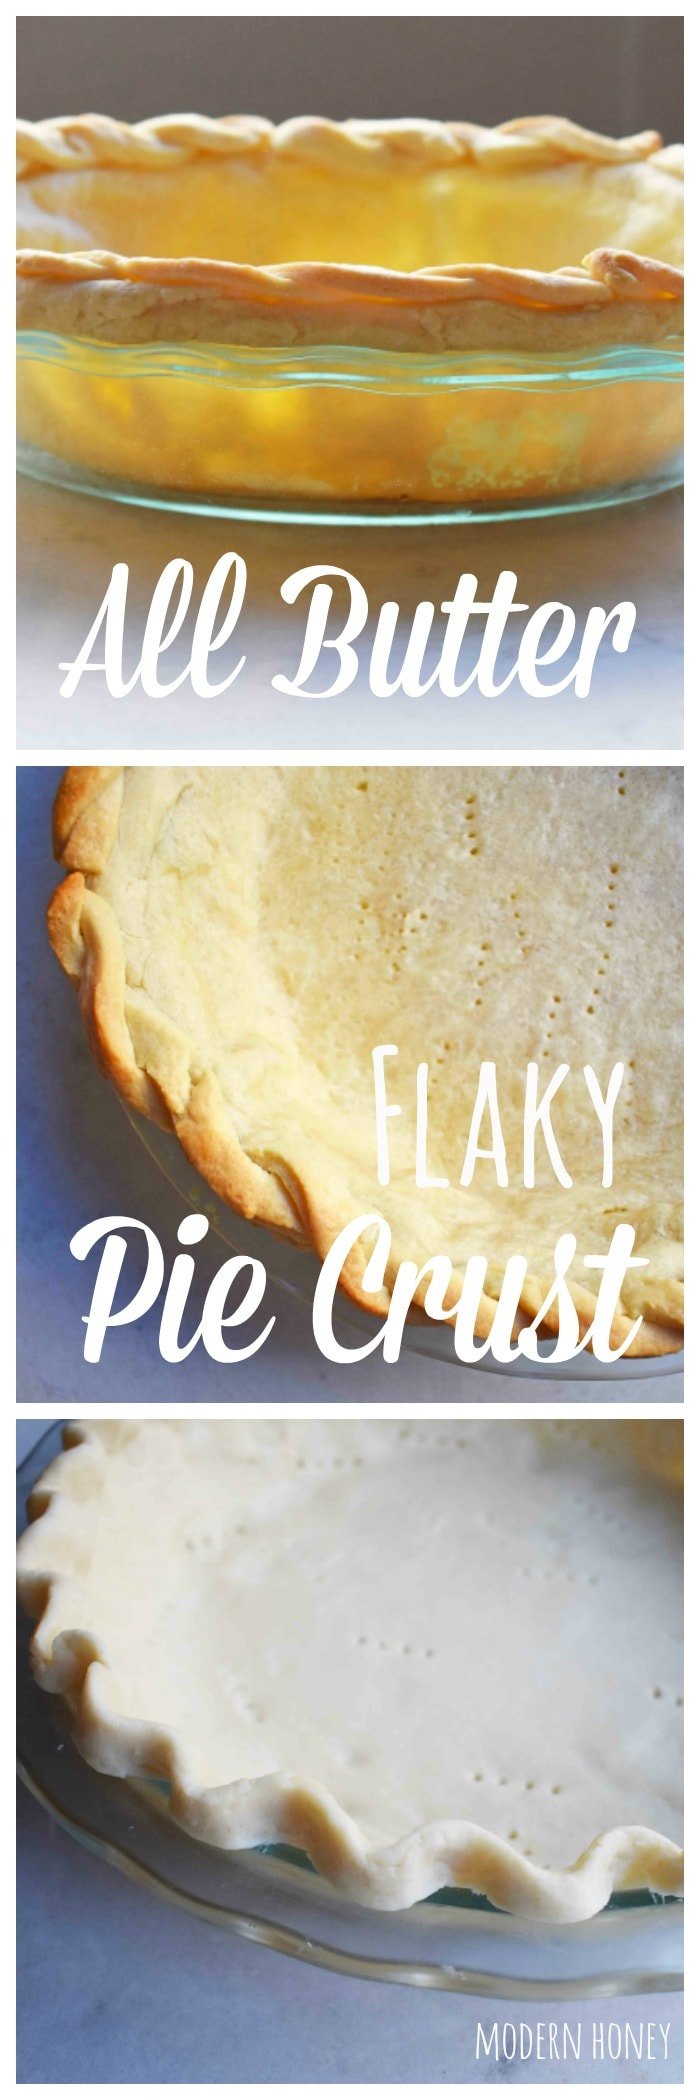
How to make a flaky, all-butter homemade pie crust. This is the best pie crust recipe! It only needs 4 ingredients and I am sharing all of my tips and tricks for the perfect pie crust.
The Thanksgiving countdown is on! 17 days and counting….
It’s the Super Bowl of food and the only holiday that literally resolves around one single meal.
It’s also the only holiday that can put you in a food coma in 5 minutes flat. Bring on the naps!
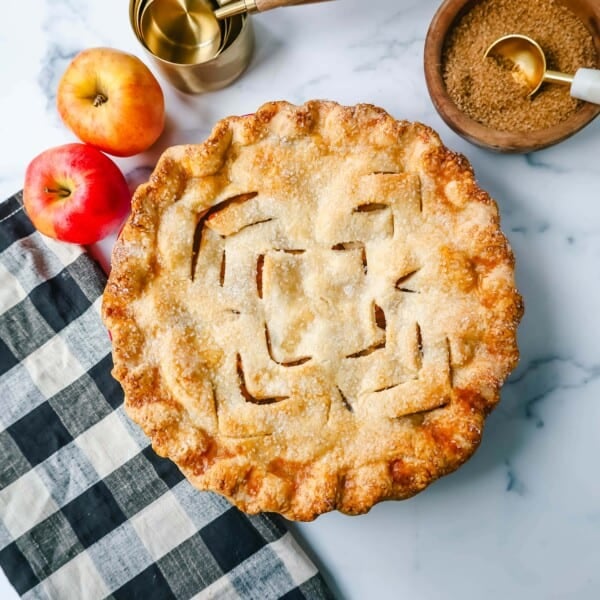
Pie is the star of the show and it needs a solid foundation. I am sharing all of the tips and tricks to make a perfectly flaky, foolproof, all butter pie crust.
I have had epic fails in the pie department so you can learn from my mistakes! I am going to break down this Butter Flaky Pie Crust step by step.
A flaky, golden, and buttery pie crust can elevate any homemade pie. While there are various methods for creating pie crusts, there’s no better flavor than an all-butter pie crust.
Homemade Pie Crust Ingredients:
- Butter — I suggest using COLD butter, cut into small pieces. This helps to make the flakiest pie crust. Use unsalted butter to control the salt.
- Flour — all-purpose flour works great in this pie crust recipe.
- Salt — I love to add a good amount of salt to bring out the flavor of the butter.
- Ice Cold Water (with vinegar) or Buttermilk — the pie crust recipe is very versatile and you can use either ice cold water with a splash of vinegar or buttermilk. I tend to reach for buttermilk because it makes a very tender pie crust but both work well.
How to make the Best Pie Crust:
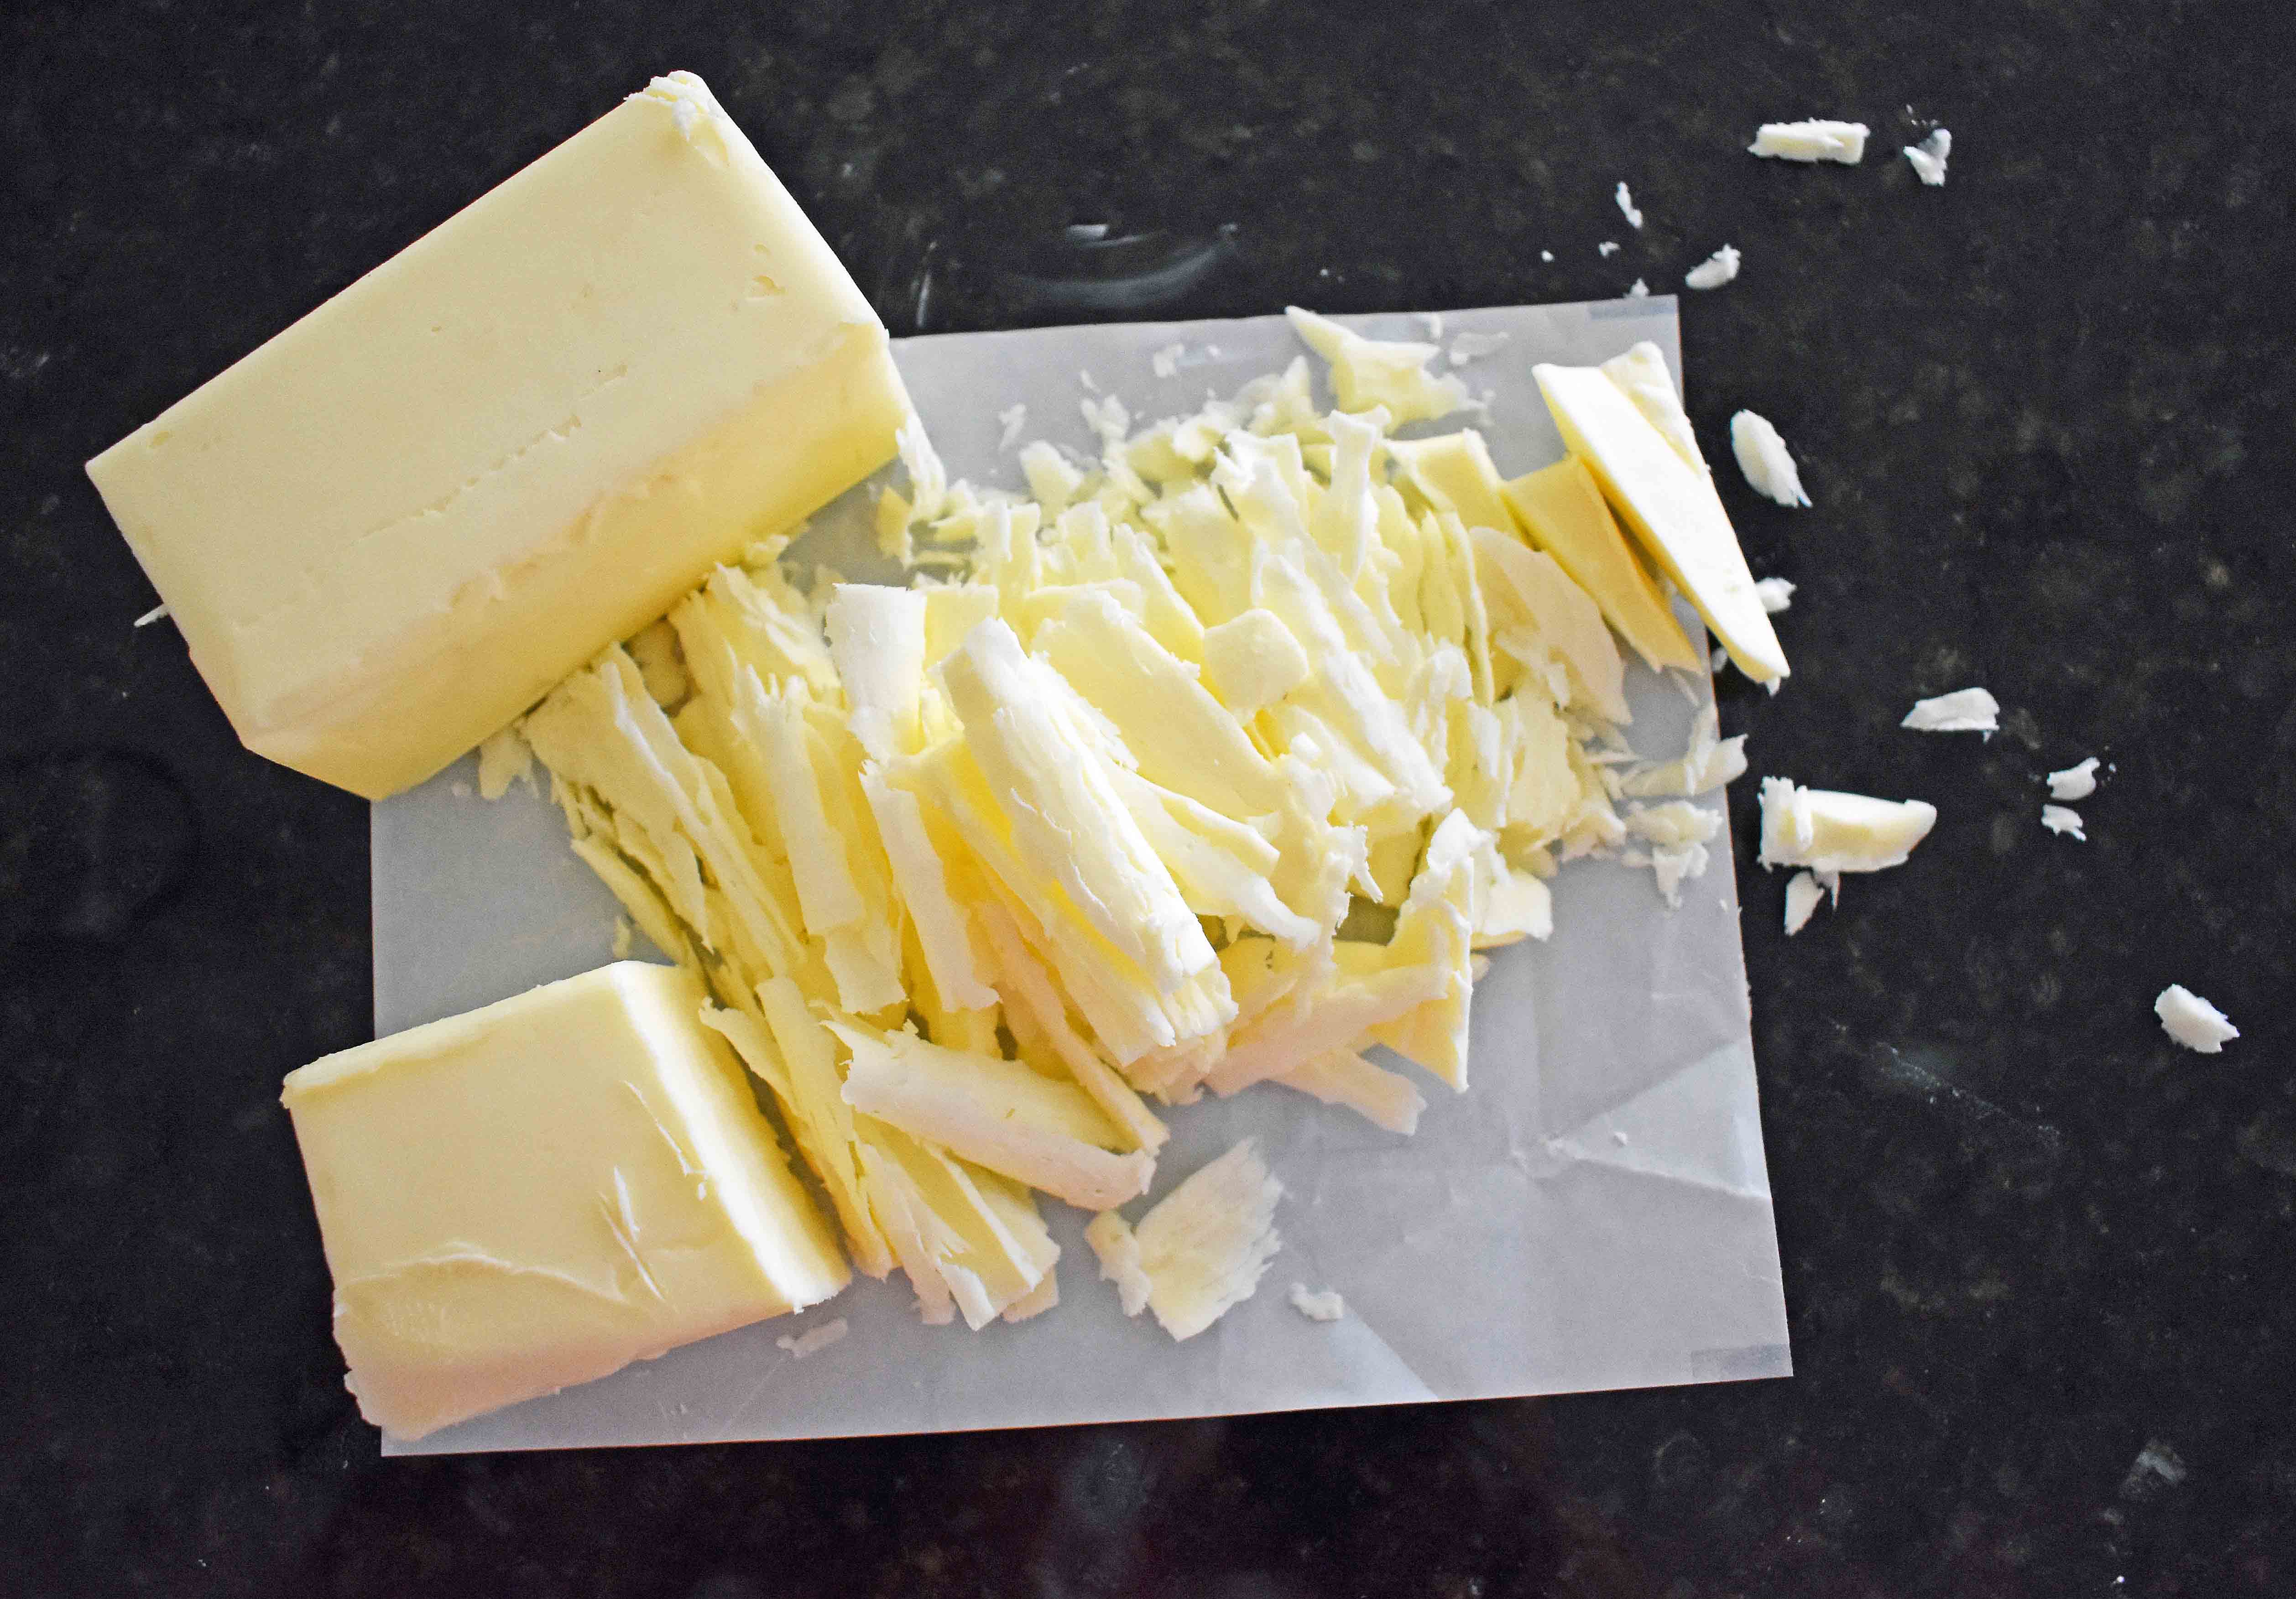
- Use Cold Butter. The key to a perfect all-butter pie crust is working with cold ingredients. Start by chilling your butter. Cold butter creates pockets of steam when it bakes, resulting in a flaky, tender crust. I store my butter in the freezer and take out sticks of butter, as needed. Place them on a cutting board and with a knife, slice them into tiny shreds. The shreds of butter are going to make the crust flaky and you want it to be evenly dispersed in the pie dough. If your butter gets warm, put it back into the freezer or refrigerator to solidify.
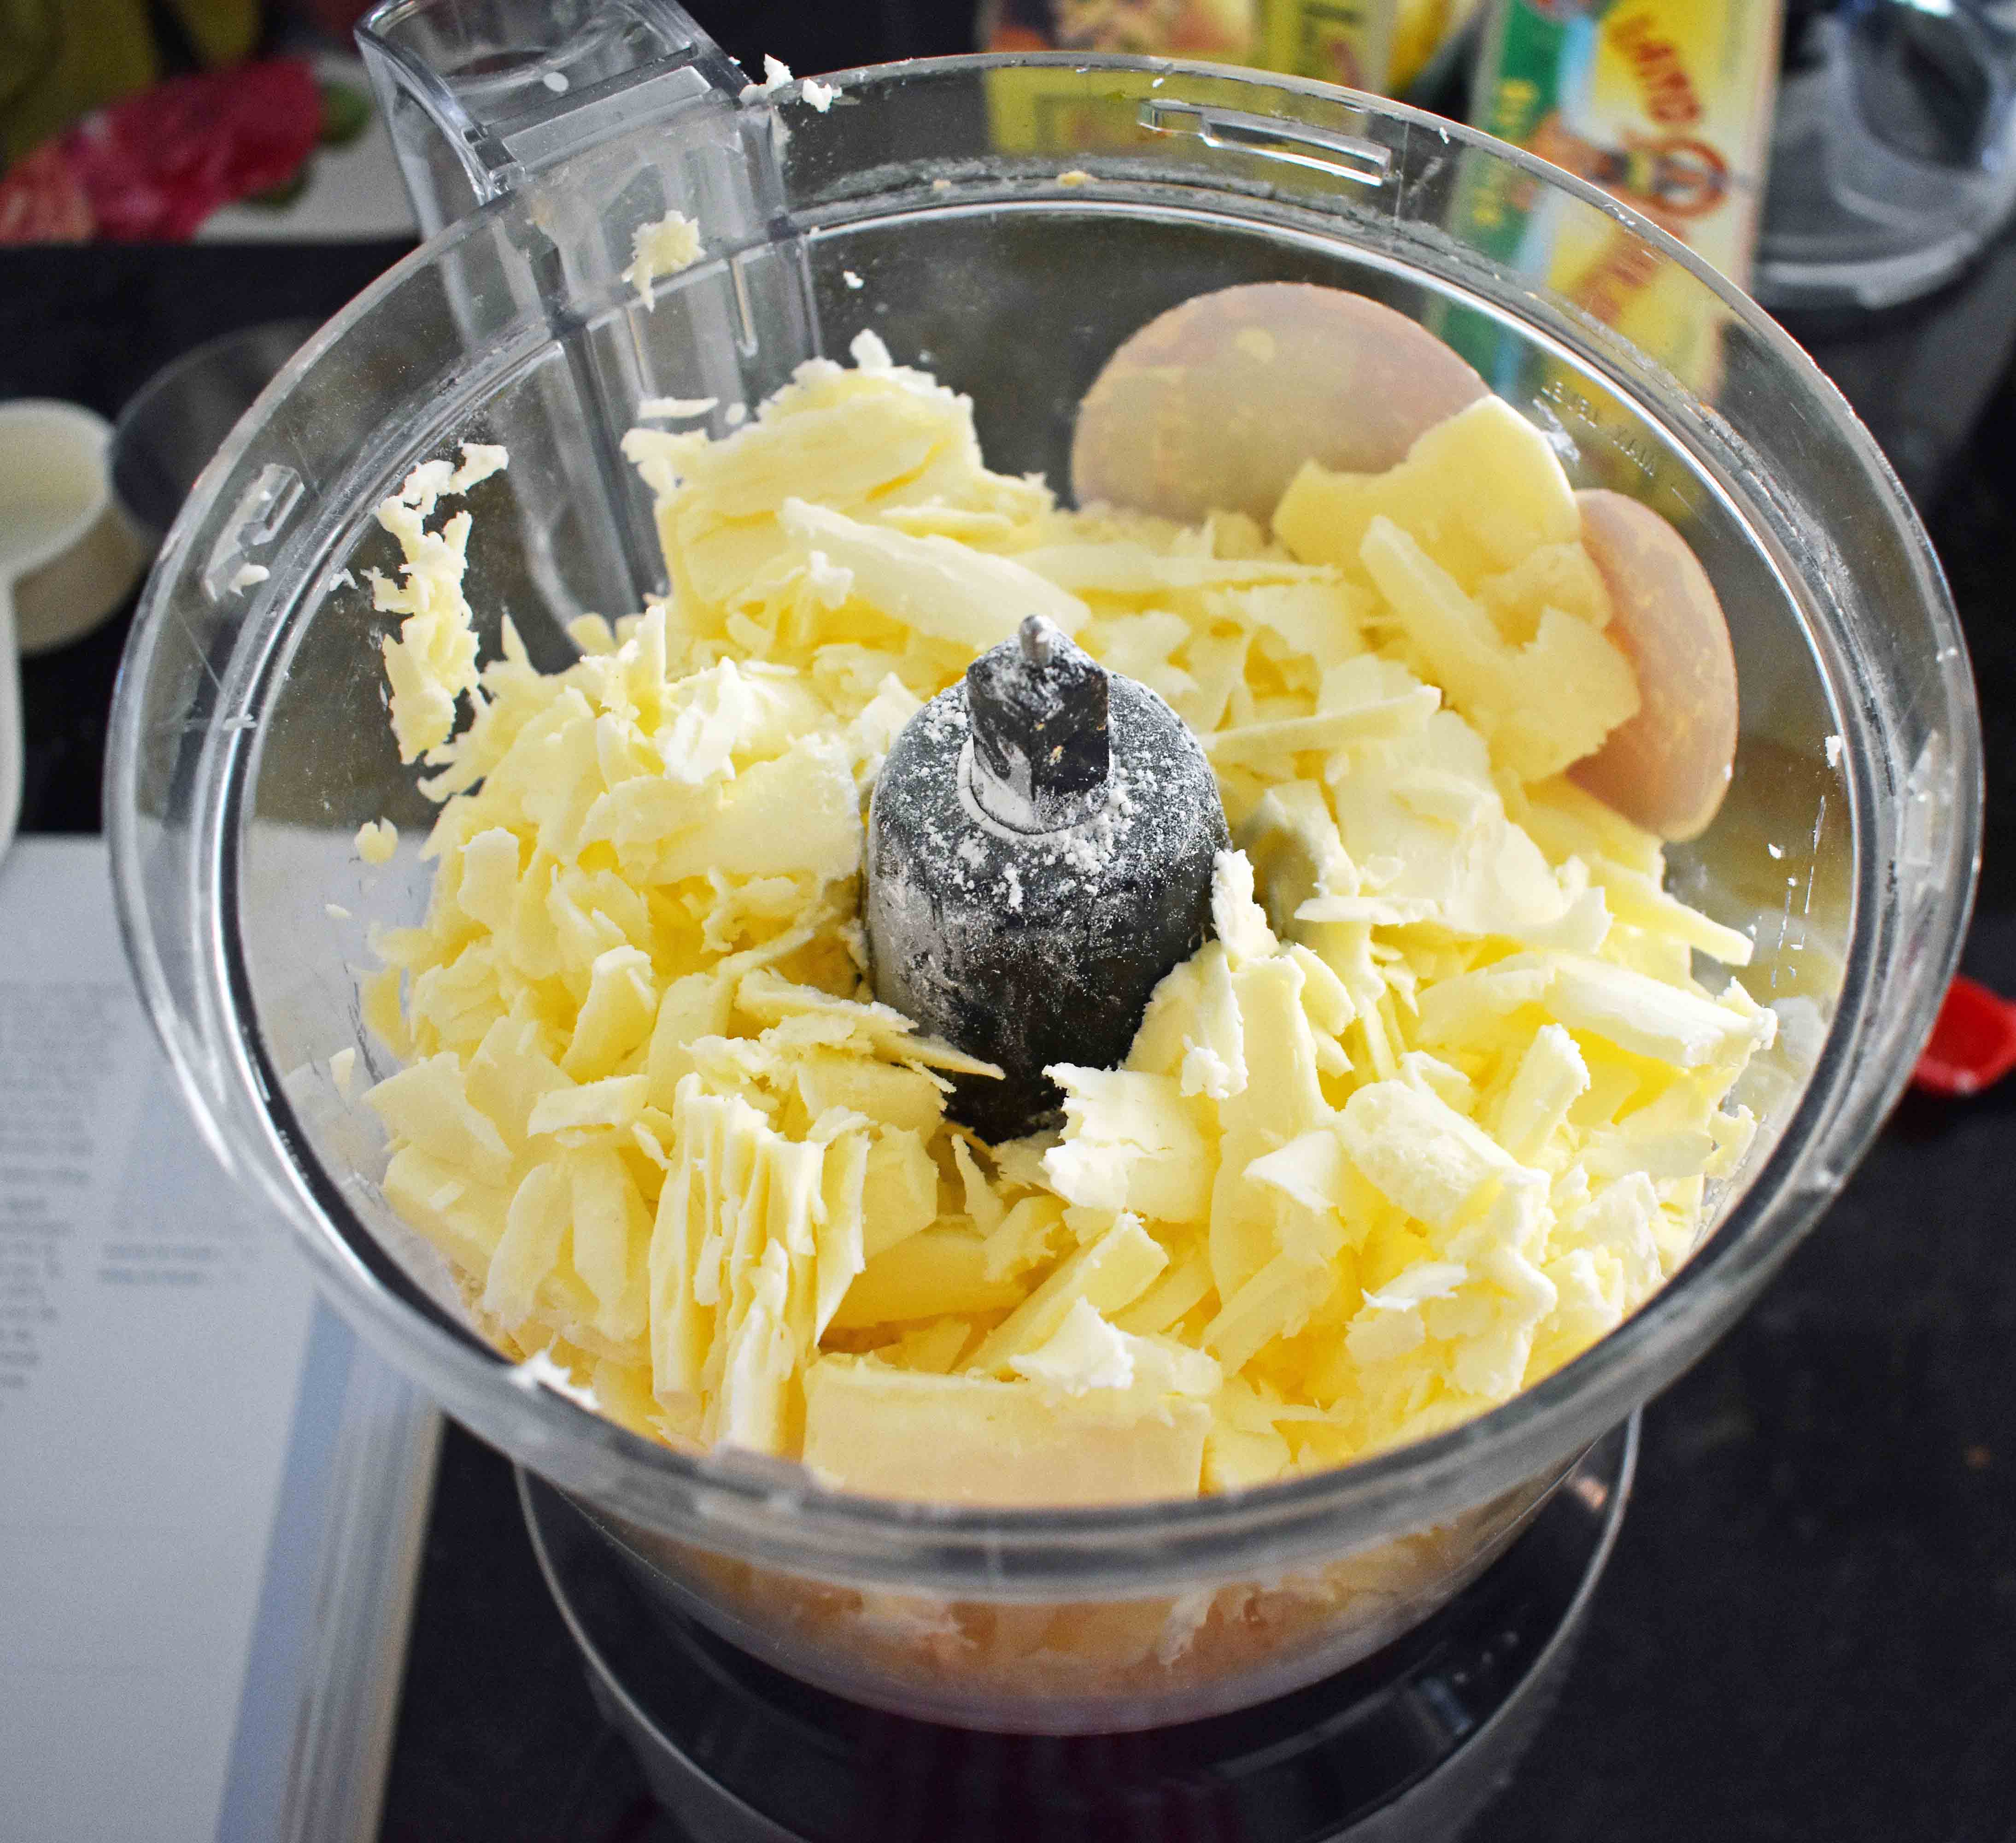
2. Use a Pastry Cutter, a Fork, a Food Processor, or even your hands to cut in butter and flour together. If you want to make the easiest pie crust in the least amount of time, the most time effective method is to use a food processor.
A pastry cutter or fork is old school and works well too. I also found using your hands and squishing the butter with your thumbs into the flour works brilliantly as well. It takes more time, but it sure makes a flaky crust.
If you use a food processor, add flour and salt and then pulse the butter bits until the mixture resembles a coarse meal. You don’t want to overmix it so use the pulse button on the food processor.
3. Add Ice Cold Water or Buttermilk. Fill a bowl or cup with ice cubes and add water. Remove ice cold water from it and add a few tablespoons at a time to the bowl or food processor. My Grandma Faye used milk with a tablespoon of vinegar. You can use that mixture or just cold buttermilk.
4. Use Vinegar to create a more tender pie crust. Use plain white vinegar or apple cider vinegar in your recipe. Both help to minimize the gluten forming in the crust and creates a more tender texture. You don’t need vinegar if you are using buttermilk.
5. Chill the Pie Dough. This is one of the most important steps. After the pie dough is made, wrap it tightly in Saran Wrap and put it in the refrigerator for at least 30 minutes. This helps the gluten strands to relax and it results in a more tender pie crust. I prefer to chill mine for at least 2 hours.
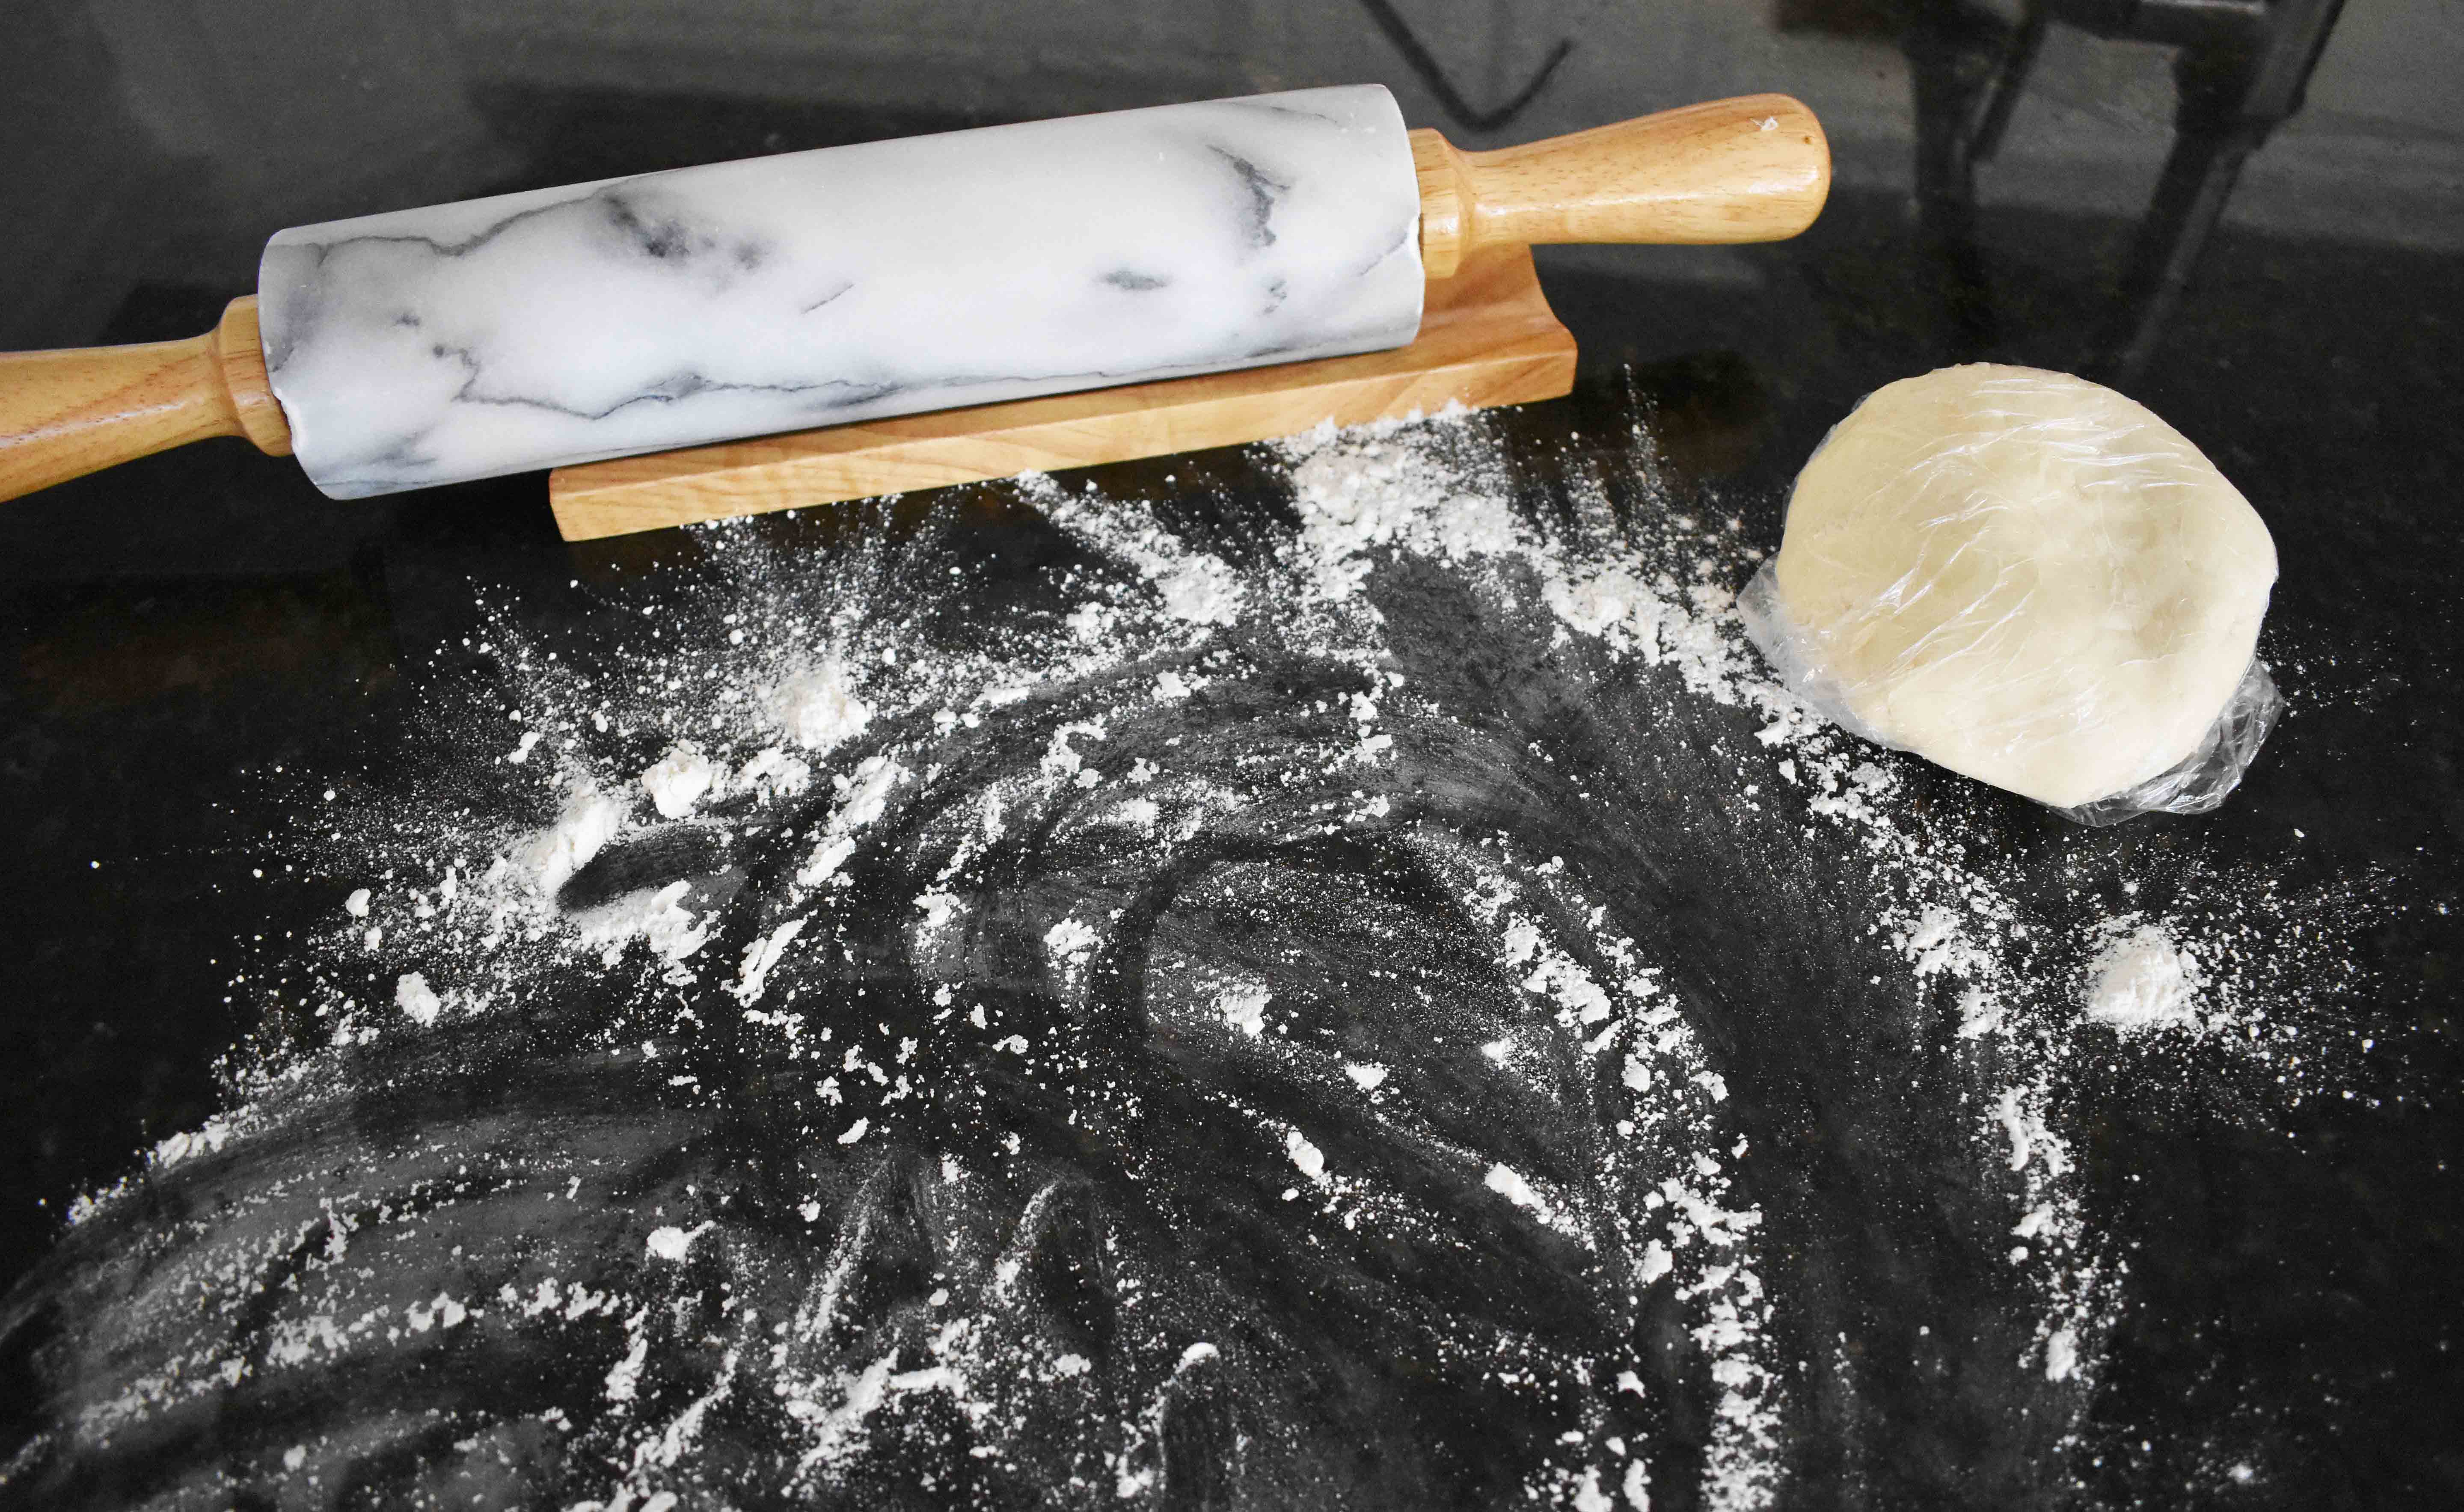
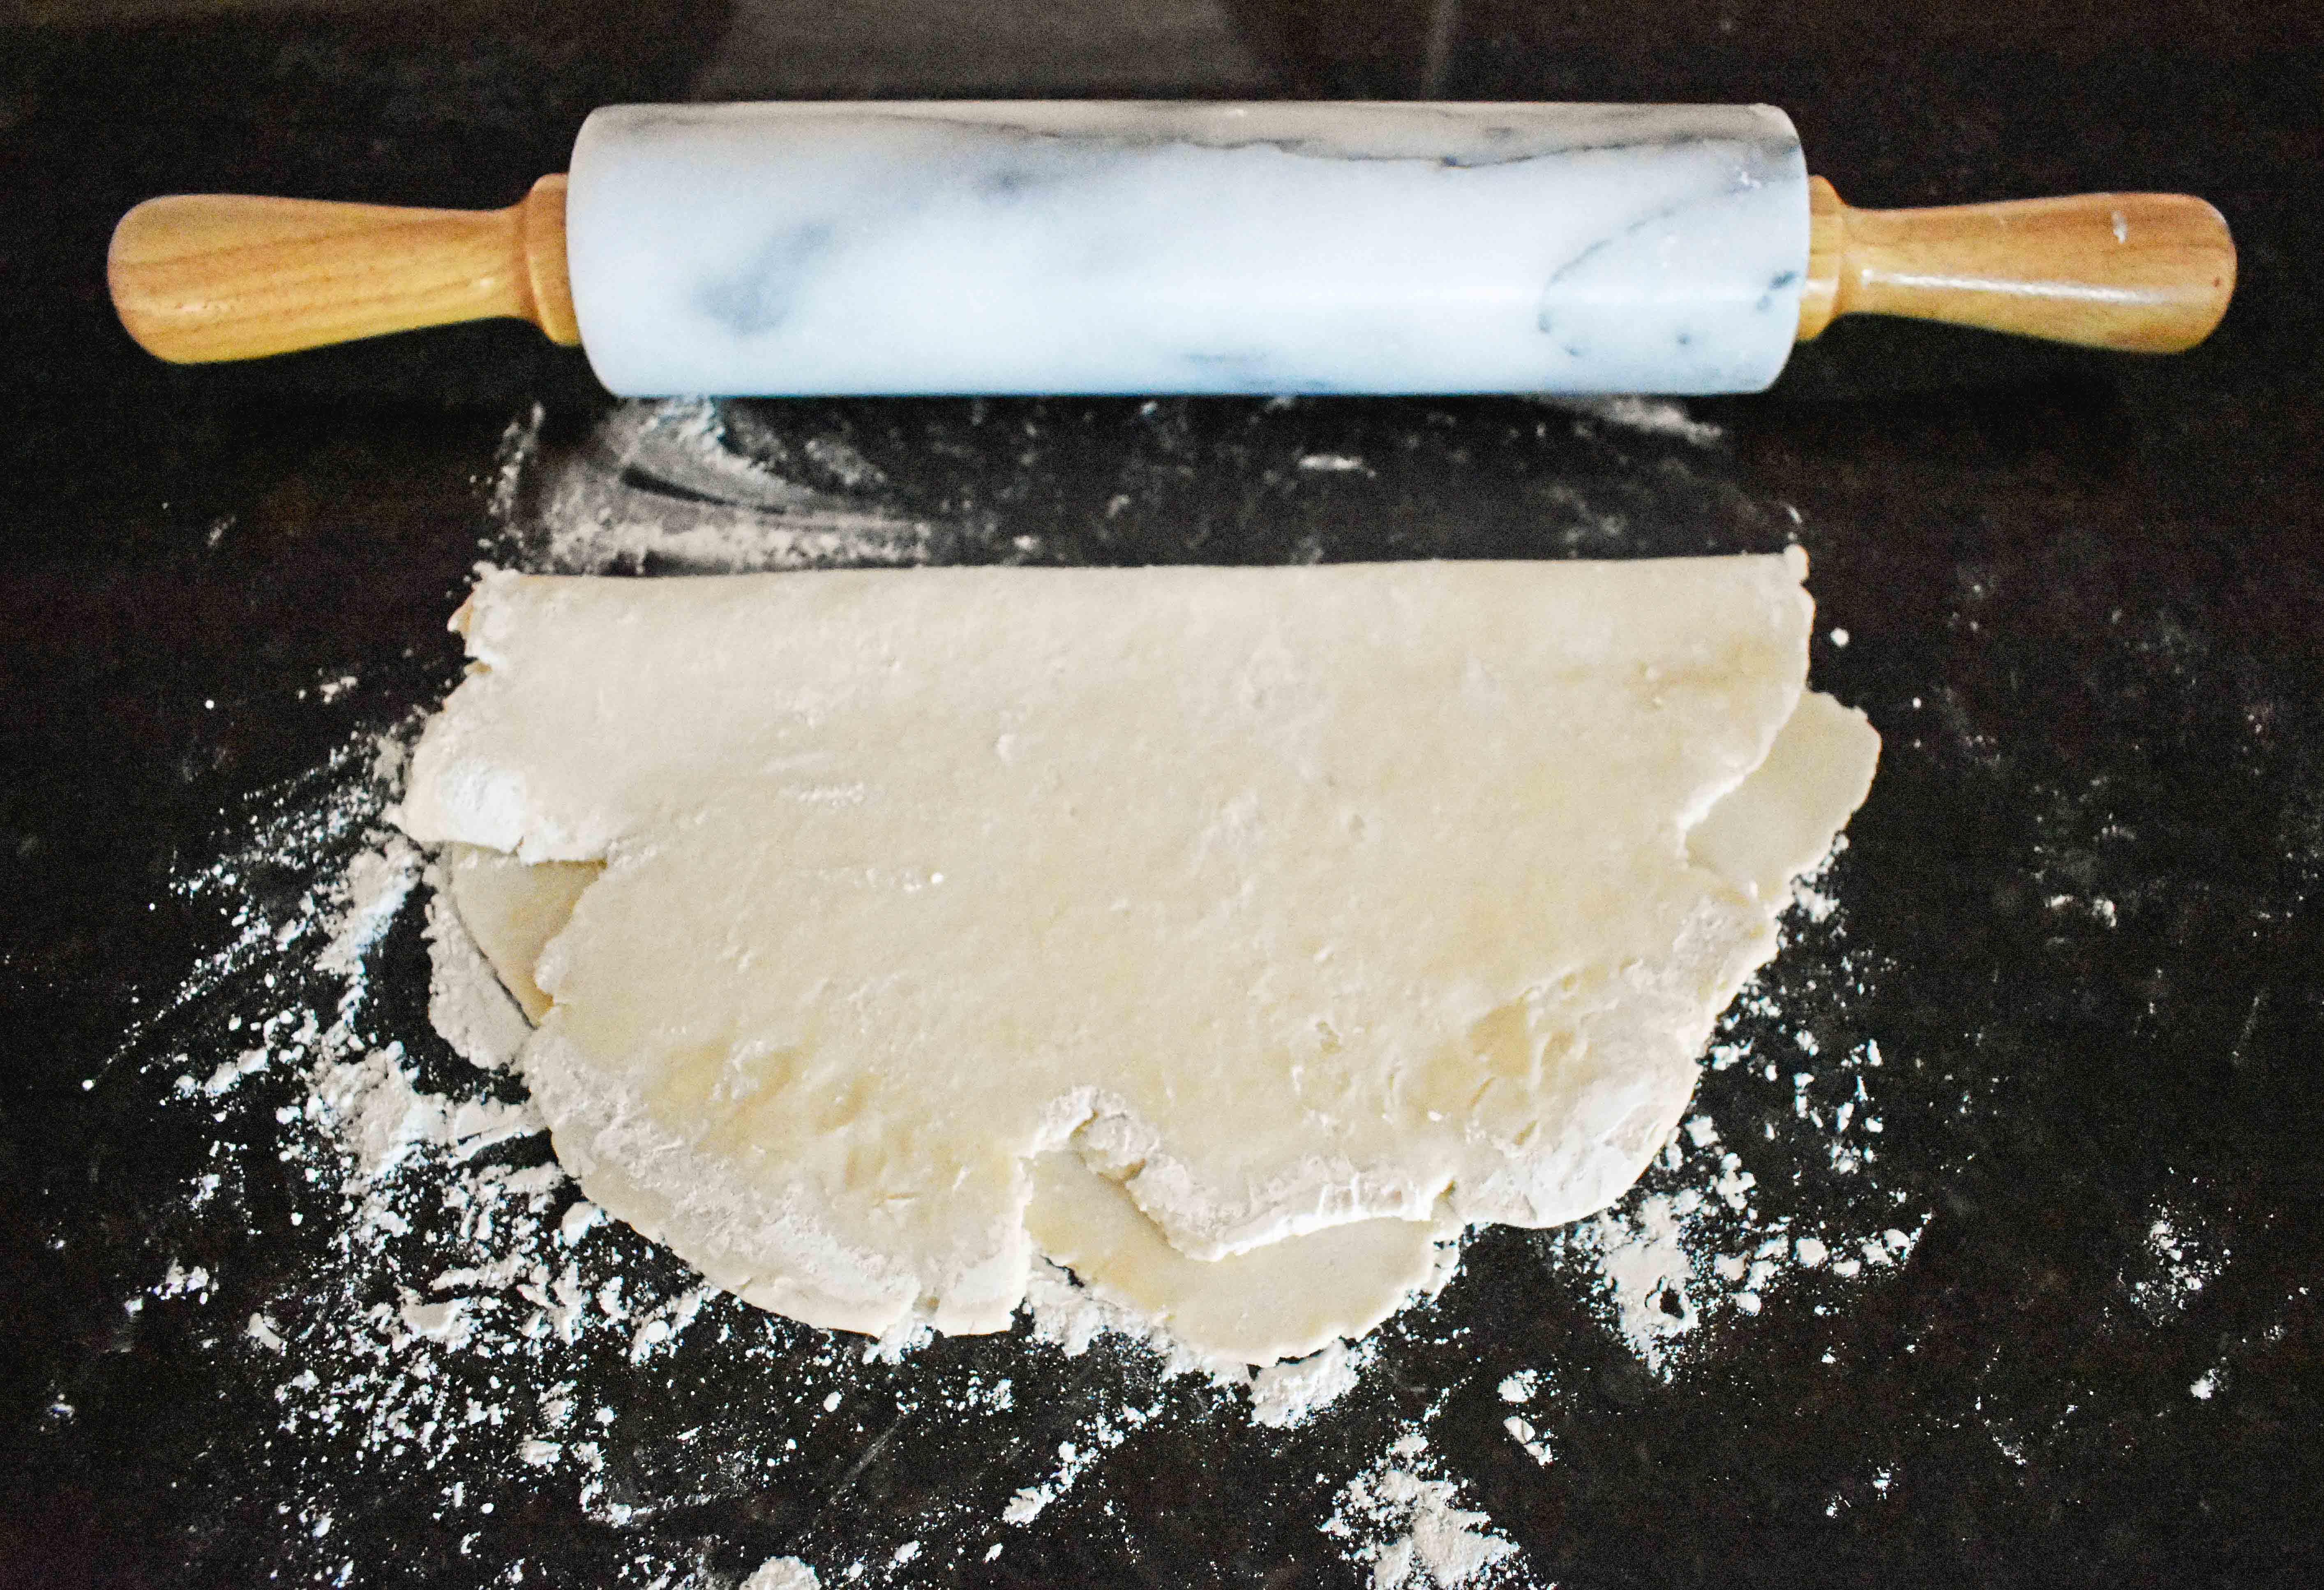
6. Don’t Overwork the Dough. The key is to work the dough quickly and keep it as cold as possible. Turn the dough onto a lightly floured work surface and roll it out, using a rolling pin. Keep the pie tin nearby so you can check the size of the circle. You usually want to roll it to at least a 13 inch diameter circle. I love my marble rolling pin — you can find it .
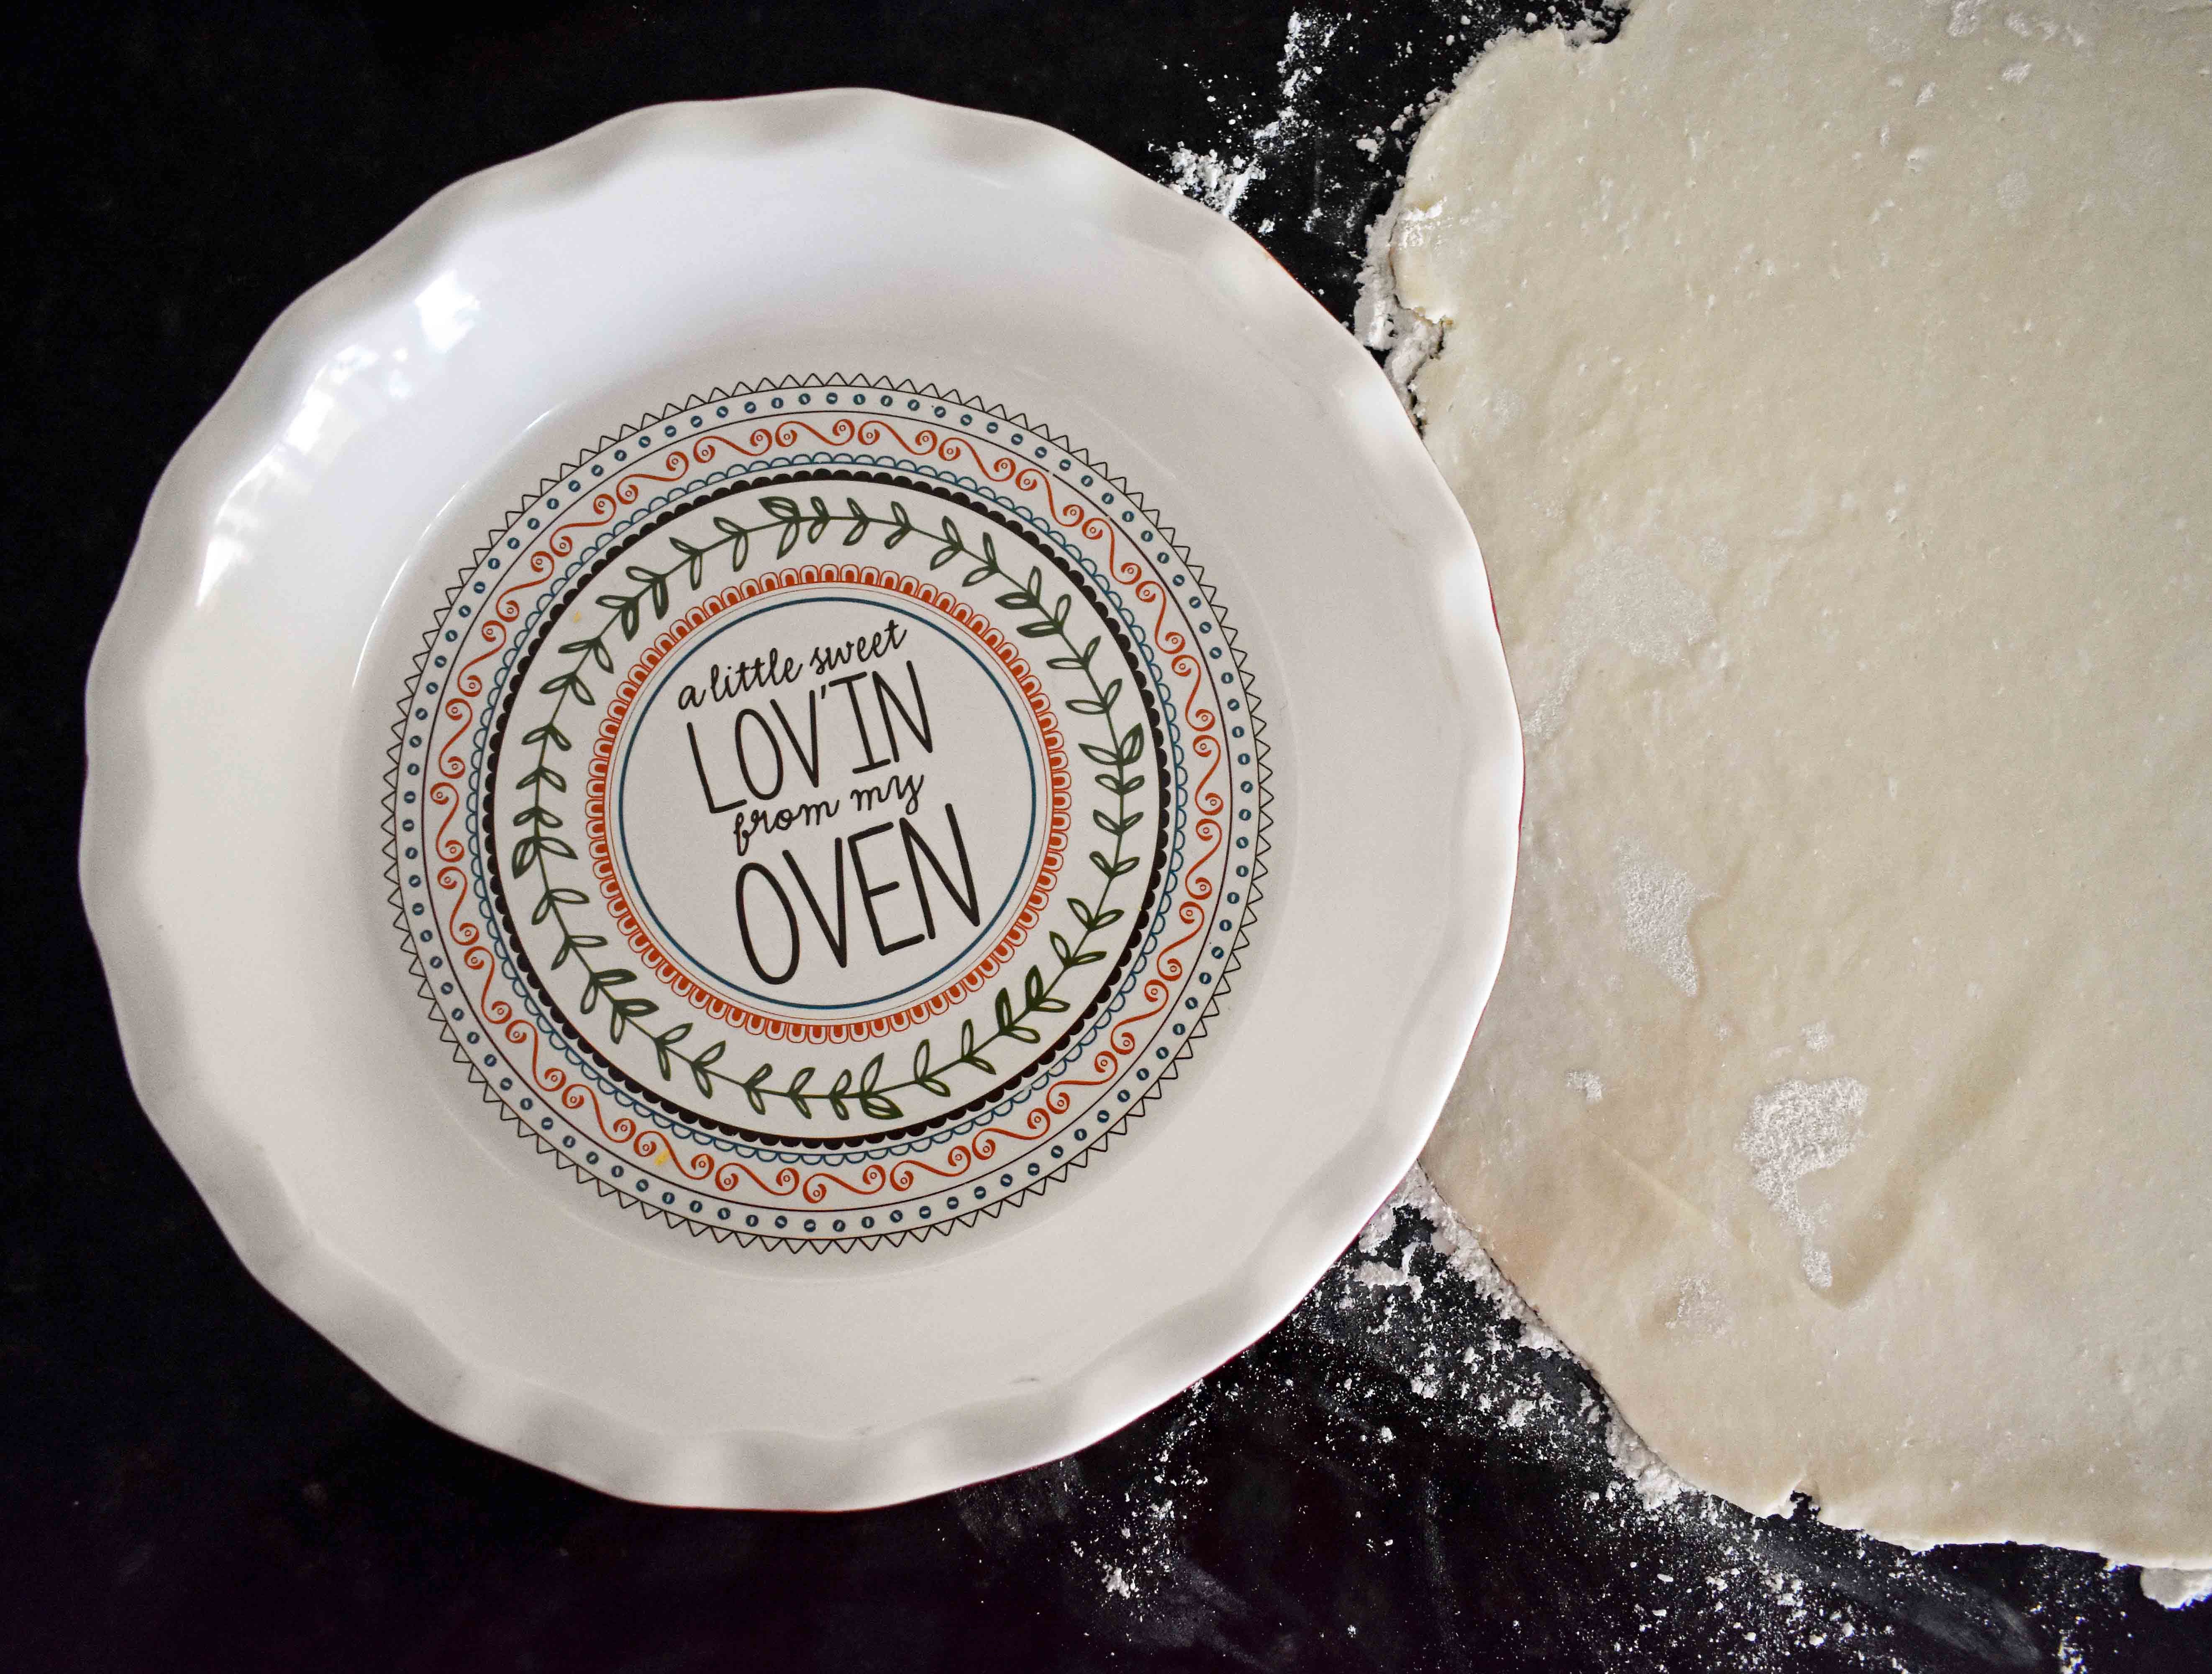
7. Fold the Dough in Half. It’s one of the tips I remember most from my Mom. It can be difficult to transfer such a large circle of dough onto a pie plate, so fold the dough in half. This makes it so much easier. Unfold the dough once it is on the pie plate.
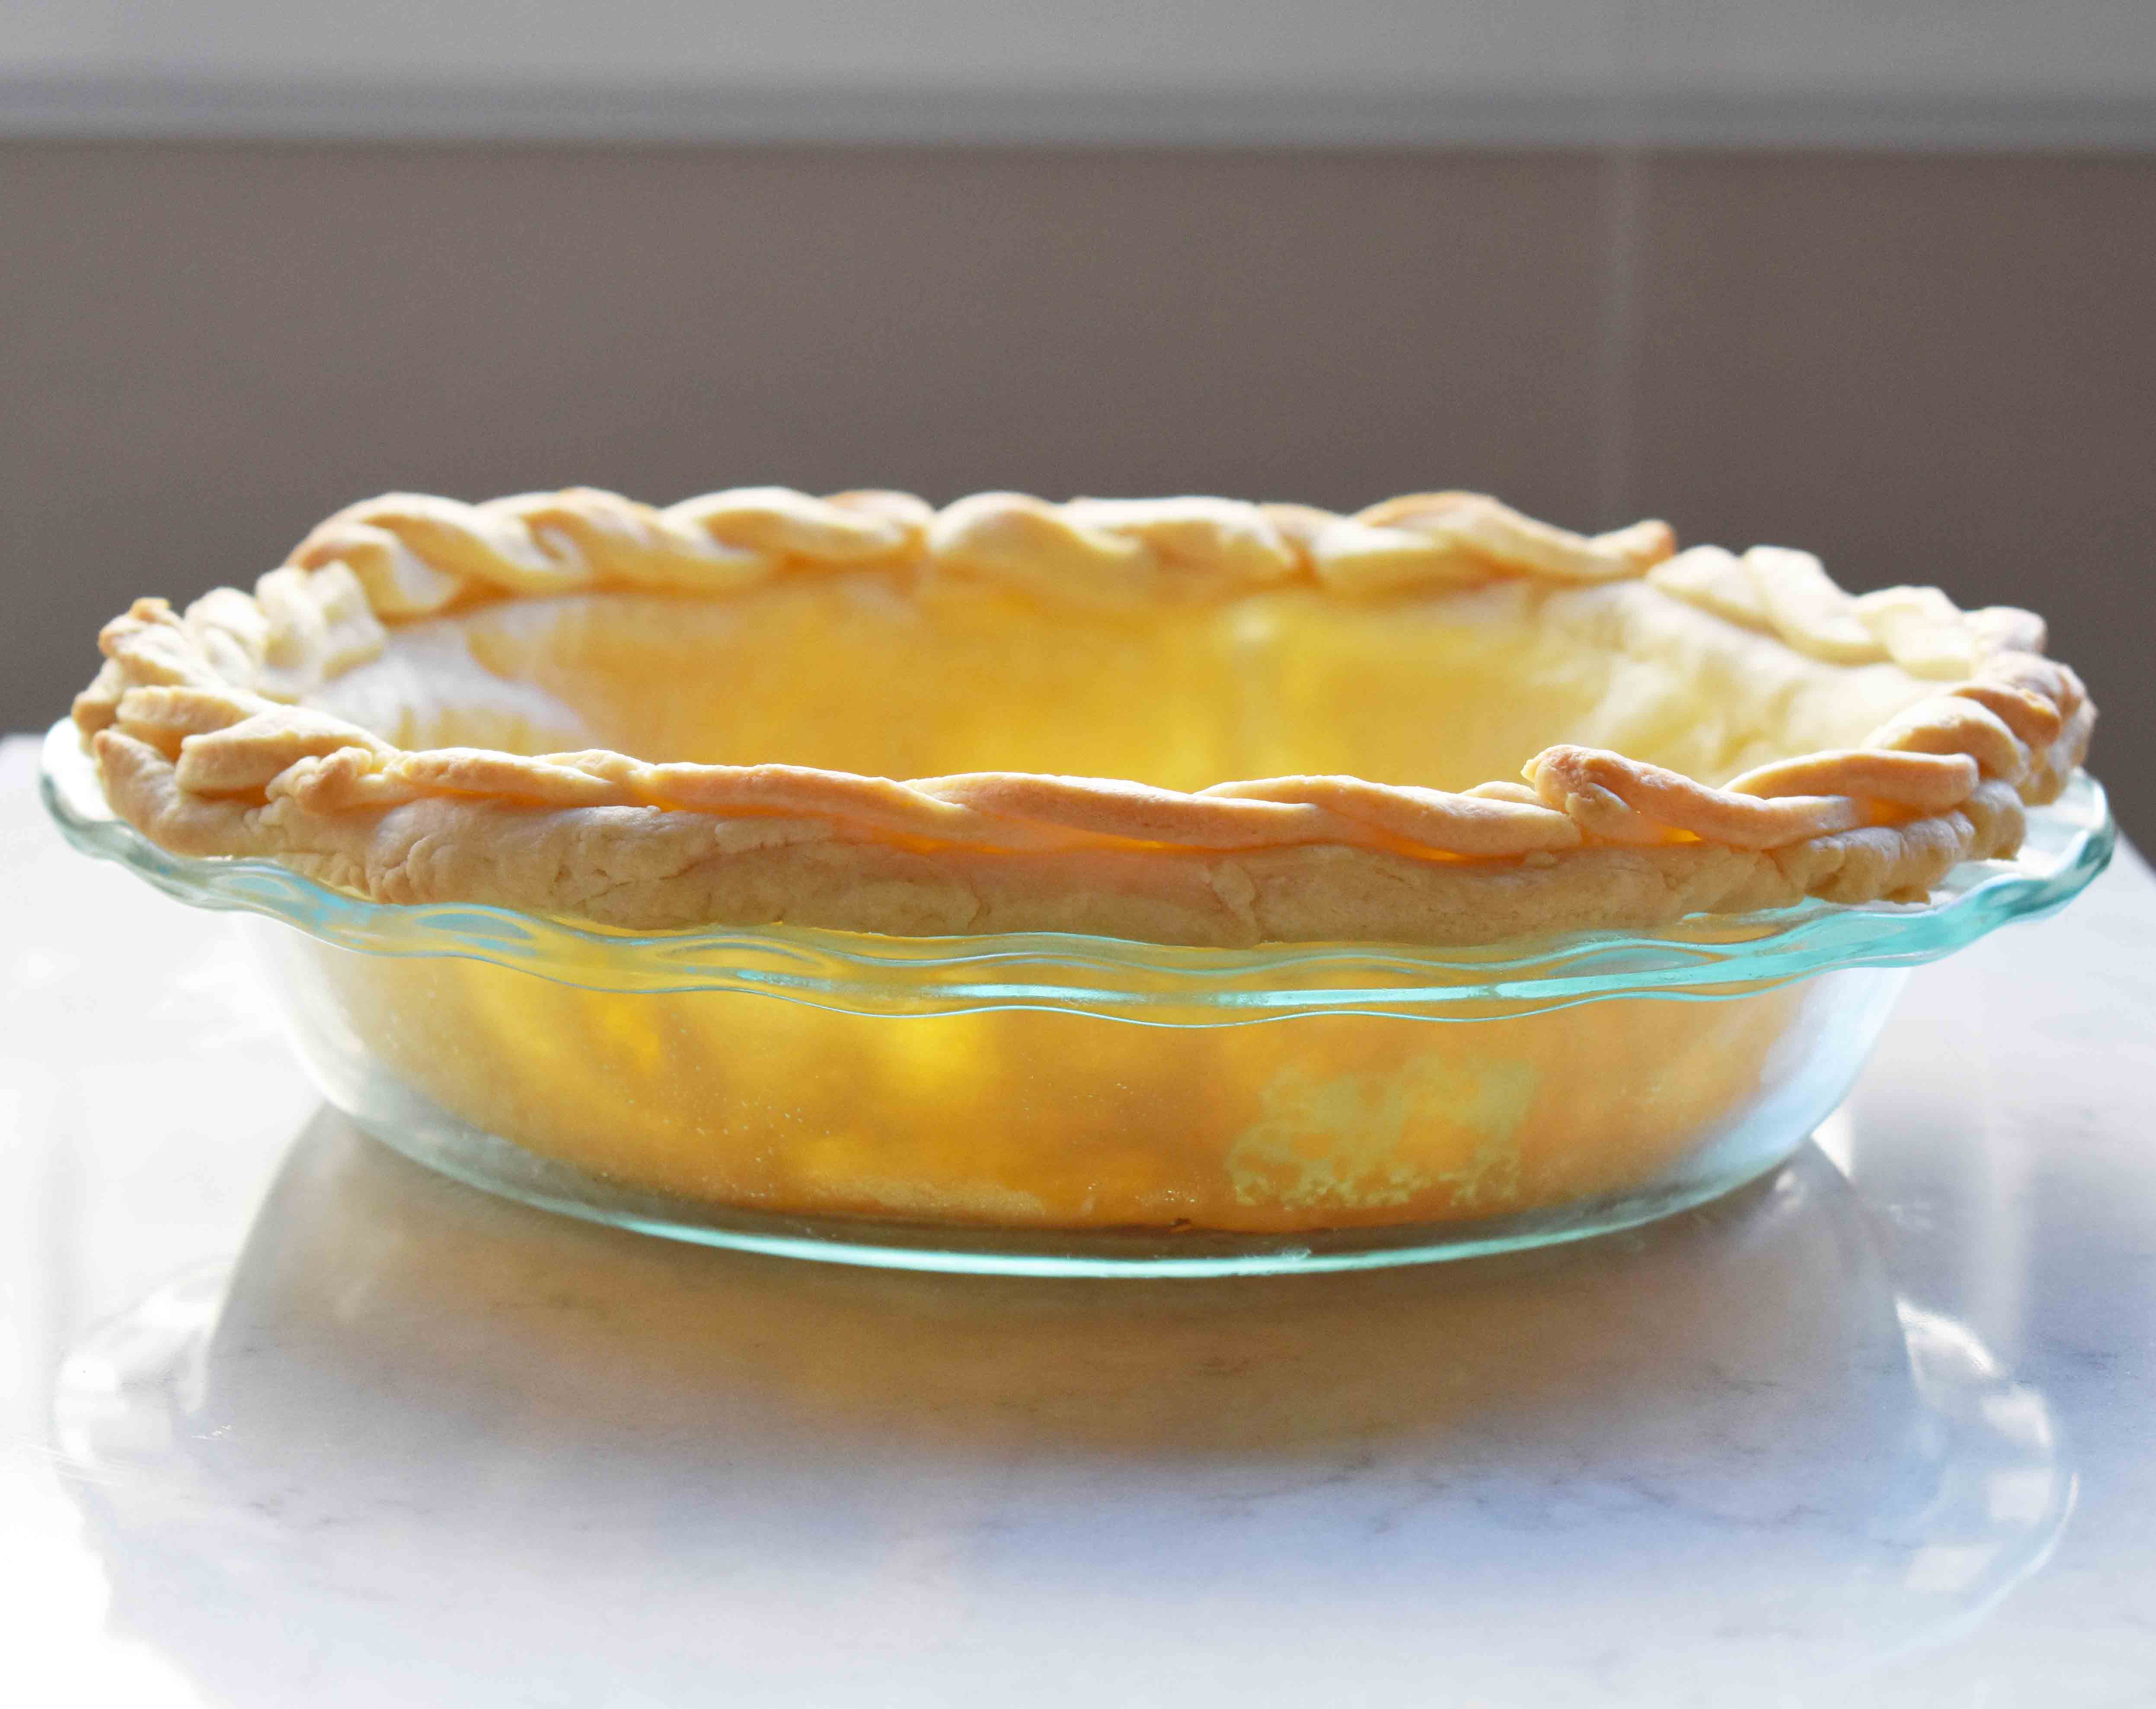
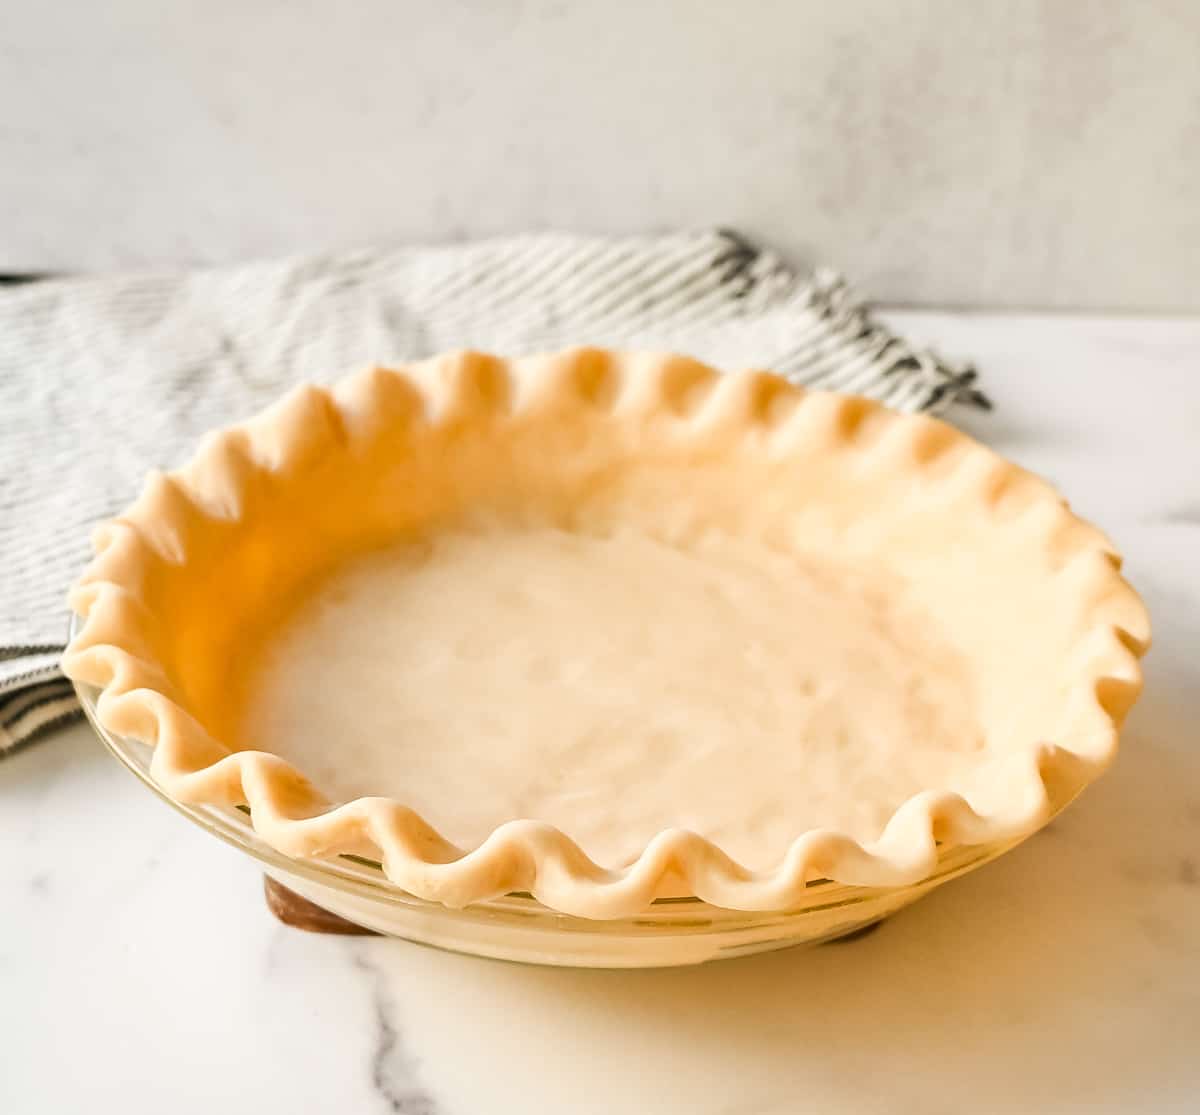
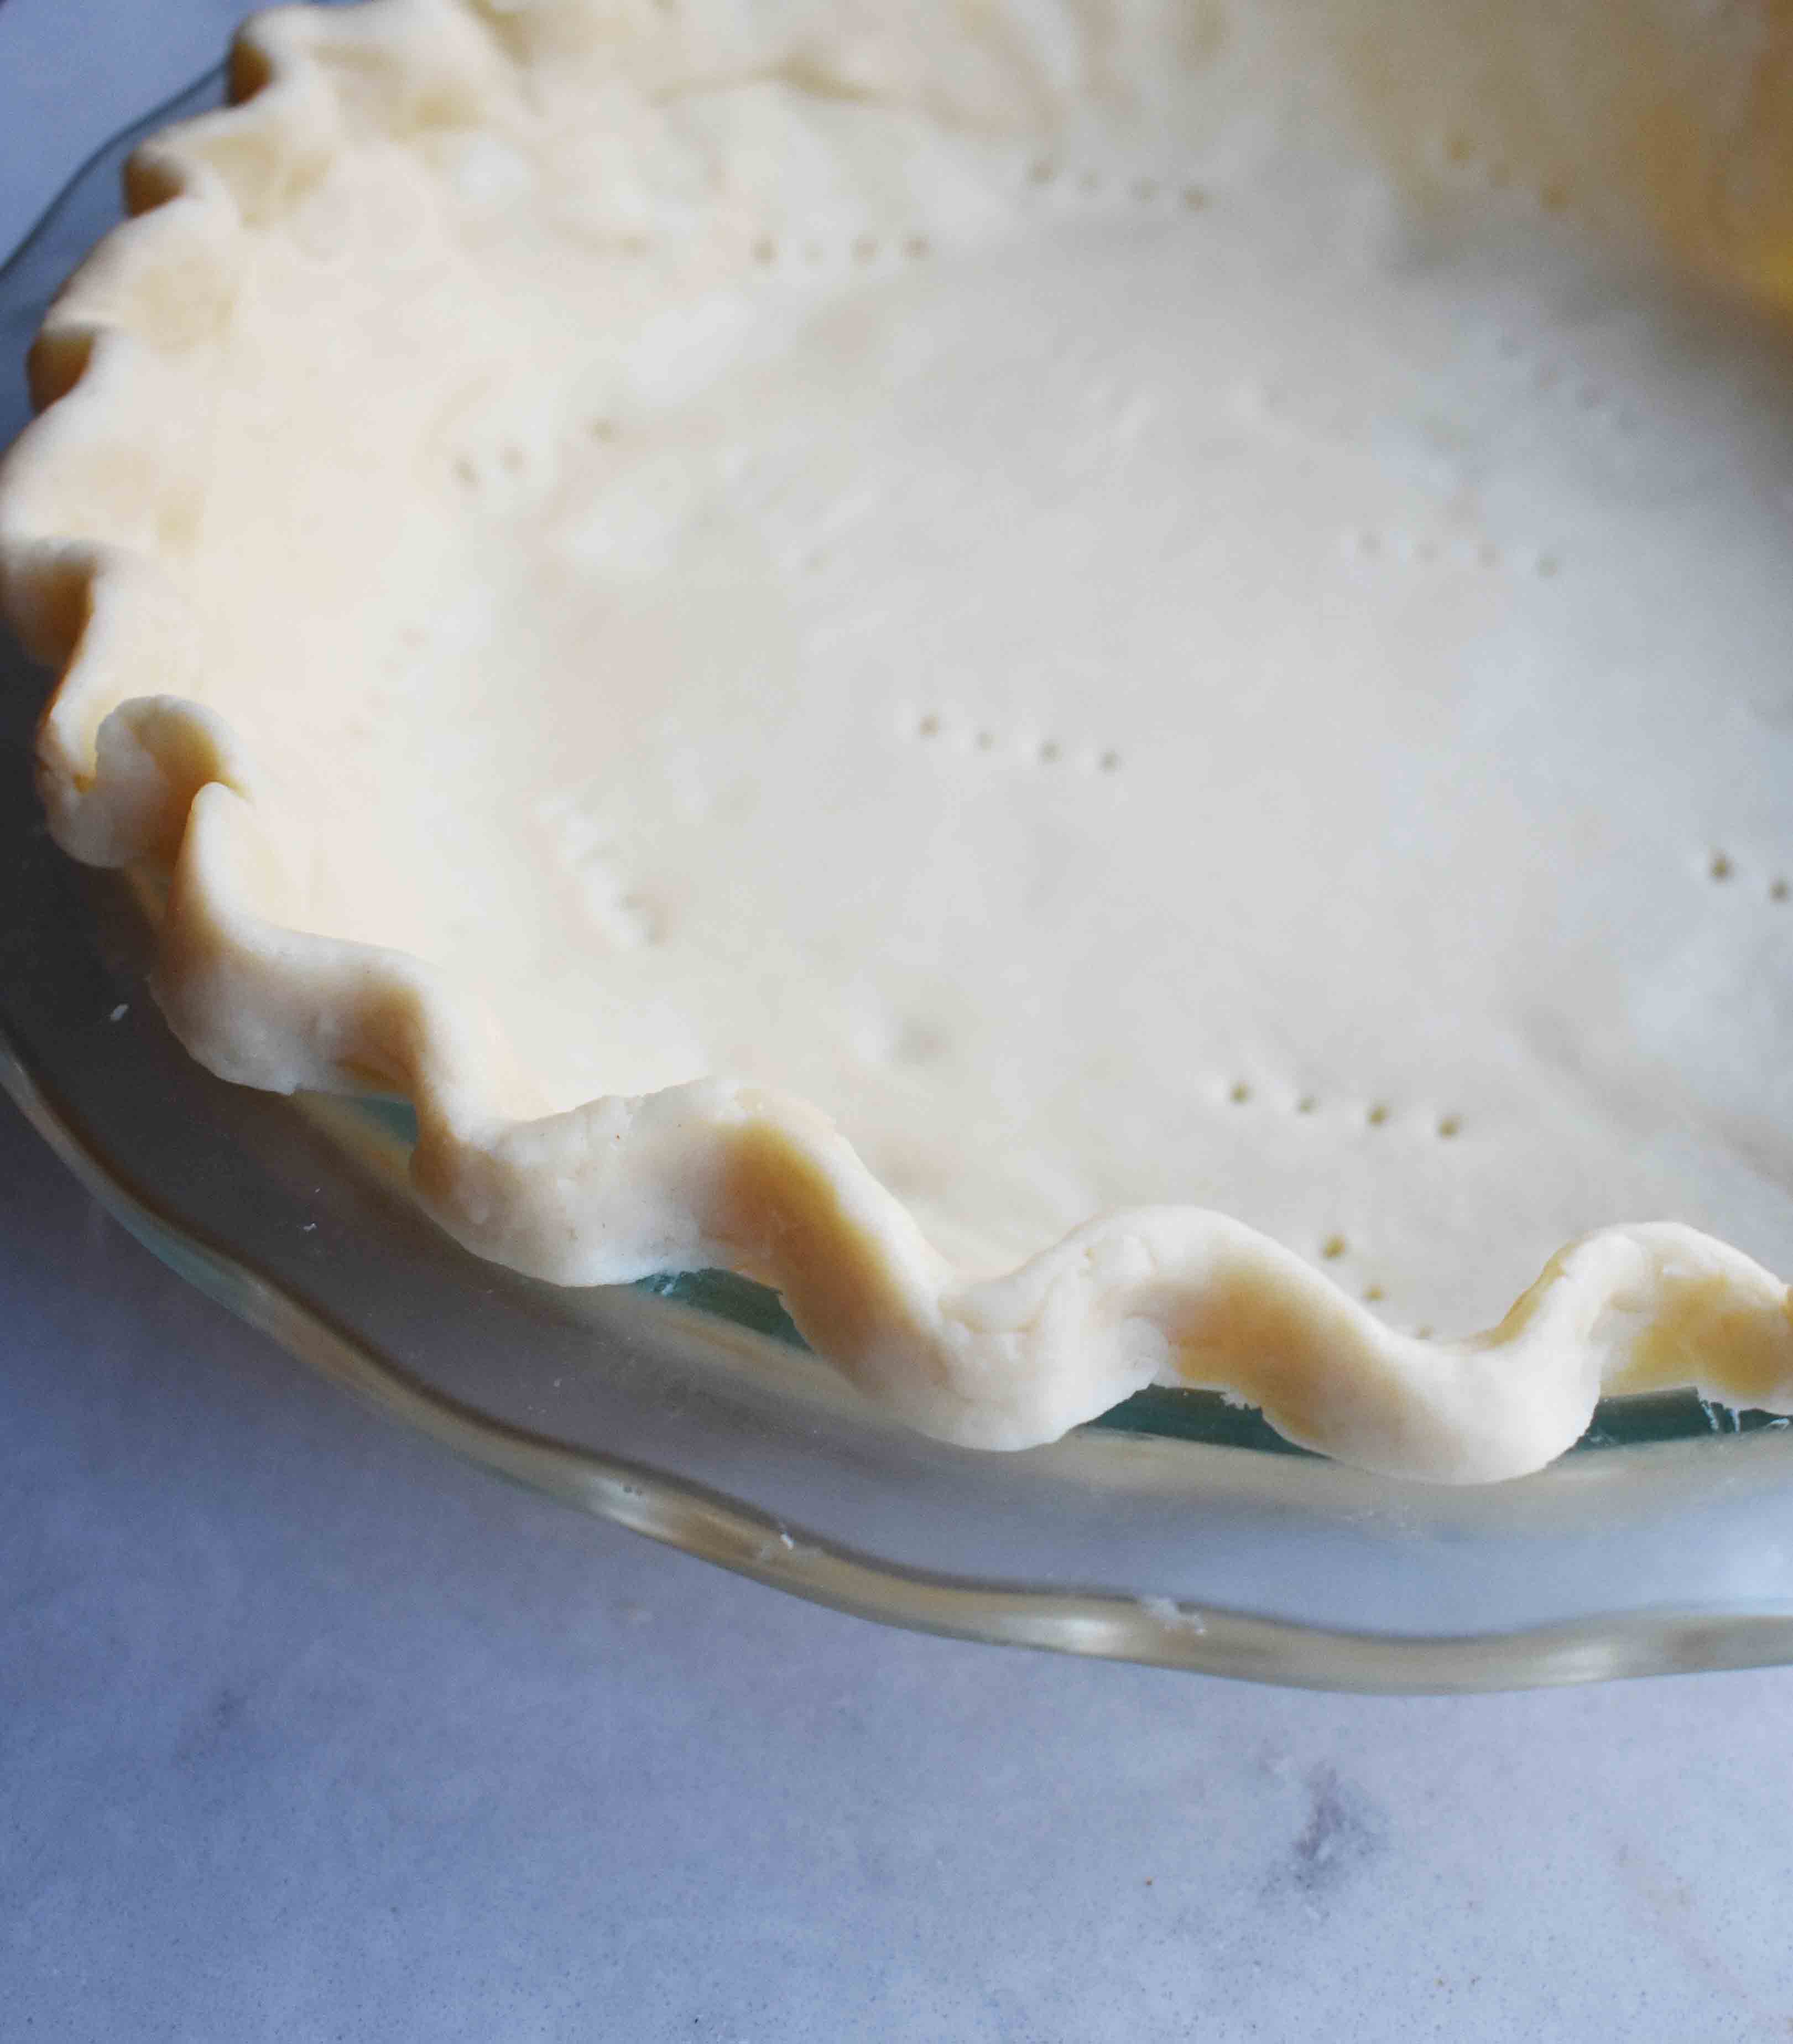
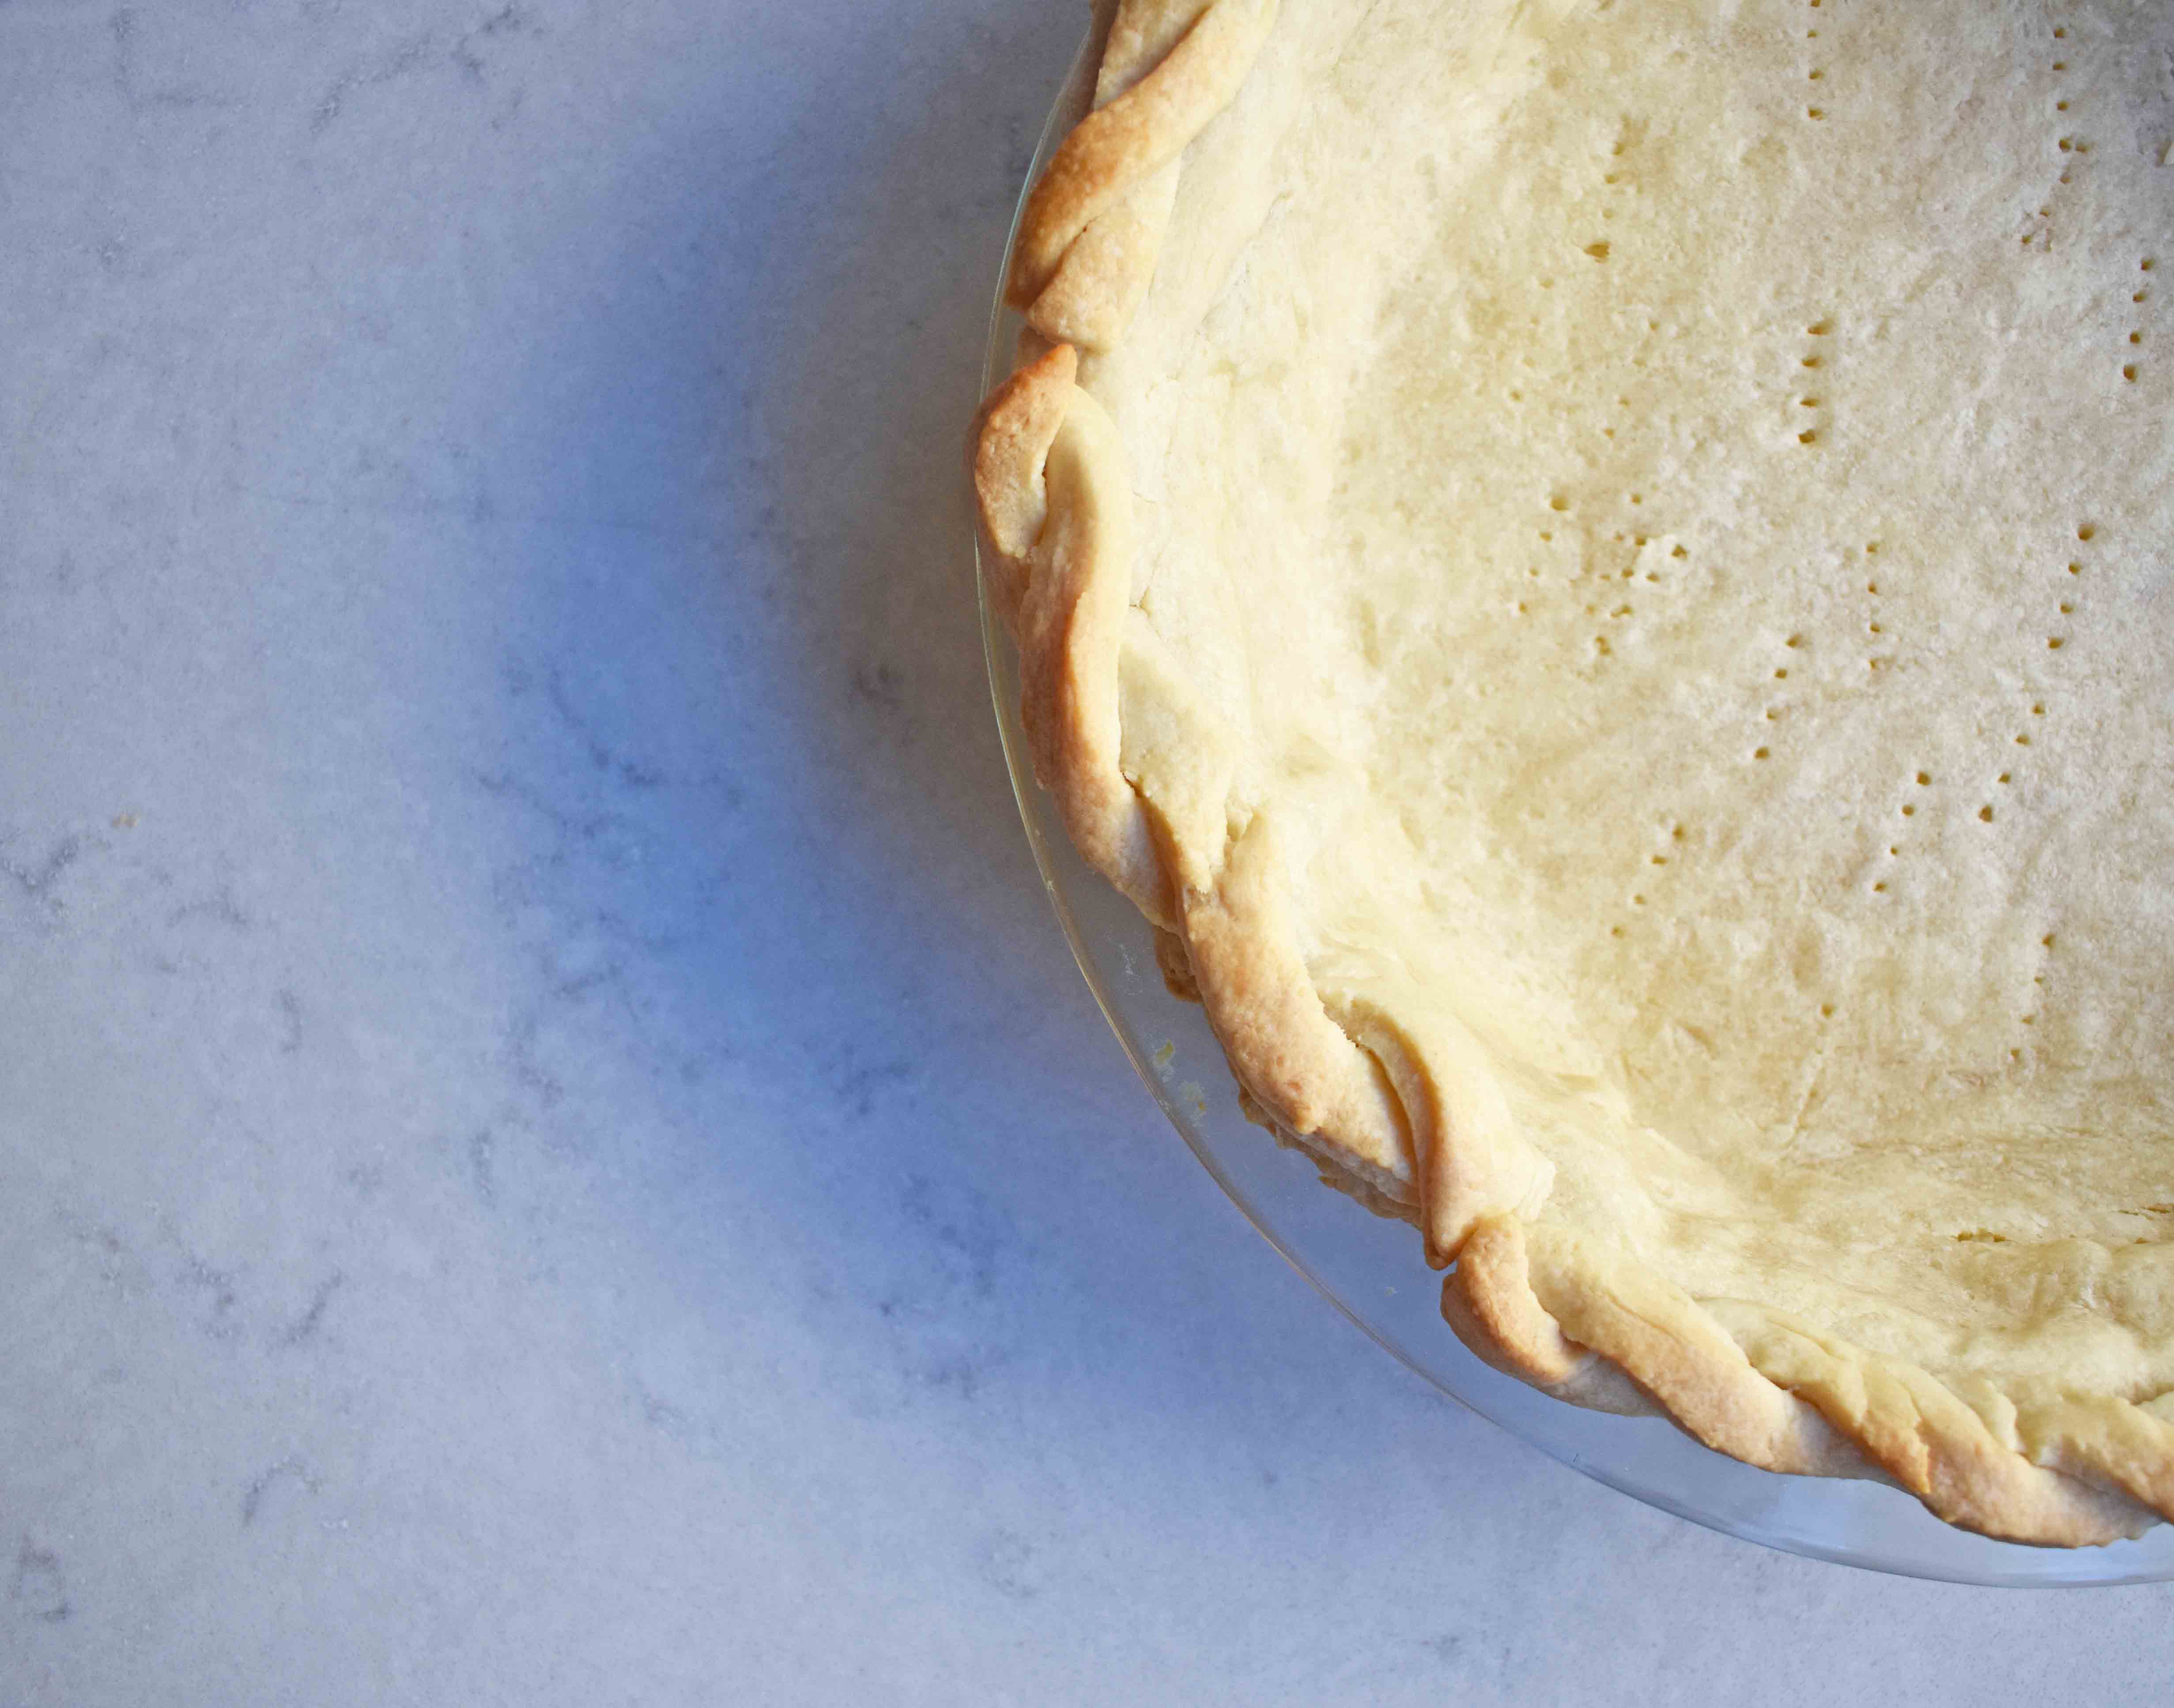
8. Make beautiful designs on the edges. Press the dough against the sides and bottom of pan. Flute the edges by pressing the dough between the index finger and thumb of one hand and using the index finger of the other hand to make the scallop. You can also roll out strips of dough and make a braid to place on top of pie crust.
9. Poke holes using fork along sides and bottom of crust. This will help keep the crust from puffing up while it bakes.
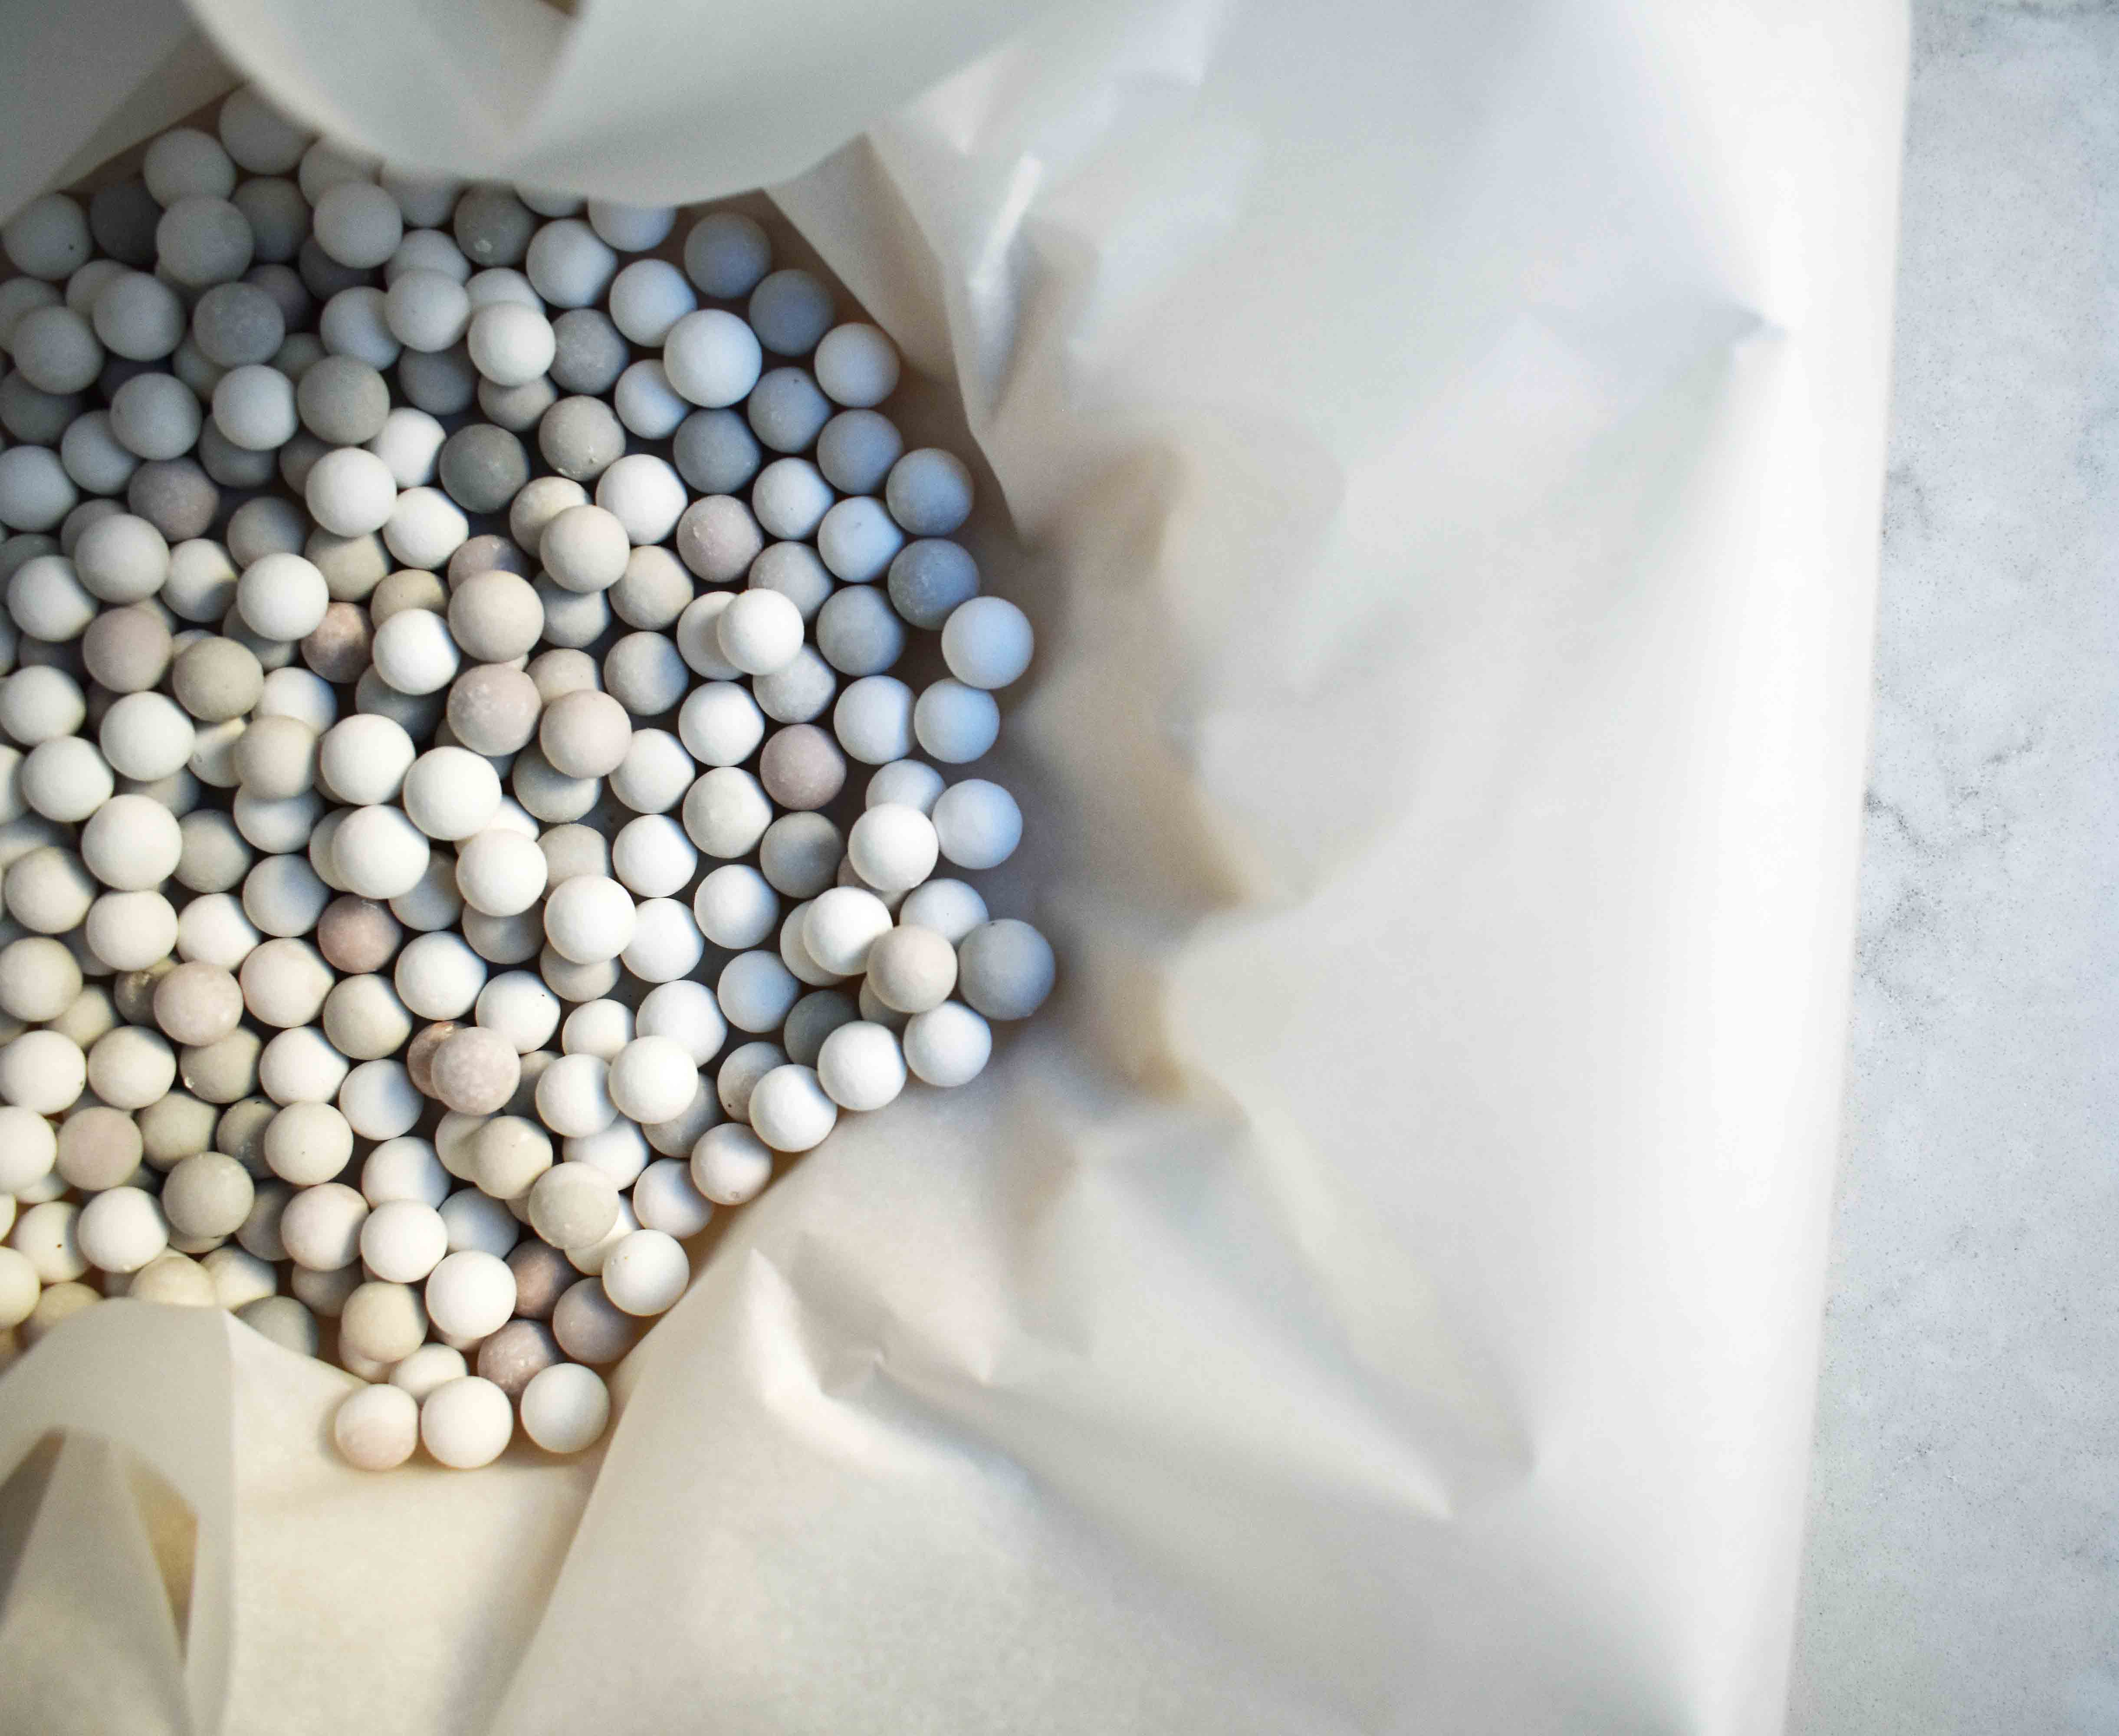
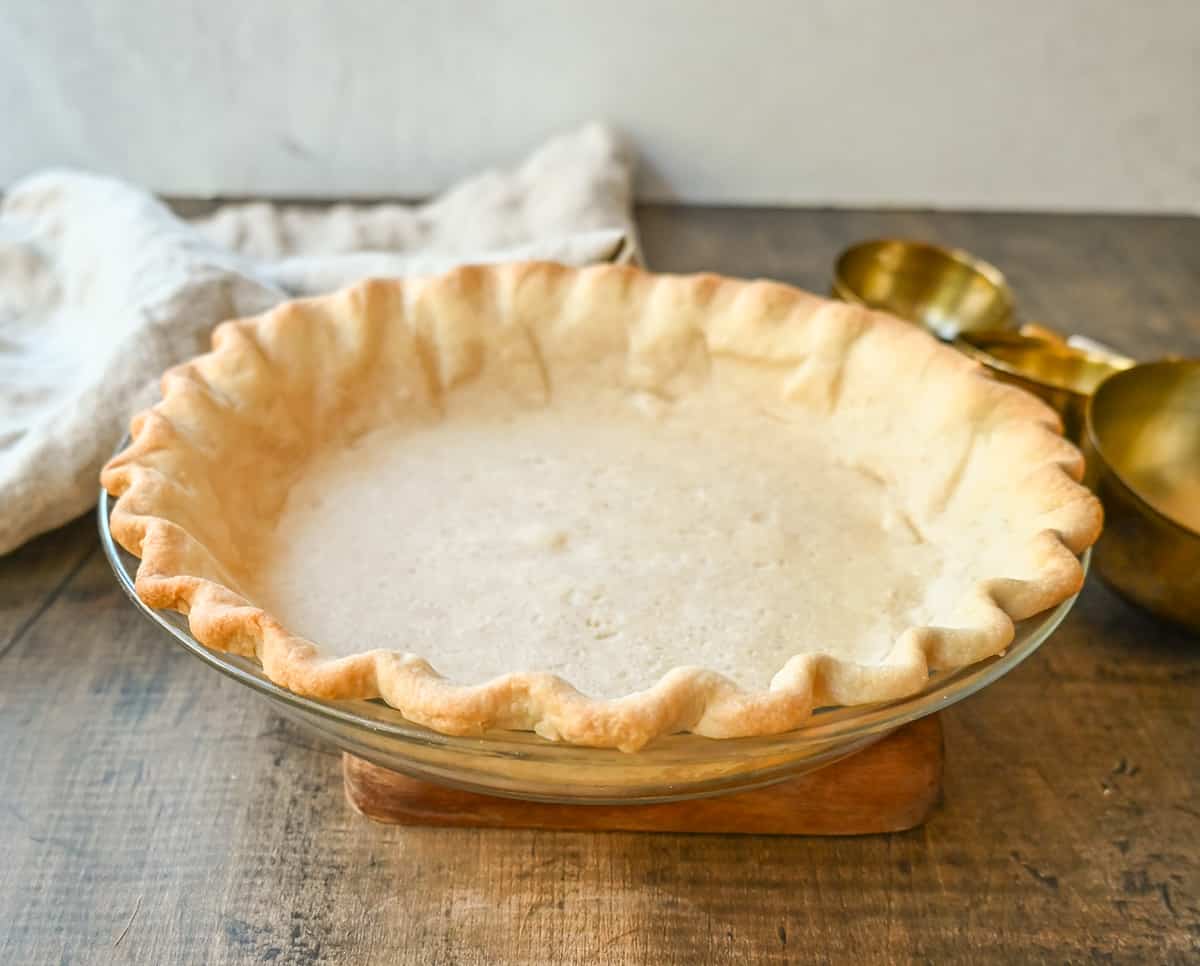
10. Use Pie Weights, Rice, or Beans to keep crust in place. If you are blind baking your crust to be filled later with a cream filling, it is important to keep it in place. Line the crust with foil or parchment paper. Fill it with pie weights, rice, or beans and press against the sides of the crust. I will sometimes double line the crust with parchment paper to ensure that the rice doesn’t somehow get stuck into the dough (learned the hard way on this one). Buy pie weights .
11. Let Dough Chill. Once it is rolled out into the pan, chill again for 20 minutes. This is going to give it time to firm up and get cold so that it stays put against the heat of the oven.
12. Bake at a High Temperature. After the dough has chilled, place it in a hot oven. The hot oven helps the crust keep its shape. The edges will be the first to brown. Avoid this by covering the edges with foil or pie shields, after about 20-25 minutes of baking. The pie shields are essential for making pie! Click for a pie crust shield I recommend.
13. Watch it closely while baking. Butter flaky pie crust can turn golden brown quickly so watch it like a hawk. Let the crust cool completely before adding the filling.
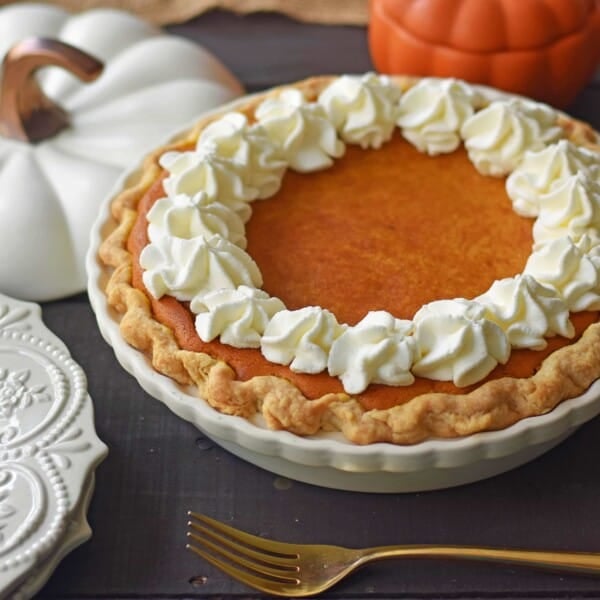
The tender, flaky layers and the rich, buttery flavor will make your homemade pie a true masterpiece.
Variations:
The ingredients in homemade pie crust are quite simple. I suggest using high quality ingredients as they can make a big difference in the quality of the pie crust.
For the liquid in this pie crust recipe, you can use ice cold water (with vinegar), buttermilk, or even milk. If you use milk, I suggest adding vinegar as well.
Use COLD ingredients!
For the flakiest pie crust, start with cold butter and use ice cold water or cold buttermilk.
Can you make this butter pie crust ahead of time?
Yes! You can make the pie dough up to 2 days ahead of time and keep it in the refrigerator.
If you are pre-baking your pie crust for cream filled pies, you can bake the pie crust up to two days ahead of time. Just keep covered at room temperature until ready to fill.
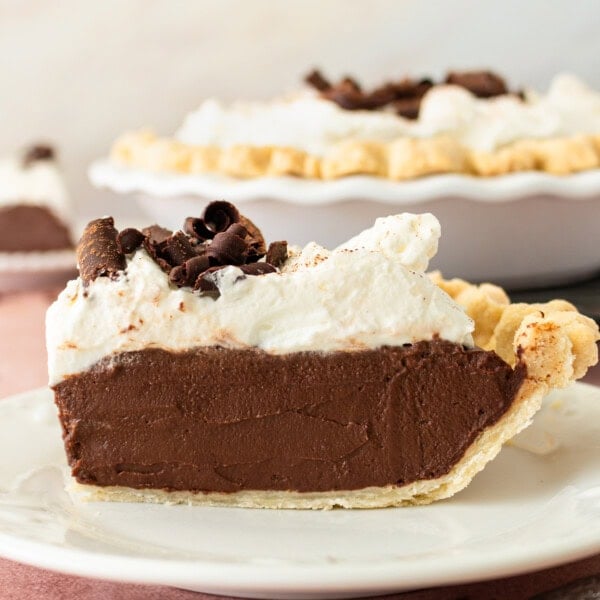
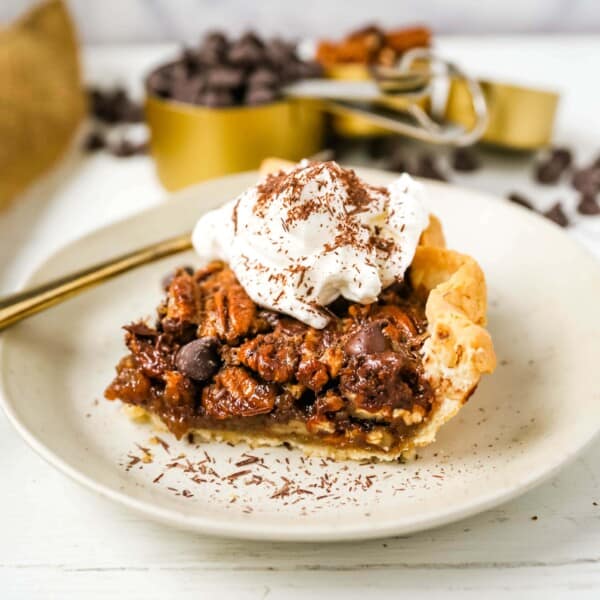
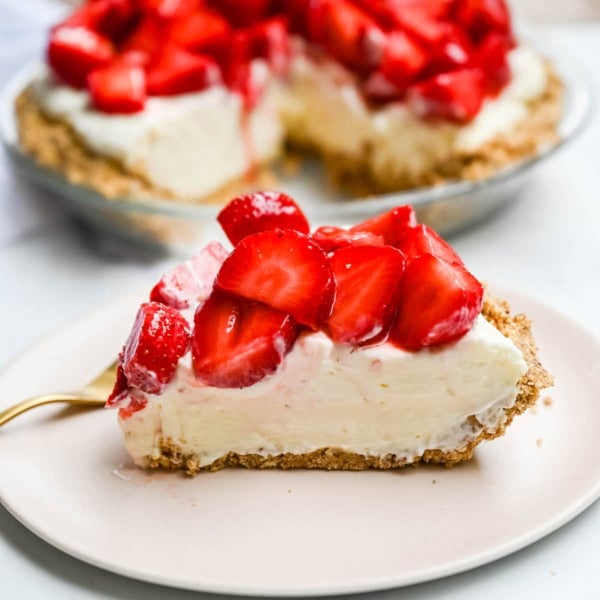
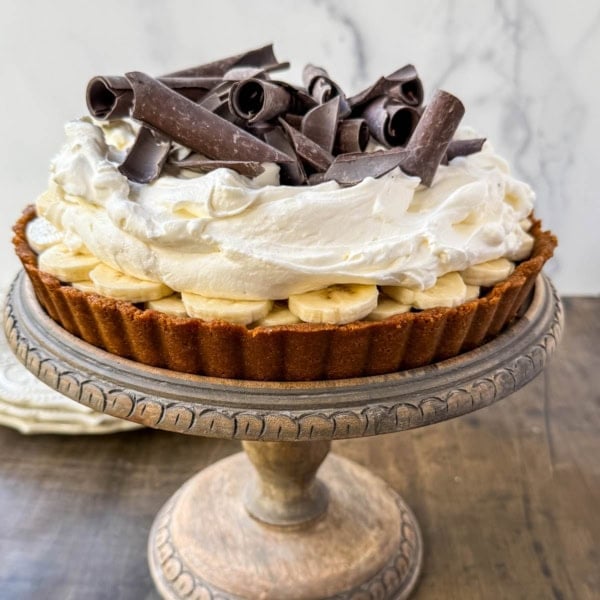
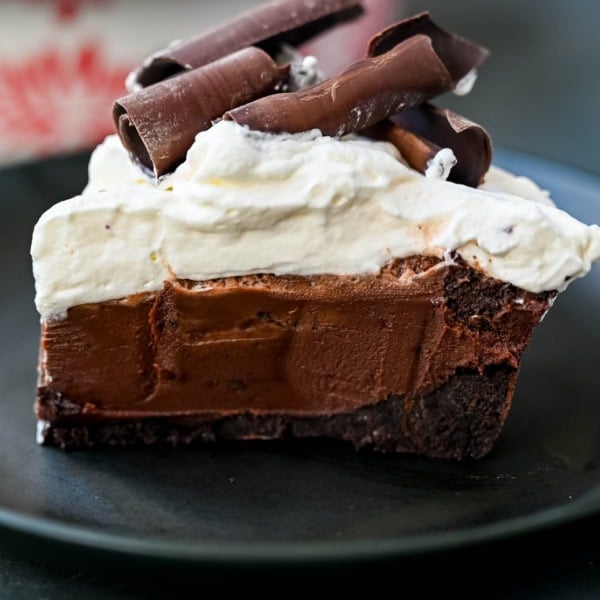
Popular Pie Recipes:
Pin this now to find it later
Pin It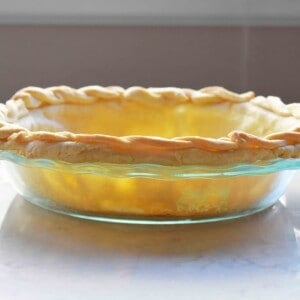
All Butter Flaky Pie Crust
Equipment
- food processor
- measuring cups and spoons
- mixing bowl set
- emile henry pie dish
Ingredients
For Double-Crust Pie:
- 1 cup Cold Butter (2 sticks, sliced into small pieces)
- 2 1/2 cups Flour
- 1 teaspoon Salt
- 1/4 – 1/2 cup Ice Cold Water (or Buttermilk or Milk/Vinegar Mixture)
- 1 teaspoon Vinegar
For Single-Crust Pie:
- 1/2 cup Cold Butter (1 stick, sliced into small pieces)
- 1 1/4 cups Flour
- 1/2 teaspoon Salt
- 2 Tablespoons – 1/4 cup Ice Cold Water (or Buttermilk or Milk/Vinegar Mixture)
- 1/2 teaspoon Vinegar
Instructions
- Stir together flour and salt. Slice cold butter into tiny shreds (I store my butter in the freezer) and add to bowl or food processor. Pulse until coarse meal or small peas form.
- Slowly add ice cold water, 1-2 tablespoons at a time to butter-flour mixture. Add vinegar and pulse until it starts to form together.
- Press dough into a ball. Pat each ball into a disk, tightly wrap in Saran Wrap and let it chill in refrigerator for at least 30 minutes. 2 hours is preferred.
- Unwrap the dough, turn the dough onto a lightly floured work surface and roll it out, using a rolling pin. Don’t overwork the dough. The key is to work quickly to keep the dough as cold as possible. Keep the pie tin nearby so you can check the size of the circle. Roll it to at least a 13-inch diameter circle.
- Fold the dough in half and gently lift and position it over the pie pan. Unfold.
- Press the dough against the sides and bottom of a pan. Flute the edges by pressing the dough between the index finger and thumb of one hand and using the index finger of the other hand to make the scallop. You can also roll out strips of dough and make a braid to place on top of pie crust.
- If you are blind baking the crust and not filling the crust with a baked filling, poke holes using fork along sides and bottom of crust. This will help keep the crust from puffing up while it bakes.
- Use Pie Weights, Rice, or Beans to keep crust in place. If you are blind baking your crust to be filled later with a cream filling, it is important to keep it in place. Line the crust with foil or parchment paper. Fill it with pie weights, rice, or beans and press against the sides of the crust.
- You can double line the crust with parchment paper to ensure that the rice doesn’t get stuck into the dough.
- After the dough has chilled, place it in a hot oven. The hot oven helps the crust keep its shape. The edges will be the first to brown. Avoid this by covering the edges with foil or pie shields, about halfway through baking. The pie shields or foil sheets are essential for making pie!
- If making a double crust, bake according to pie directions.
- If baking pie crust only, bake at 400 degrees for 10-12 minutes. Remove parchment paper and pie weights and return to oven and cook for an additional 6-8 minutes (for a total of 16-20 minutes cooking time).
- If baking a filled pie such as pumpkin, cherry, or apple, cook according to pie directions.
Video
Notes
Nutrition information is automatically calculated, so should only be used as an approximation.
I can’t wait to hear all about your amazing pies with this Butter Flaky Pie Crust on Thanksgiving! Share your photos with me and tag me by using #modernhoney.
Happy Baking, my friends! xo


Such a wonderfully versatile crust for savory or sweet! This is my absolute favorite crust to use on anything I’m baking that needs it. Everyone always raves about how flaky and buttery it is. Hard-pressed to use anything else.
Thank you!!
Thank you so much for using my recipe!
Made this last year with your pumpkin pie and it was to die for!! Making it again this year but I don’t think I have vinegar 🙁 can I just omit and use the ice cold water??
Hi Morgan! That’s no problem…you can just use water. The vinegar helps with the flakiness but the butter should do the job. Happy Thanksgiving!
Love this recipe!! How many crusts does the 2X yield? 4 crusts or two?
Hi Ava! The top section will make 2 double crusts and the bottom section will make 2 single crusts.
What size pie pan is this for?
Hi Beth! This crust recipe is for a 9 inch pie pan.
If you are using buttermilk and making this for the pumpkin pie do you use water and buttermilk mixed together or just the buttermilk?
Hi Courtney! You are only using buttermilk.