This post may contain affiliate links. Please read our disclosure policy.
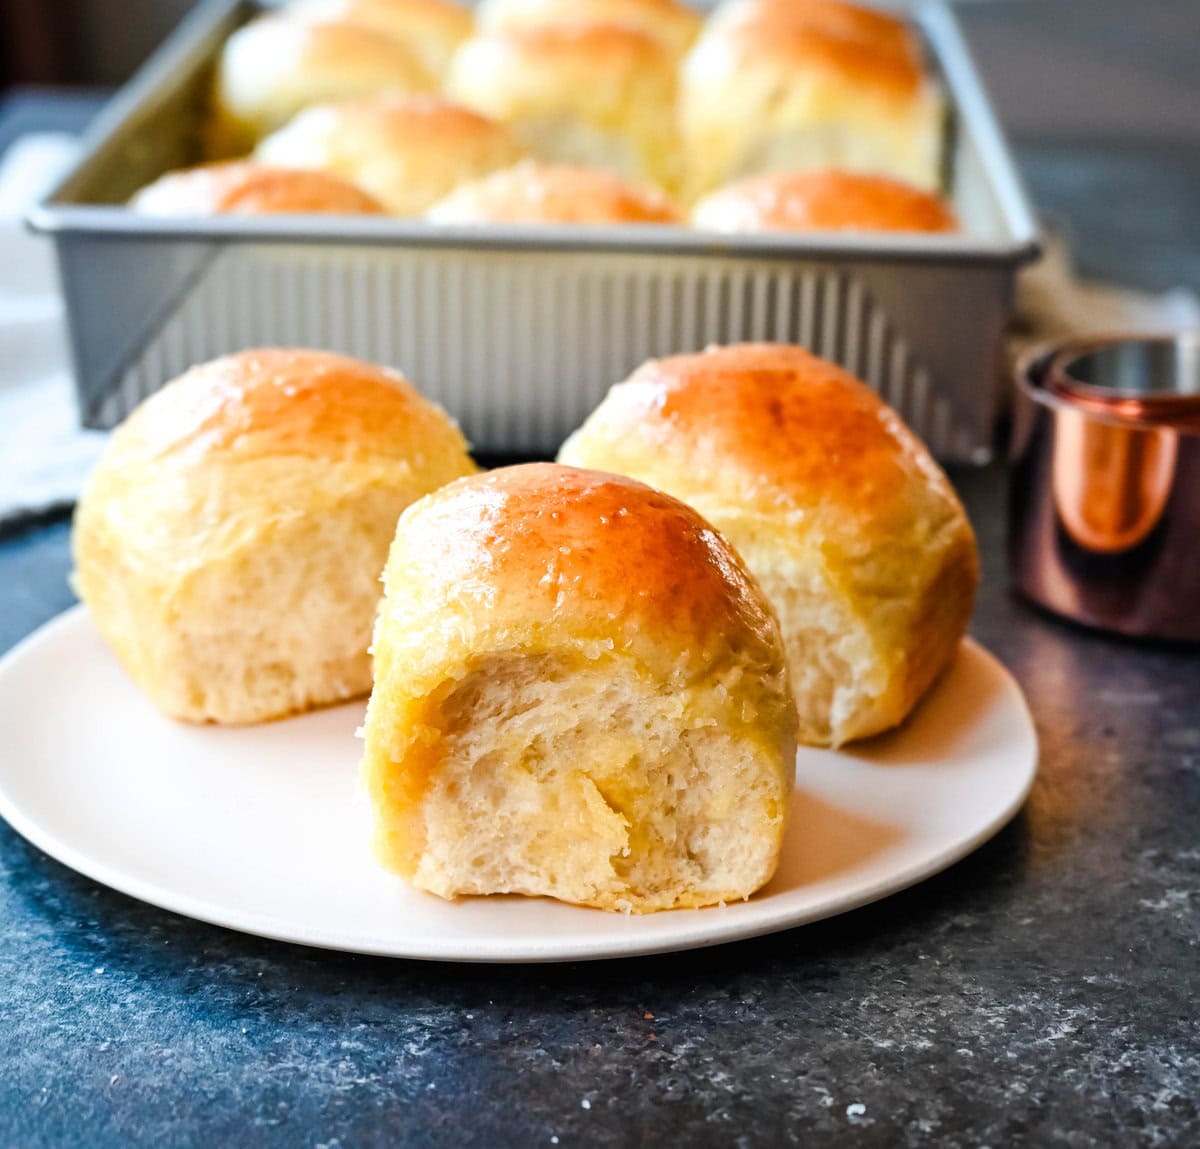
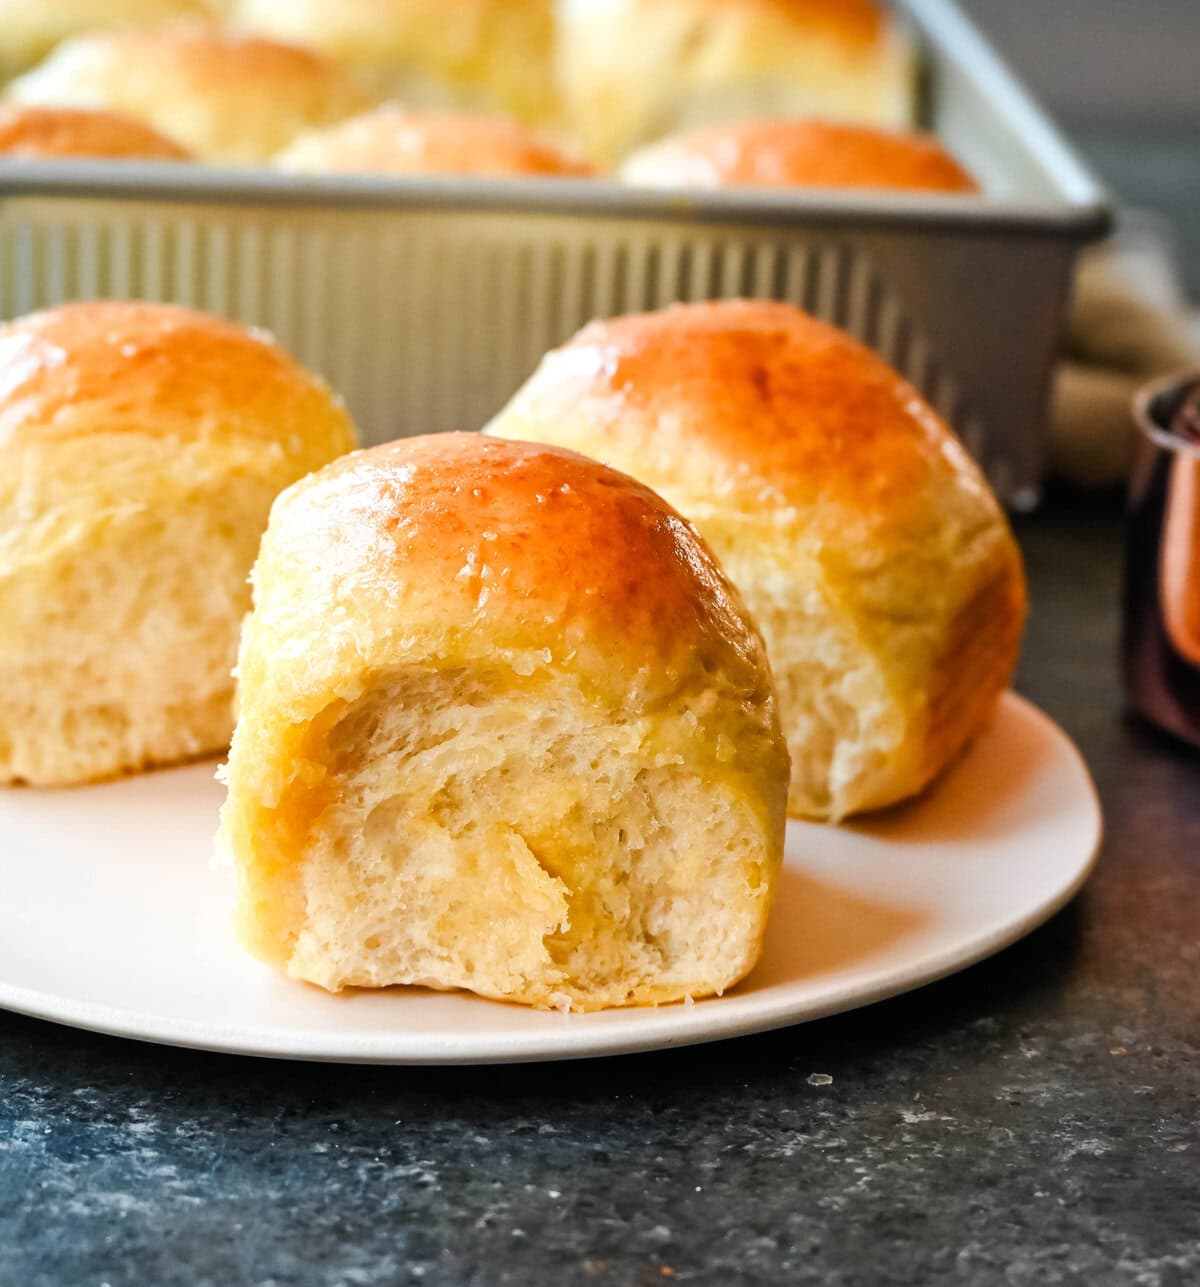
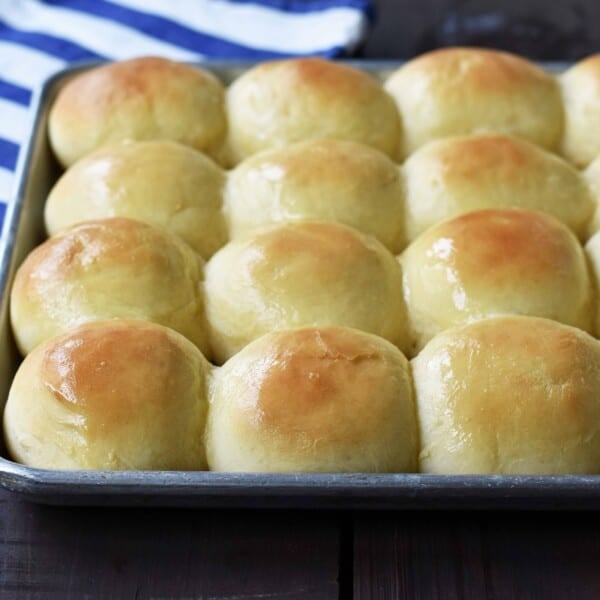
These Japanese milk bread dinner rolls are the most soft, fluffy, and tender homemade rolls due to a special technique. This game changing technique makes all of the difference in making melt-in-your-mouth rolls.
Some recipes require A LOT of recipe testing.
This was one of them.
But maybe that is just because I wanted to get them JUST RIGHT. My Mom was over to help with a big recipe testing day where we were going to knock out several Thanksgiving dishes.
I have been seeing Japanese milk bread and it has always intrigued me and I wanted to try a new and unique bread making method. I love to learn so bring on all of the different baking techniques to try!
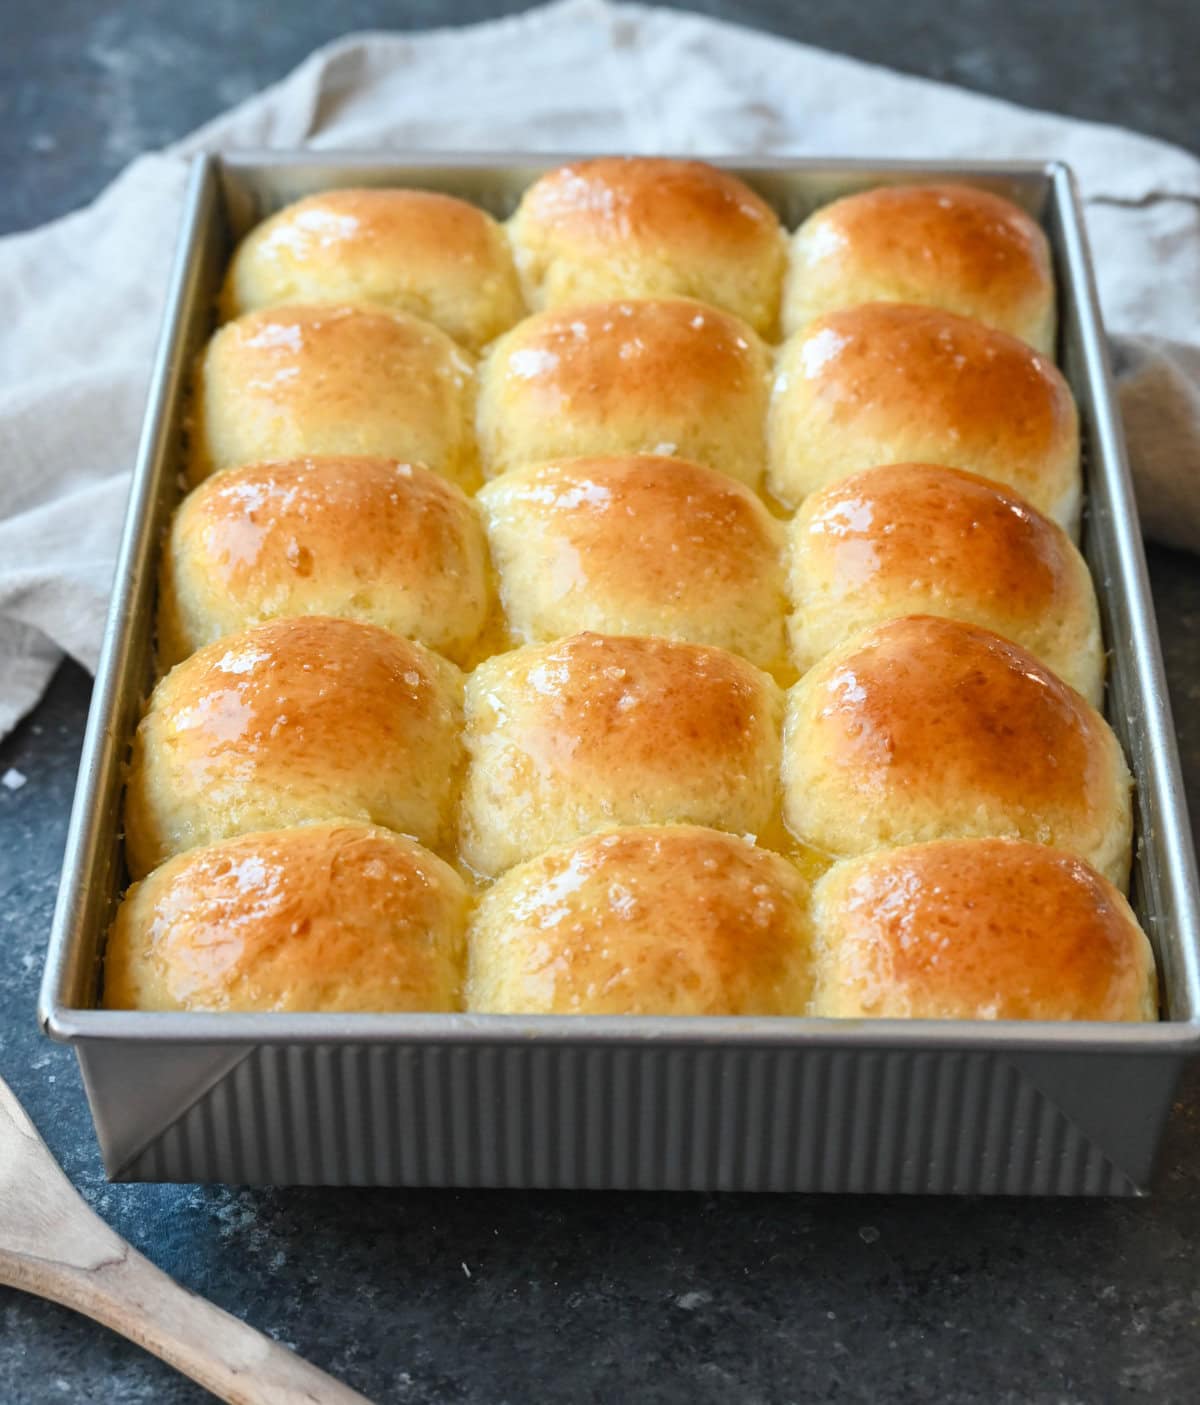
I decided to start off by only testing out two variations of the milk bread dinner rolls. We had the A version and the B version. My four taste testers determined that B was the best and it was a soft, fluffy, buttery roll that knocked our socks off.
But could we do better? This is what goes on in my brain. I felt as if they were slightly too dense and I wanted to tweak a few ingredients to see if I could get it just right.
So even after a long day of recipe testing, we were off to try our 3rd batch of homemade dinner rolls. My Mom looked at me like I was crazy but she has learned to just trust the process. Hahaha!
The batch came out just before the sun was setting and it was just what I was looking for. But my job wasn’t done! I needed to make them again the next morning to ensure that the recipe was ready to go and to photograph the newest ones. I am happy to report that they were a 10/10!
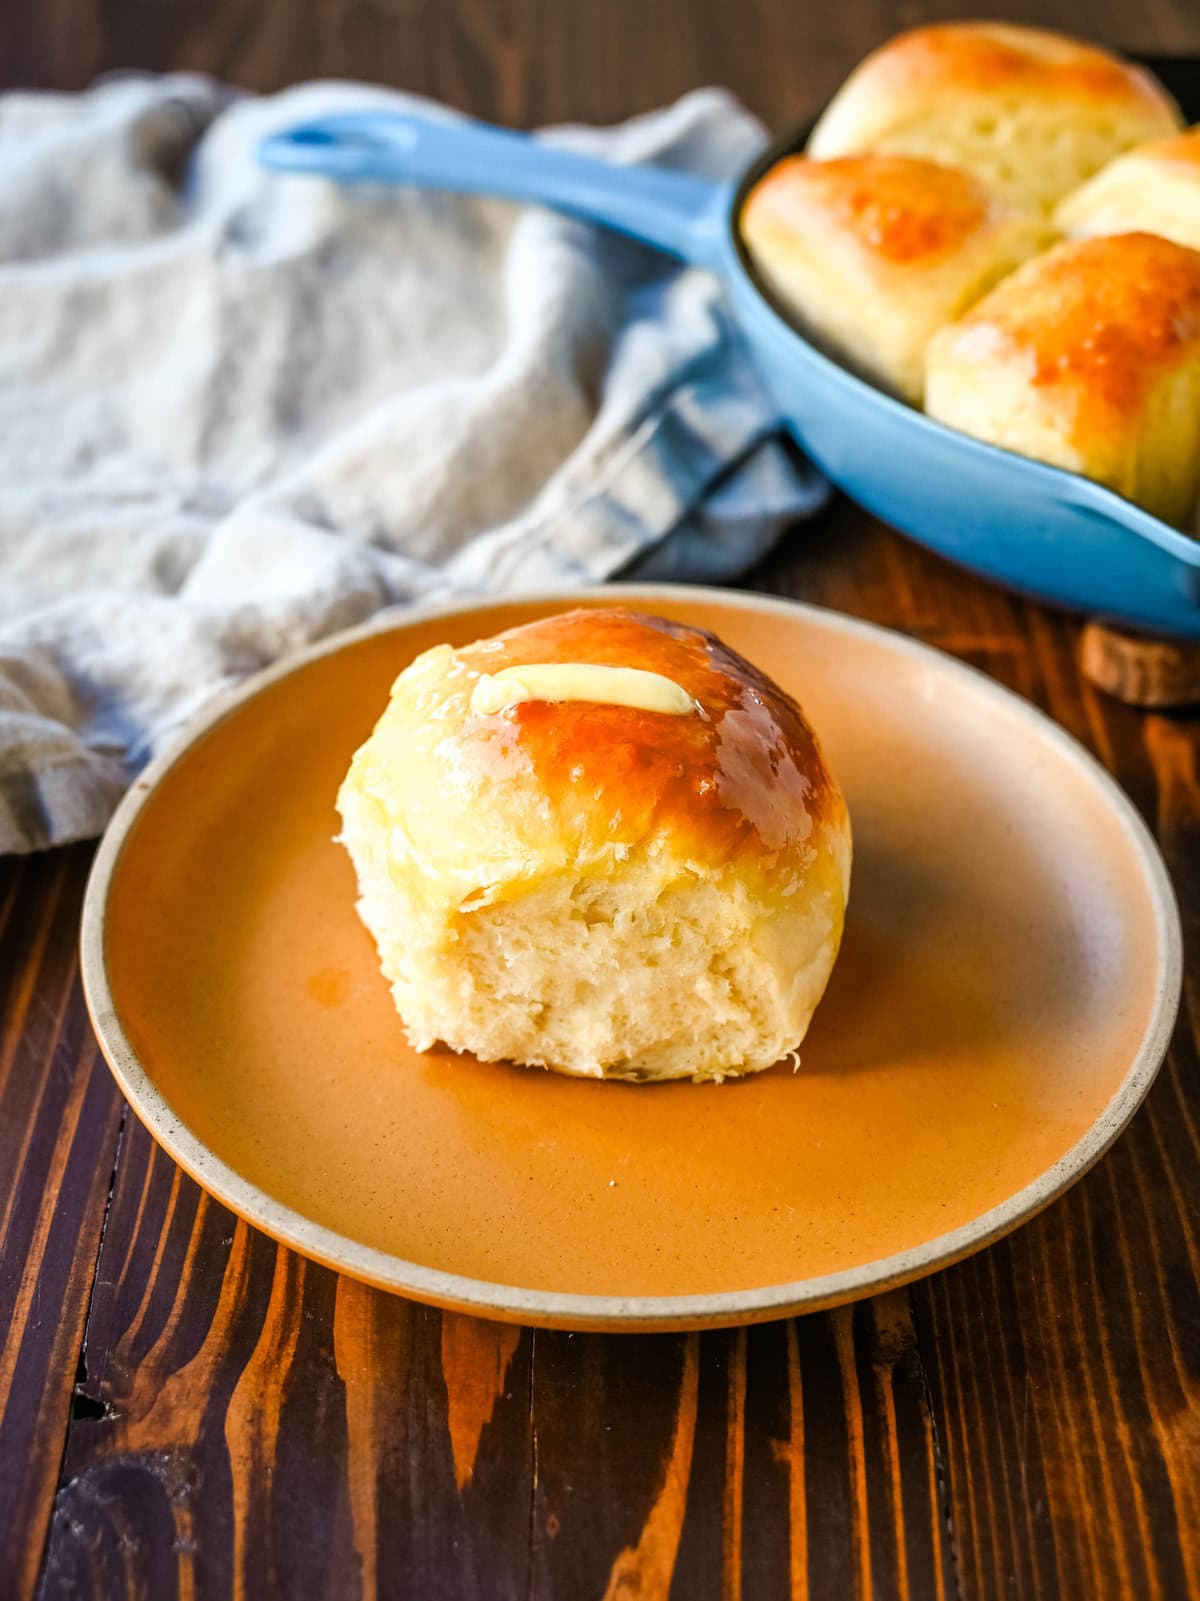
What I absolutely LOVE about this recipe is the TEXTURE of the rolls. There is a scientific reason for it and I am going to be sharing all of the details.
Japanese milk bread rolls stand out for their exceptional texture and delicate, subtly sweet flavor. Thanks to the tangzhong method, they’re softer, fluffier, and stay fresh longer than traditional dinner rolls. Whether you’re making them for a holiday feast, family dinner, or weekend treat, these rolls are sure to impress with their melt-in-your-mouth tenderness.
Let’s get all into our baking “nerdy” language and see what the difference maker is in this homemade roll recipe. This recipe starts with a “starter” called tangzhong. The good news is that it only takes less than 5 minutes to make the starter and it is ready to go!
What is tangzhong?
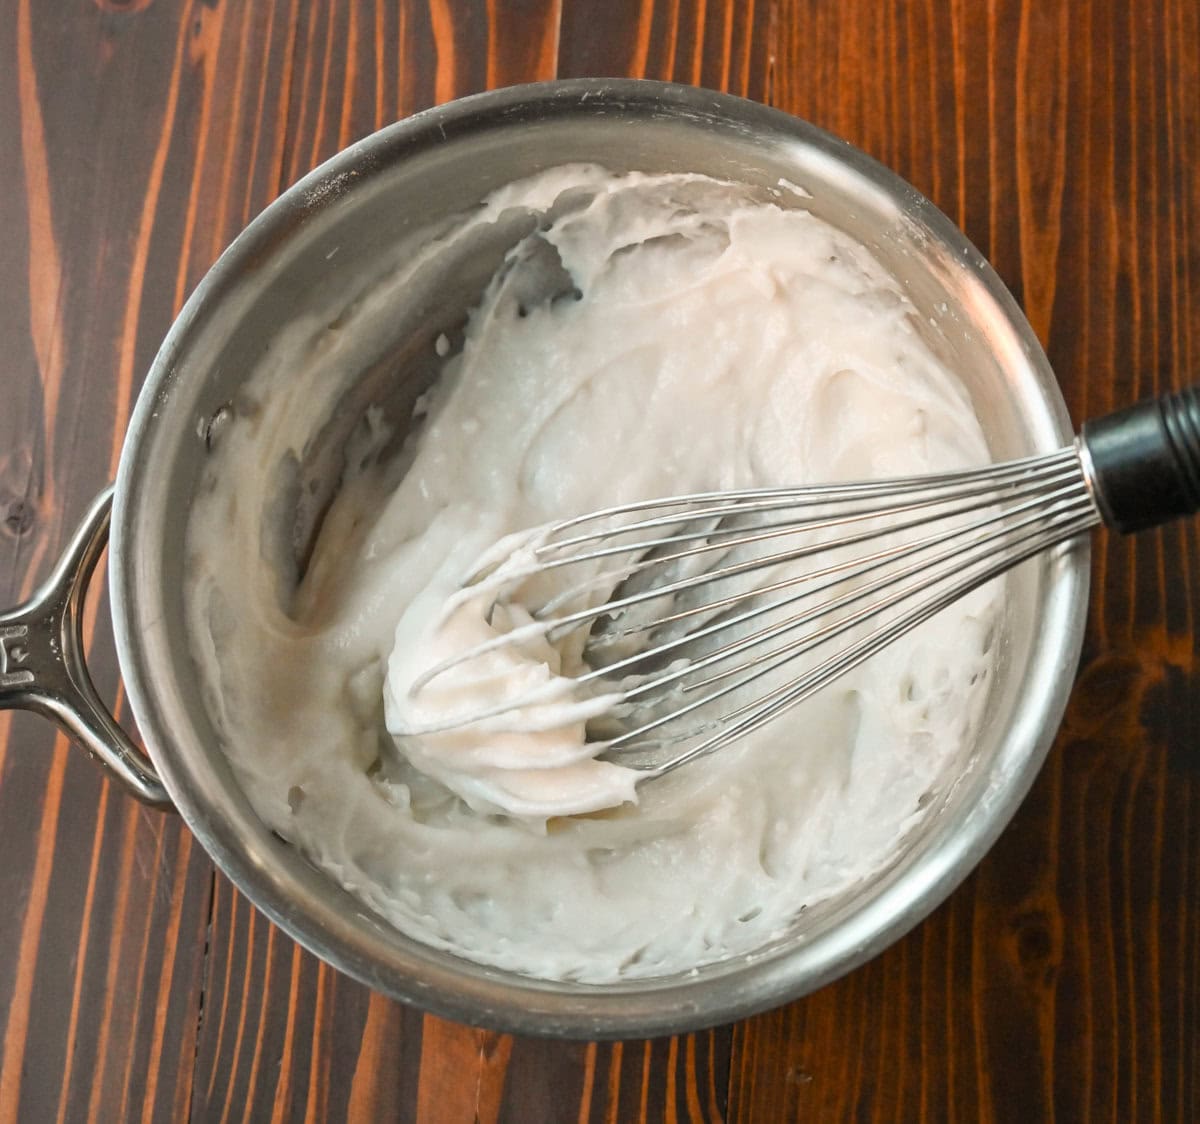
Tangzhong is a method that involves pre-cooking a small amount of flour, milk, and water into a thick paste. This method, originally from Japan, adds moisture to the dough and allows it to retain softness and elasticity, creating rolls that stay fresh longer. Here’s what you need to make tangzhong:
- Ingredients: Whole milk, flour, and water.
- Process: Mix these ingredients and cook over low heat, stirring until it thickens into a paste.
When you add this paste to the dough, it gives the bread its distinct pillowy texture. Tangzhong also helps the bread retain moisture, which is especially important if you’re making these rolls a day in advance.
Why is tangzhong important when making rolls?
The tangzhong method essentially pre-gelatinizes the flour, which traps moisture within the dough. This technique is why Japanese milk bread rolls are known for their soft, light, and airy crumb. Without tangzhong, the rolls would be less fluffy and would dry out more quickly.
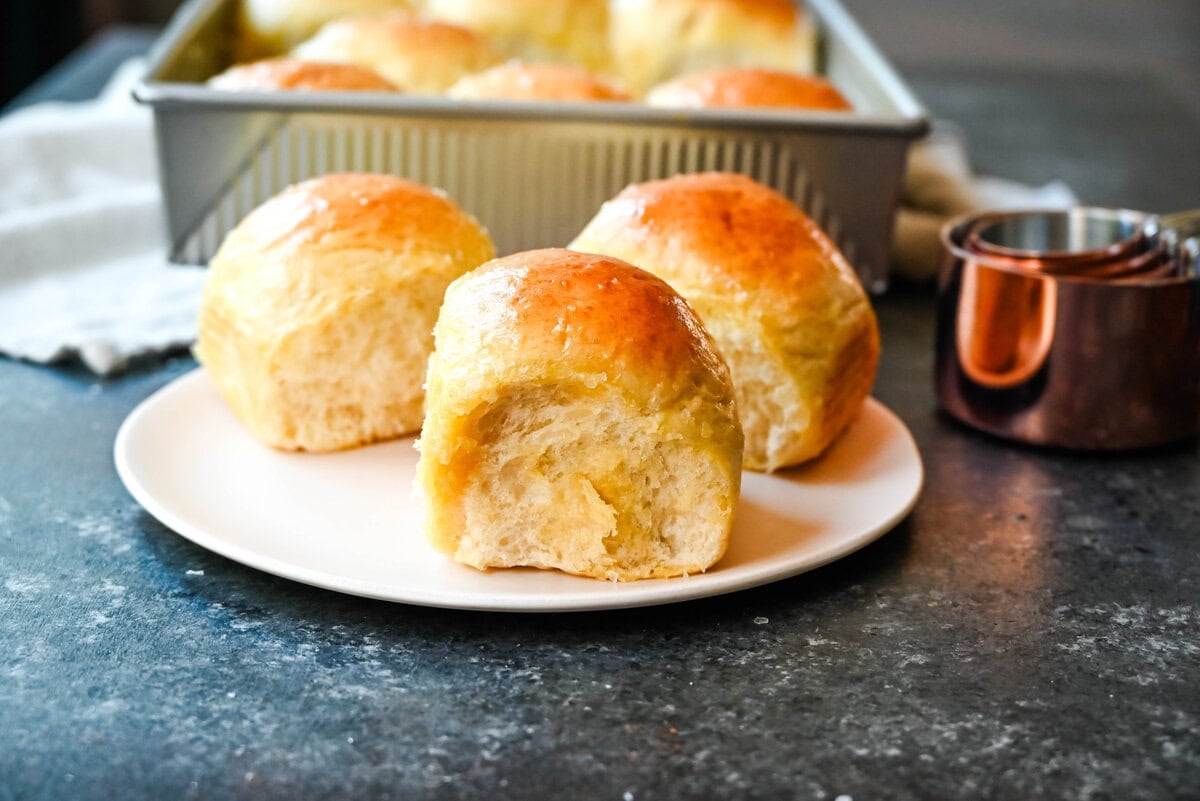
Japanese milk bread rolls are extraordinarily soft, tender, and slightly sweet. Thanks to the tangzhong method, they stay moist longer, offering a texture that melts in your mouth.
Milk Bread Rolls Ingredients:
This roll recipe is a mix of a tangzhong starter, yeast mixture, and bread dough ingredients. It is all about the method and I am going to share what ingredients you need to make these out-of-this-world rolls. There are no crazy ingredients, just ones you would find in your pantry and refrigerator.
TANGZHONG:
- Bread Flour
- Whole Milk
- Water
YEAST MIXTURE:
- Instant Yeast
- Warm Water
- Sugar
BREAD DOUGH:
- Bread Flour
- Salt
- Sugar
- Eggs
- Whole Milk
- Butter (melted)
- Extra Butter for brushing on the top and optional sea salt flakes
What type of flour should I use when making dinner rolls?
Japanese milk bread rolls are best made with bread flour because it has a higher protein content than all-purpose flour. This higher protein level creates more gluten, resulting in a chewy yet airy texture. If bread flour isn’t available, all-purpose flour can be used, but the texture may be slightly less chewy.
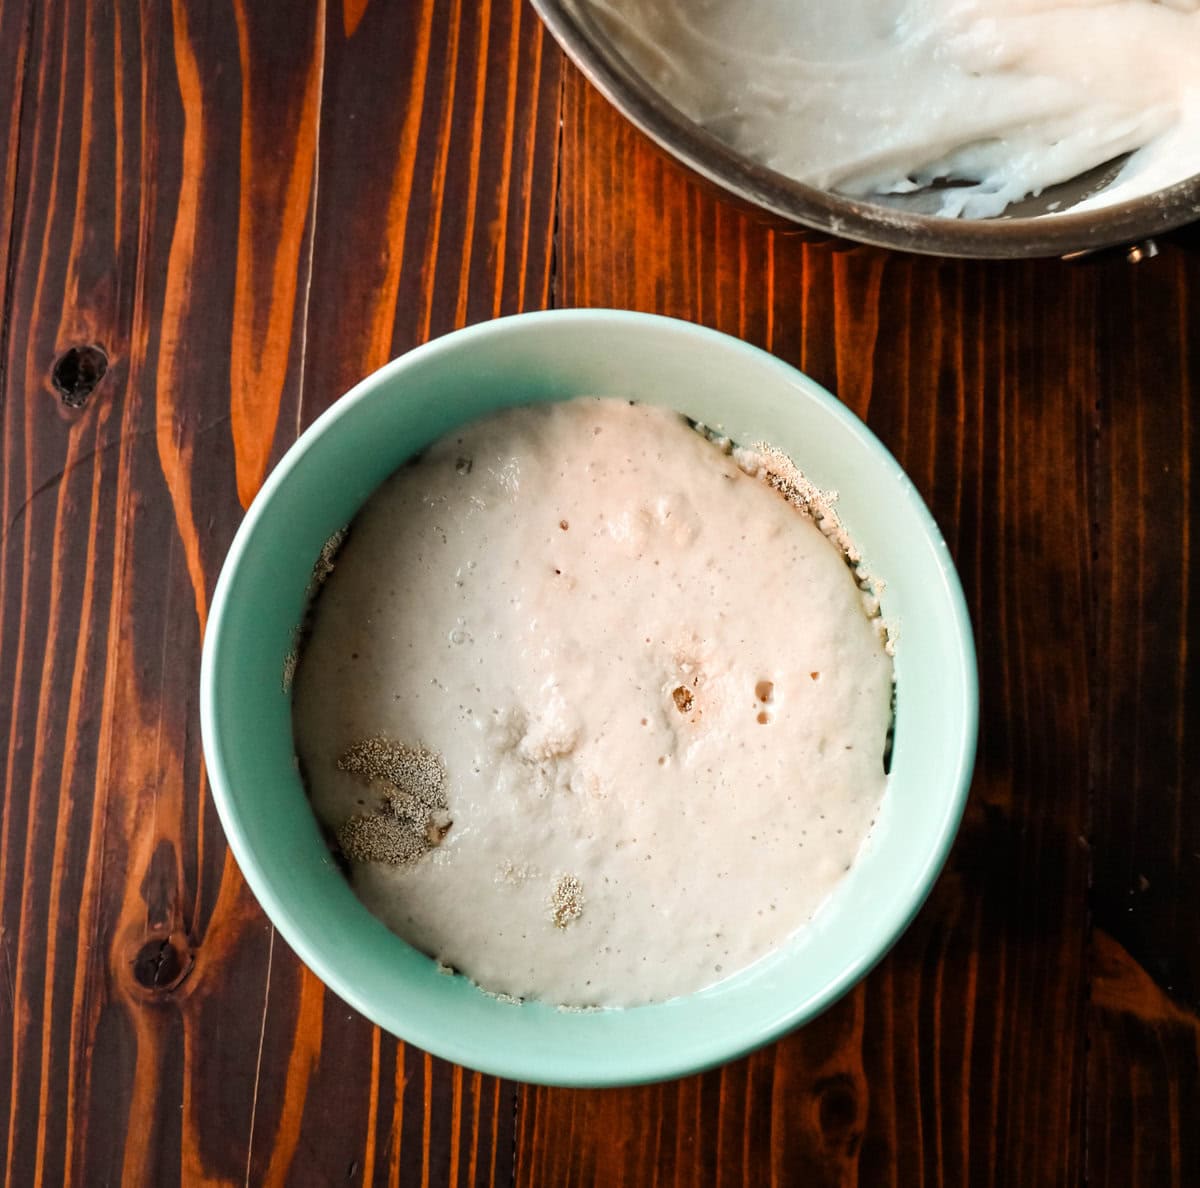
How to proof yeast:
For perfect rolls, start by proofing your yeast. Here’s how to make sure it’s active:
- Mix: Combine the yeast with warm water (about 105°F–110°F) and sugar. the sugar helps to activate the yeast. Yeast loves sugar!
- Wait: Let it sit for 8-10 minutes.
How to make Japanese Milk Rolls:
Prepare the Tangzhong: In a small saucepan, combine the tangzhong ingredients—whole milk, flour, and water. Set the pan over medium heat and whisk constantly until the mixture thickens into a smooth, paste-like consistency. This will take a few minutes. Once it reaches this texture, remove the pan from heat and let the tangzhong cool to room temperature.
Activate the Yeast: In a small bowl, mix the yeast with warm water and a pinch of sugar, stirring gently. Place the bowl in a warm spot and let the mixture sit for about 10 minutes, or until it becomes foamy. This “proofing” step ensures your yeast is active and ready to leaven the dough.
Combine the Dry Ingredients: In the bowl of a stand mixer, add the flour, sugar, and salt, and stir briefly to mix. Make a well in the center, then add in the cooled tangzhong, the yeast mixture, additional milk, and eggs.
Mix the Dough: Using the dough hook attachment, mix on low speed, scraping down the sides occasionally to ensure even mixing. When the dough begins to come together, increase the speed to medium-low.
Add the Butter: Gradually add in the melted butter. Continue kneading for about 5-7 minutes, or until the dough is smooth, elastic, and pulls cleanly away from the sides of the bowl. The dough should feel slightly sticky but not overly wet.
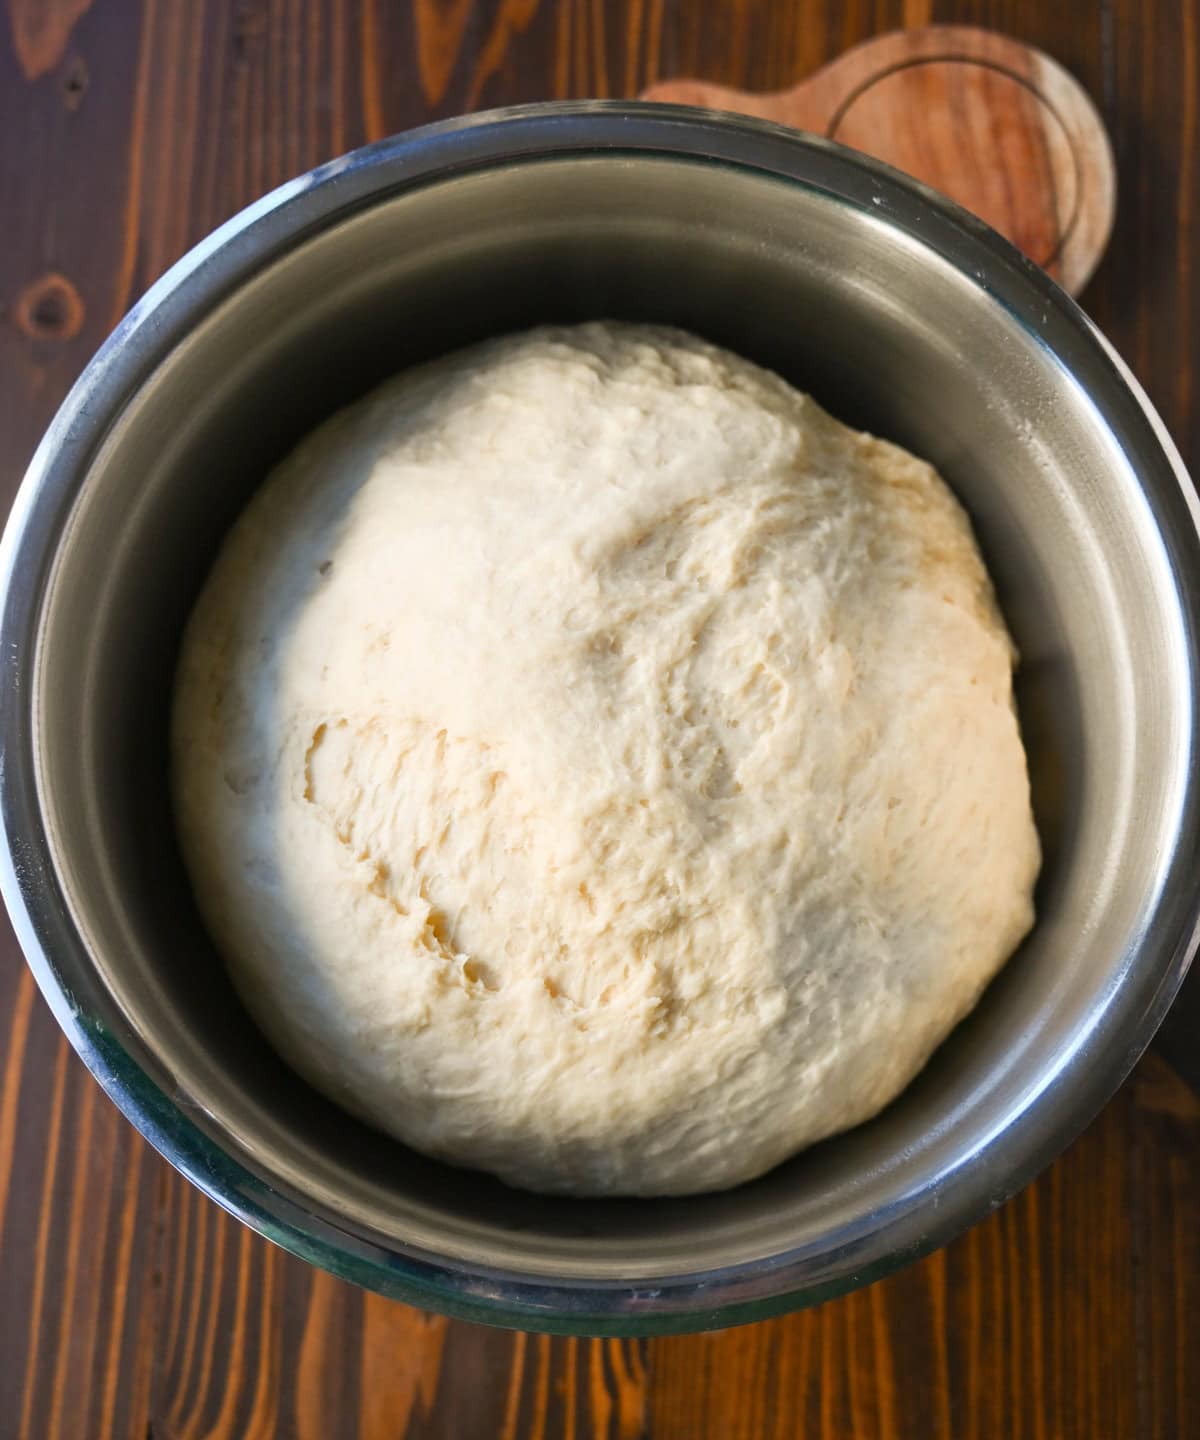
Shape and Rise: Transfer the dough to a lightly floured surface and shape it into a smooth ball. Place the dough ball into a lightly greased bowl, cover it with a damp towel, and let it rise in a warm area for 1-2 hours, or until it has doubled in size.
Divide and Shape Rolls: Once the dough has risen, divide the dough into about 15-18 rolls. If you want larger rolls, make 15 rolls but you can make 18 medium-sized rolls. Roll each piece into a tight, smooth ball by tucking the edges under and rolling with your palm on the work surface. To shape, roll each portion into a ball by cupping your hand over it and rolling in a circular motion on the counter.
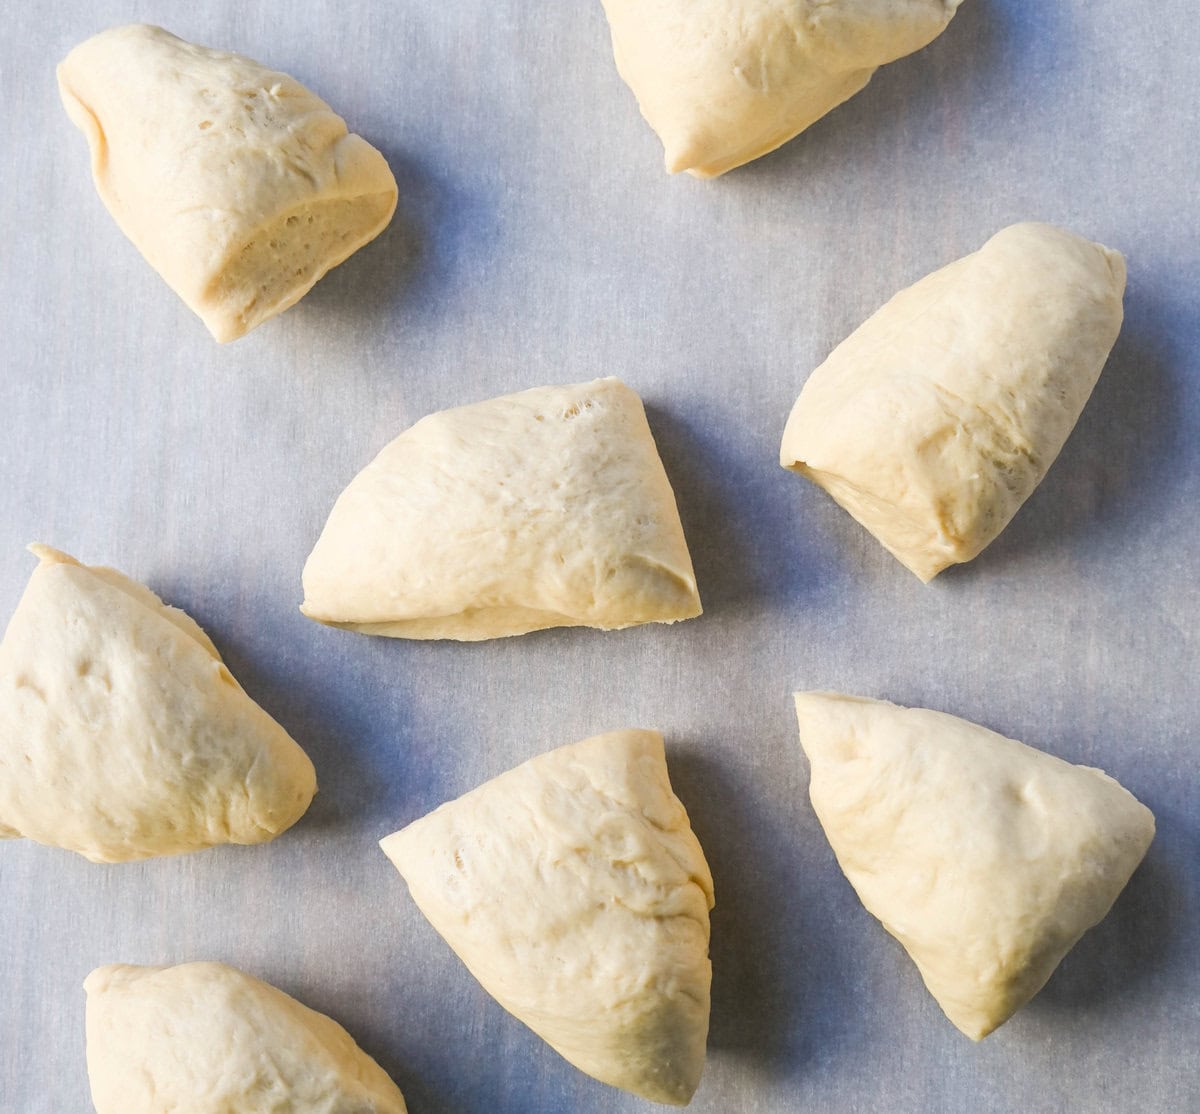
Second Proofing: Lightly grease a 9×13-inch baking dish and arrange the dough balls. Cover with a damp towel and allow them to proof for another 45 minutes — 1 hour.
Apply the Egg Wash: In a small bowl, beat together one egg with a splash of whole milk to create an egg wash. Gently brush the tops of the rolls with the egg wash to encourage a glossy, golden-brown finish.
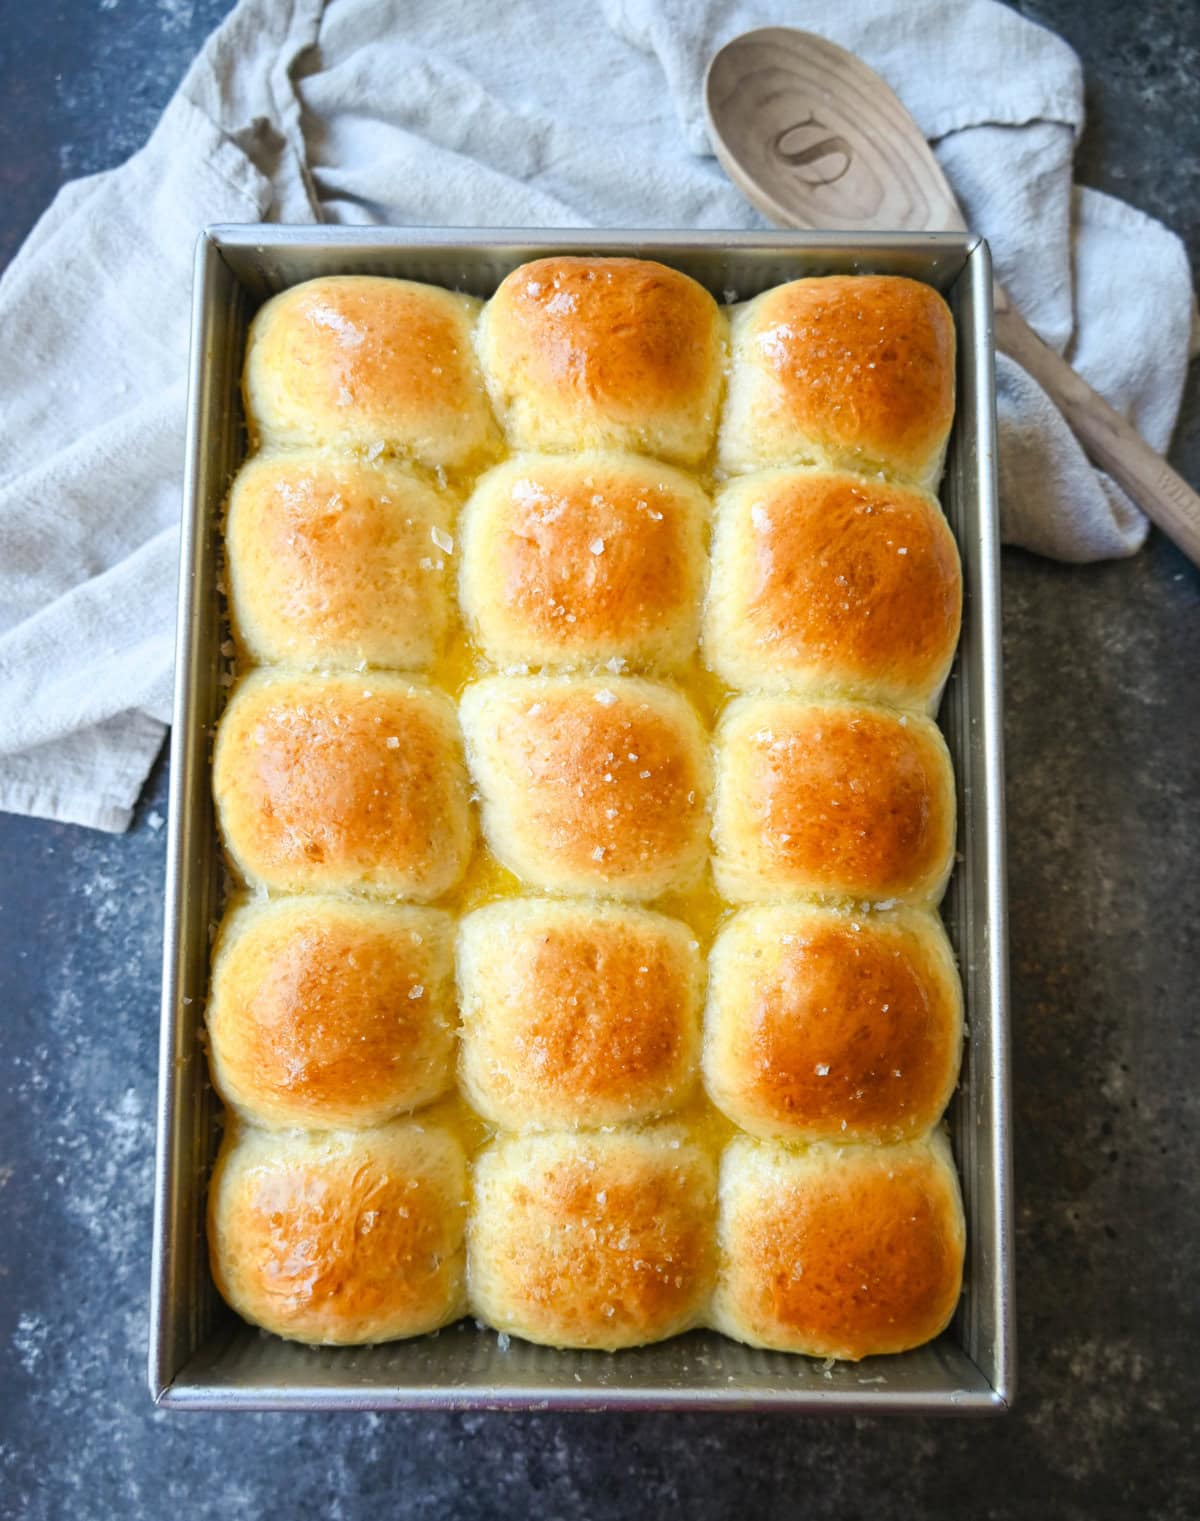
Bake the Rolls: Preheat your oven to 350°F. Bake the rolls for 22-28 minutes on a middle rack. To prevent over-browning, you can tent a piece of foil over the rolls halfway through baking if needed.
Finish with Butter and Salt: Remove the rolls from the oven and, while still warm, brush them with melted butter and sprinkle with flaky sea salt for extra flavor.
Frequently Asked Questions:
Why Are My Rolls Dense?
Dense rolls often happen when the yeast isn’t active. Be sure to proof your yeast to ensure it’s working before adding it to the dough. Also, give the dough enough time to rise during each stage. This could result from under-kneading. Kneading helps create a strong gluten structure.
How do I know if my yeast is working?
If the mixture becomes bubbly and foamy, the yeast is alive and ready to use. This step is essential because if the yeast isn’t active, the dough won’t rise, resulting in dense rolls.
How Do I Prevent Over-Browning?
If the tops of your rolls are browning too quickly, place a piece of foil on the top rack of your oven halfway through baking to protect them while they finish cooking through. I found this works wonders to bake the roll completely through without becoming too brown.
Why Use an Egg Wash on dinner rolls?
Brushing the rolls with an egg wash gives them a golden, shiny crust that makes them look perfect. It also helps to keep them from drying out.
Can I Make These Rolls Ahead of Time?
Yes, the rolls can be made a day ahead and stored in an airtight container. Reheat them gently before serving for the best texture.
Baking Tip:
Keep an Eye on the Color. Japanese milk bread rolls should be golden but not overly browned. If they darken too quickly, tent them with foil partway through baking or place a large sheet of foil on the top rack of the oven about the rolls.
How to roll dinner rolls into balls:
To roll dinner rolls into smooth, round balls, follow these steps for perfectly shaped rolls every time:
- Divide the Dough Evenly: After your dough has risen, use a dough scraper or knife to cut it into equal portions. This ensures that your rolls bake evenly. A kitchen scale can help if you want to be precise with each roll’s size.
- Prep the Work Surface: Lightly flour your surface if the dough is sticky.
- Shape Each Portion: Take one portion of dough in your hand and flatten it slightly. Fold the edges under toward the center to create surface tension on top, forming a rough ball shape.
- Roll on the Counter: Place the dough ball on the counter and cup your hand gently over it. Keep your hand in a loose “C” shape with your palm and fingertips touching the counter. Apply slight downward pressure and roll in small circles, letting the dough move beneath your hand. The dough should naturally tighten and smooth out.
- Create Tension for a Smoother Finish: As you roll, the surface of the dough will become smooth and tight. This tension helps the rolls keep their shape while baking, giving you that beautiful, domed look.
- Set Aside to Rise: Place each roll, seam-side down, on a lined baking sheet with a bit of space between each one. Cover with a clean kitchen towel and allow them to rise again before baking.
By following these steps, your rolls will be smooth, round, and perfectly shaped for baking! If you’re new to this technique, practice makes perfect—it’ll get easier with each try.
Storage and Reheating Instructions:
- Storage: Store any leftover rolls in an airtight container at room temperature for up to 2 days. Japanese milk bread rolls freeze very well. After baking, let them cool, then place them in an airtight container or gallon-sized freezer bag and freeze for up to 3 months. When ready to eat, thaw them at room temperature and warm briefly in the oven.
- Reheating: To warm, place rolls in a 300-degree oven for about 5-7 minutes, or microwave at 50% power for a few seconds.
If you’ve been looking for a dinner roll recipe that stands out for its softness and rich flavor, Japanese milk bread rolls are the perfect addition to your meal.
More Dinner Roll Recipes:
Pin this now to find it later
Pin It
Japanese Milk Bread Dinner Rolls
Ingredients
Tangzhong Starter:
- 1/2 cup Whole Milk (may substitute with 1 or 2% milk)
- 1/2 cup Water
- 1/4 cup Bread Flour
Yeast Mixture:
- 1/2 cup Warm Water (about 110 degrees)
- 2 Tablespoons Instant Yeast
- 1/2 teaspoon Sugar
Dough:
- 4 3/4 cups Bread Flour
- 2 teaspoons Salt
- 1/3 cup Sugar
- 2 large Eggs
- 1/2 cup Whole Milk
- 6 Tablespoons Butter (melted)
Garnish:
- 1 large Egg (for egg wash)
- Melted Butter (for brushing on the top after baking)
Instructions
- Prepare the Tangzhong: In a small saucepan, combine the tangzhong ingredients—whole milk, flour, and water. Set the pan over medium heat and whisk constantly until the mixture thickens into a smooth, paste-like consistency. This will take a few minutes. Once it reaches this texture, remove the pan from heat and let the tangzhong cool to room temperature.
- Activate the Yeast: In a small bowl, mix the yeast with warm water and a pinch of sugar, stirring gently. Place the bowl in a warm spot and let the mixture sit for about 10 minutes, or until it becomes foamy. This "proofing" step ensures your yeast is active and ready to leaven the dough.
- Combine the Dry Ingredients: In the bowl of a stand mixer, add the flour, sugar, and salt, and stir briefly to mix. Make a well in the center, then add in the cooled tangzhong, the yeast mixture, additional milk, and eggs.
- Mix the Dough: Using the dough hook attachment, mix on low speed, scraping down the sides occasionally to ensure even mixing. When the dough begins to come together, increase the speed to medium-low.
- Add the Butter: Gradually add in the melted butter. Continue kneading for about 5-7 minutes, or until the dough is smooth, elastic, and pulls cleanly away from the sides of the bowl. The dough should feel slightly sticky but not overly wet.
- Shape and Rise: Transfer the dough to a lightly floured surface and shape it into a smooth ball. Place the dough ball into a lightly greased bowl, cover it with a damp towel, and let it rise in a warm area for 1-2 hours, or until it has doubled in size.
- Divide and Shape Rolls: Once the dough has risen, divide the dough into about 15-18 rolls. If you want larger rolls, make 15 rolls but you can make 18 medium-sized rolls. Roll each piece into a tight, smooth ball by tucking the edges under and rolling with your palm on the work surface. To shape, roll each portion into a ball by cupping your hand over it and rolling in a circular motion on the counter.
- Second Proofing: Lightly grease a 9×13-inch baking dish and arrange the dough balls. Cover with a damp towel and allow them to proof for another 45 minutes — 1 hour.
- Apply the Egg Wash: In a small bowl, beat together one egg with a splash of whole milk to create an egg wash. Gently brush the tops of the rolls with the egg wash to encourage a glossy, golden-brown finish.
- Bake the Rolls: Preheat your oven to 350°F. Bake the rolls for 22-28 minutes on a middle rack. To prevent over-browning, you can tent a piece of foil over the rolls halfway through baking if needed.
- Finish with Butter and Salt: Remove the rolls from the oven and, while still warm, brush them with melted butter and sprinkle with flaky sea salt for extra flavor.
Notes
If the tops of your rolls are browning too quickly, place a piece of foil on the top rack of your oven halfway through baking to protect them while they finish cooking through. I found this works wonders to bake the roll completely through without becoming too brown.
Nutrition
Nutrition information is automatically calculated, so should only be used as an approximation.


I’ve made these rolls several times and they always turn out delicious! Thanks for a great recipe!
I’m so happy you love this recipe! Thank you so much for making them Rick.
This Bread has become my Family’s Favorite Bread. I make it often and they can’t get enough!
Great Bread and Recipe too!
I am SO glad your family loves these rolls! Thanks so much for following along. 🙂
This process was so different I had to try it….the rolls were soft and delicious. I will make again.
I am so glad it turned out for you, it’s definitely unique! Thank you so much for making this recipe.
Good recipes
Wow! These are good. A new way to make rolls!
Thank you so much for making this recipe, Cari! I am so glad you love the new technique.
Neelie
Japanese milk bread is excellent.
Here’s two suggestions to try use Wondra in the starter easier to mix and the second is that using a scale using the metric weights is so much more accurate.
I made these for Thanksgiving and they turned out perfect and everyone raved about them! I’ll be making these for dinners for now on 😊
I’m also going to give this dough a try for cinnamon rolls. I make them for Christmas brunch every year and since the dinner rolls were so wonderful… I’ll be doing a test run very soon 🤞
That sounds so delicious, Jen! I would love to hear how that turns out for you. Thank you for making these rolls!
This seems like a lot of yeast. 2T is over 3 ‘packets’. I used the recommended amount in 1/2C warm water in a 1 C measuring cup. It foamed up and spilled everywhere. What did i misunderstand?
Hi Scott! It is a lot of yeast so they end up being super fluffy rolls. I like to put my yeast in a bowl so it gives it a lot of room to foam up and expand.
Making these for Thanksgiving & bringing them to another house. How would I keep them warm?
Hi Shery! To warm these rolls it doesn’t take long, place rolls in a 300-degree oven for about 5-7 minutes, or microwave at 50% power for a few seconds. I hope you have a wonderful Thanksgiving!
Wow! This technique is unlike any I’ve ever seen. The rolls turned out sooooo fluffy and soft. Excited to use this recipe for Thanksgiving!
Hi, I’ll be making these for thanksgiving tomorrow. Could I make the dough today and then bake them tomorrow?
Hi Doris! I am just getting to your comment now so I may be a tad late. I haven’t recipe tested this particular recipe with doing the overnight rise in the refrigerator but I believe it should work out just fine. I hope you love the homemade rolls!
The fluffiest rolls EVER!!