This post may contain affiliate links. Please read our disclosure policy.
Marshmallow Crispy Cookies taste like a Rice Krispie treat in cookie form! These Brown Butter Rice Krispie Treat Cookies are made with brown butter, gooey marshmallows, crispy cereal, and a sprinkle of flaky salt.
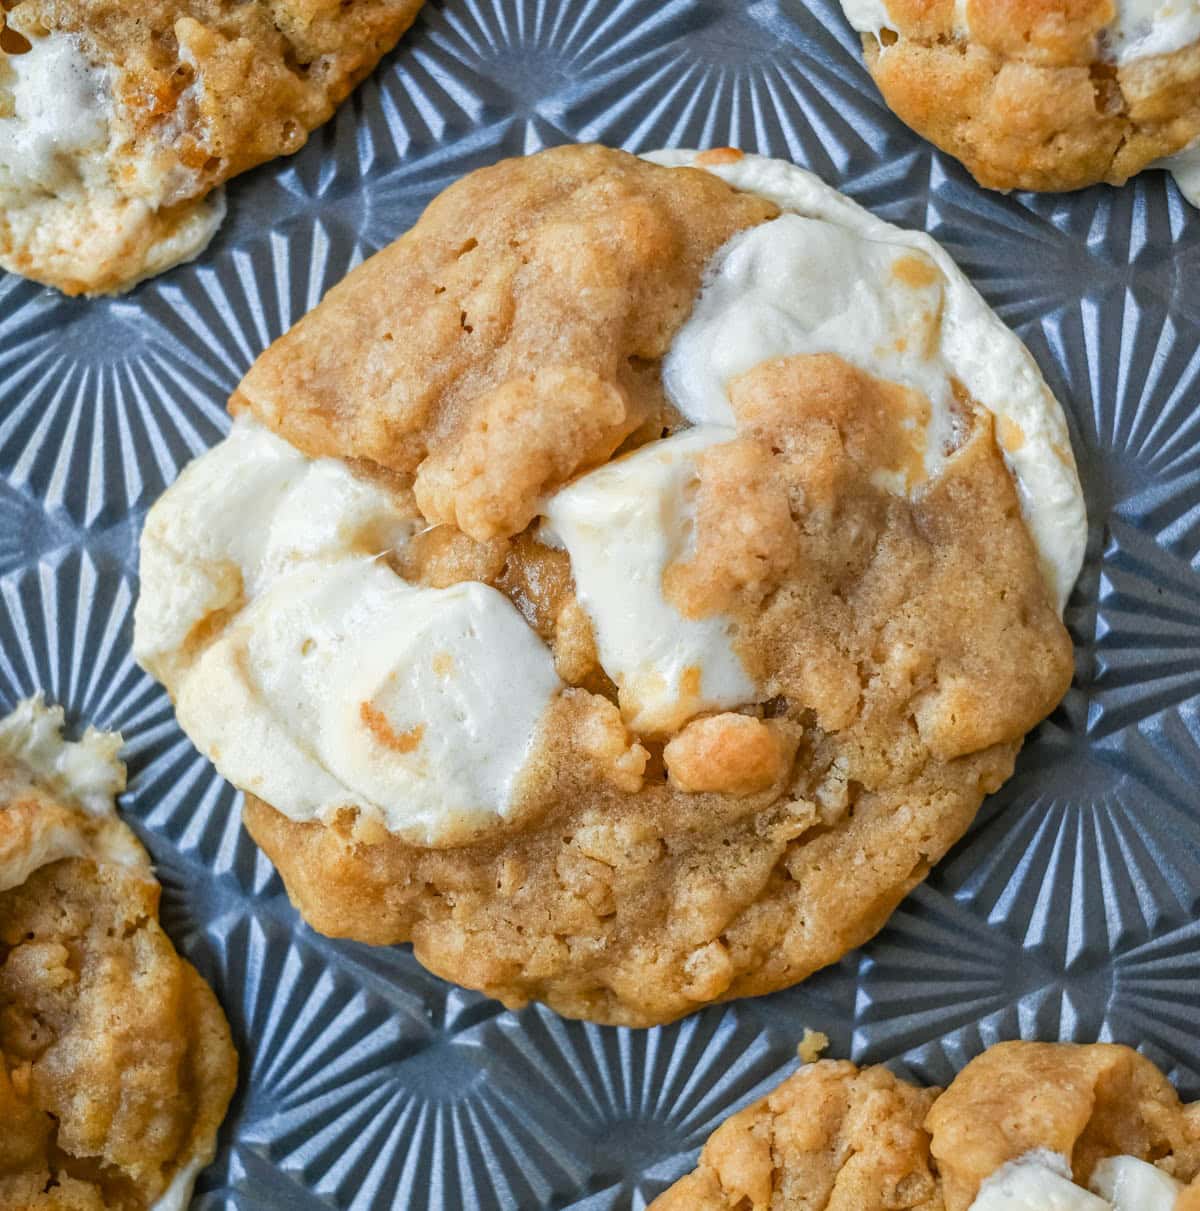
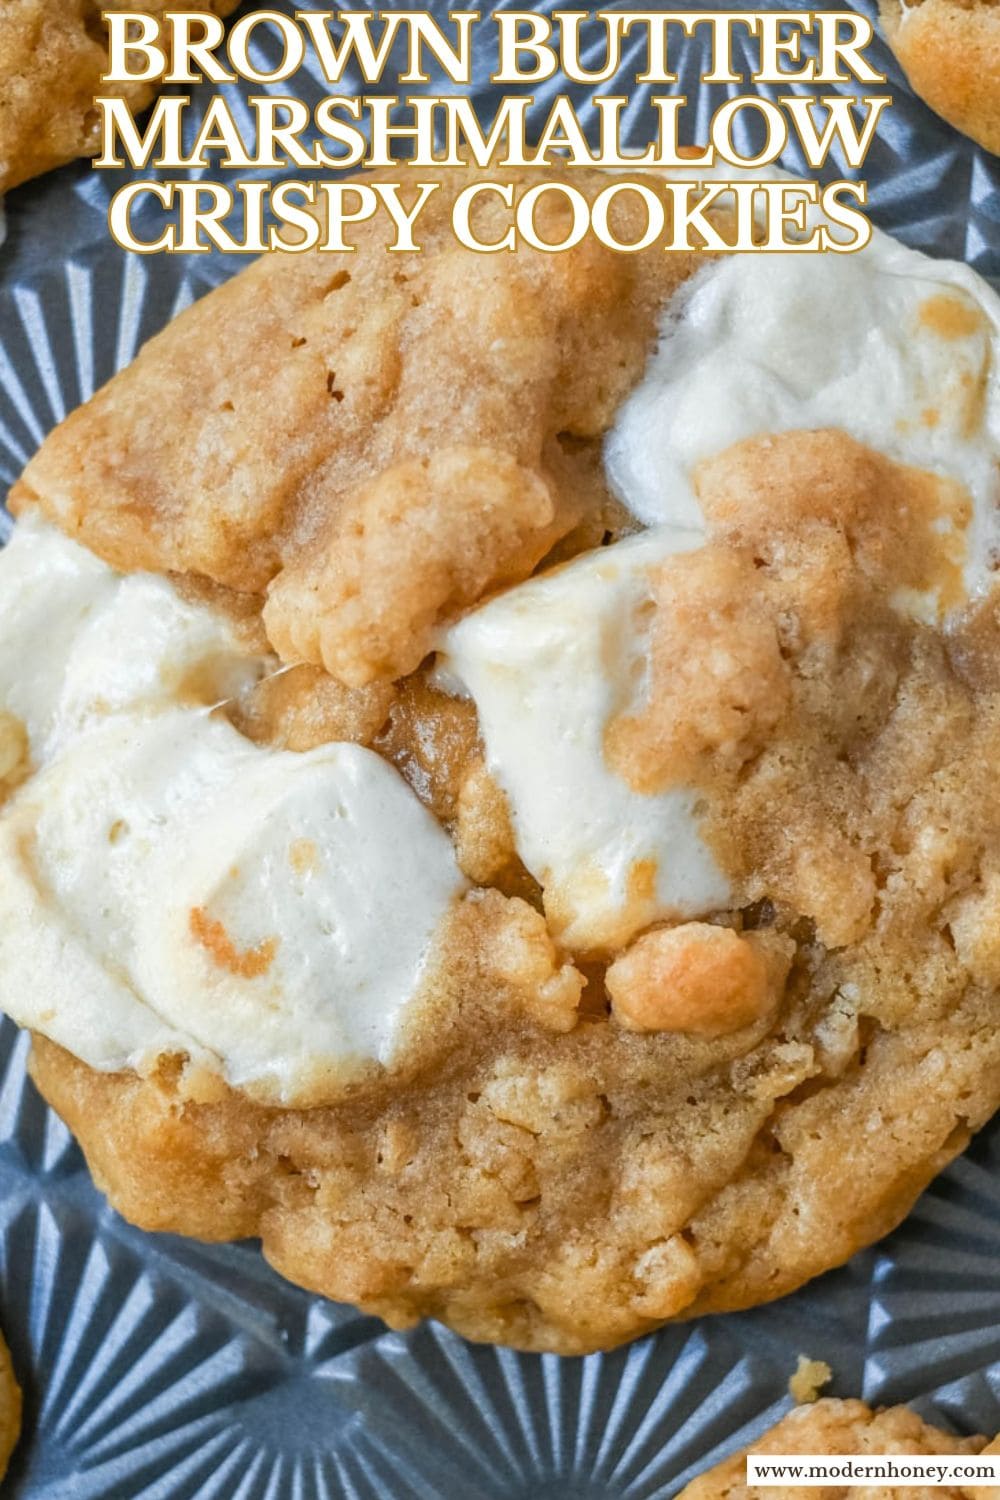
These Marshmallow Crispy Cookies are my homemade version of the famous Costco Marshmallow Crispy Cookies, and honestly, I think they’re even better. These Marshmallow Crispy Cookies are a Rice Krispie treat and a brown butter cookie rolled into one. They’re big, bakery-style cookies with crisp golden edges, soft chewy centers, crunchy cereal in every bite, and gooey pockets of melted marshmallow. A sprinkle of flaky salt on top makes them salty-sweet and completely addicting.
If you grew up eating Rice Krispie treats straight out of the pan, these cookies are for you. I’ve baked a lot of cookies over the years, from baking contests to my test kitchen at home, and this one has a few tricks that make it special. The butter is browned for a toasty, toffee-like flavor. A spoonful of malted milk powder gives them an almost milkshake-like flavor that makes people ask, “What is in these?” And the marshmallows go in frozen, so they stay gooey instead of melting away. The dough chills for just under an hour, so these come together fast.
The Costco Marshmallow Crispy Cookie copycat
If you’ve walked through the Costco bakery lately, you’ve probably seen the giant clamshells of Kirkland Signature Marshmallow Crispy Cookies. They launched in the summer of 2025 and took over social media almost overnight, with shoppers calling them a Rice Krispie treat in cookie form.
The crispy rice, the chewy brown butter cookie, the little bits of marshmallow… I couldn’t stop thinking about them. As someone who has spent years creating and testing recipes, my very next thought was, “I have to make these at home.”
So I went straight to my kitchen and started testing. I wanted a Costco Marshmallow Crispy Cookie dupe that kept everything I loved about the original, but warm from the oven, extra gooey, and even more flavorful. A few batches later, I landed on this recipe, with nutty brown butter, a spoonful of malted milk powder, frozen marshmallows that stay in gooey pockets, and a sprinkle of flaky salt.
Why you will love these Marshmallow Crispy Cookies
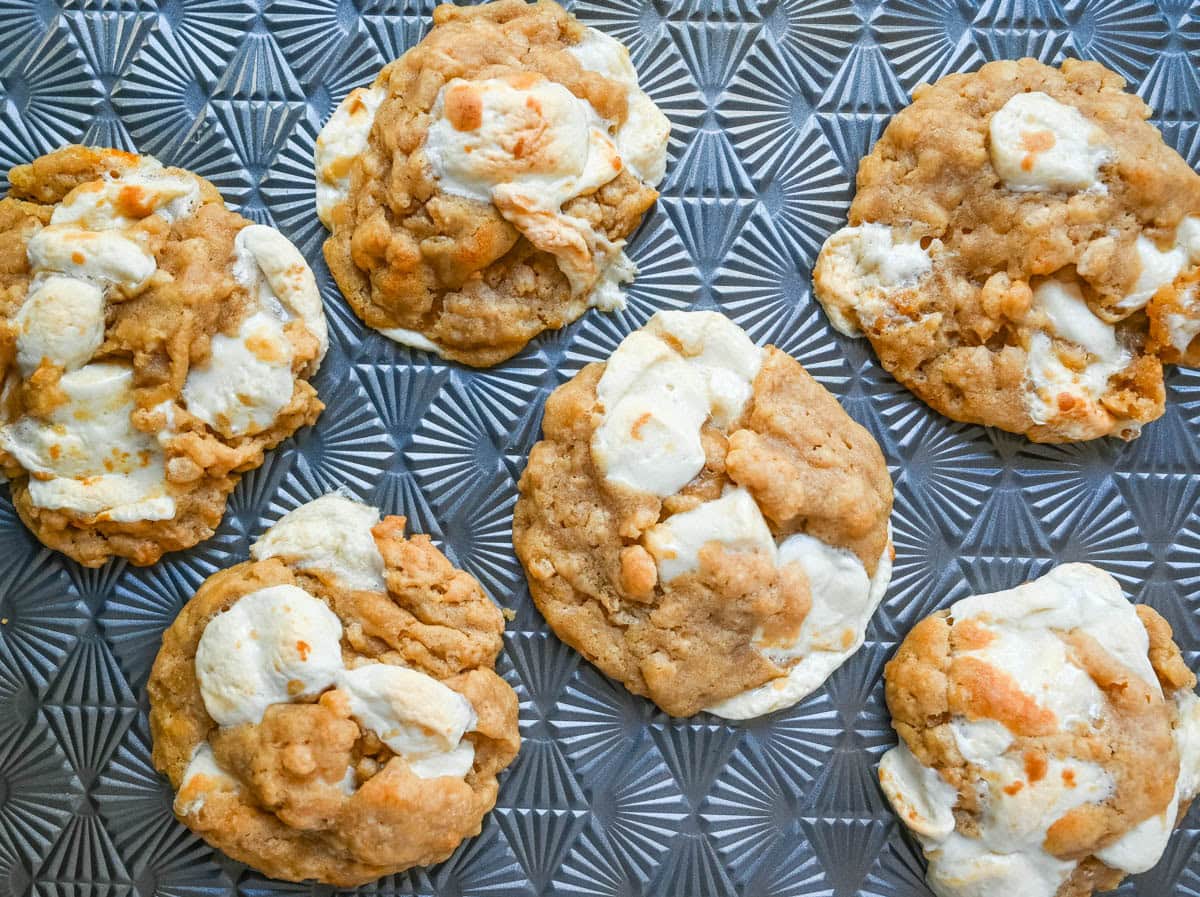
These Marshmallow Crispy Cookies combine a rich brown butter cookie base with crunchy Rice Krispies cereal and gooey mini marshmallows for a totally unique texture. These homemade cookies have crisp, golden edges and soft, chewy centers loaded with melty marshmallow pockets!
- The best texture combo: crisp edges, a chewy center, crunchy cereal, and gooey marshmallow in every bite.
- Big bakery-style cookies. Each one is about 3 tablespoons of dough.
- Brown butter flavor. Toasty, nutty, and rich.
- A secret ingredient. Malted milk powder makes them taste like a milkshake met a Rice Krispie treat.
- Quick chill. Under an hour, not overnight.
What makes these cookies different:
There are a lot of Rice Krispie treat cookies out there. Here’s what sets these apart:
- Brown butter: Browning the butter cooks the milk solids until they’re toasty and nutty, giving the cookies a deep, caramel-like flavor. It also tastes like the browned edges of a really good Rice Krispie treat.
- Malted milk powder: Just 1 teaspoon adds a subtle, nostalgic flavor and helps the cookies brown. It’s optional, but it’s my favorite part.
- Frozen marshmallows: Room-temperature marshmallows melt into the dough and disappear. Frozen ones hold their shape longer, so you get distinct gooey pockets.
- Chilled dough: Brown butter dough is soft. A short chill firms it up so the cookies bake thick and chewy instead of spreading thin.
- Extra marshmallows on top: Pressing a few on each cookie before baking gives them that bakery look.
If you loved the crispy marshmallowy texture in these cookies, you have to try my classic Rice Krispies Treats next because they’re one of my family’s all-time favorite treats!
Marshmallow Crispy Cookie Ingredients:
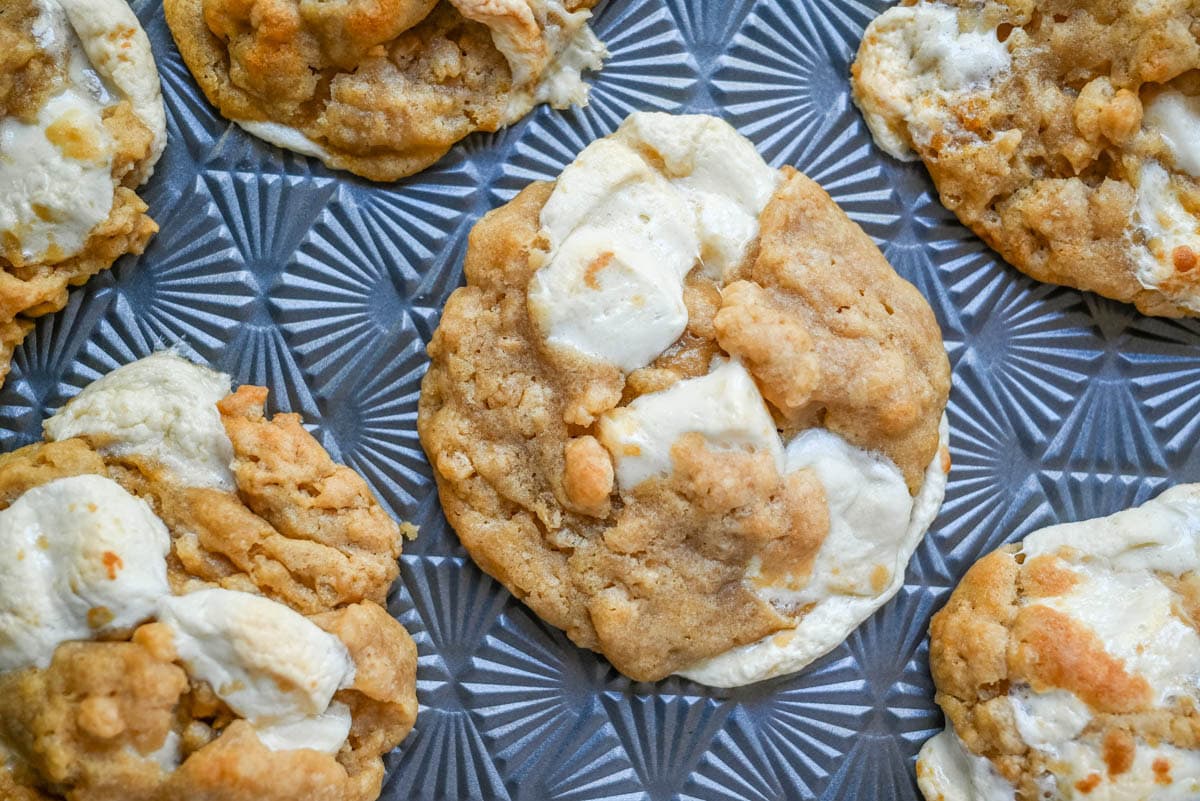
Exact amounts are in the recipe card below.
- Butter – Browned before mixing, this creates a deep, nutty, caramelized flavor that sets these cookies apart from a classic cookie base.
- Malted Milk Powder (Optional) – Adds a subtle, toasty depth of flavor that complements the brown butter.
- Brown Sugar and Granulated Sugar – Brown sugar adds moisture and rich caramel flavor, while granulated sugar helps balance sweetness and texture.
- Eggs – Bind the ingredients together and give the cookies structure and chew.
- Vanilla Extract or Vanilla Bean Paste – Rounds out and enhances the overall flavor of the dough.
- All-Purpose Flour – Provides the structure needed to hold the mix-ins together.
- Baking Soda – Helps the cookies rise and spread just the right amount.
- Salt – Balances the sweetness and enhances all the other flavors in the dough.
- Rice Krispies Cereal – Adds a signature crunchy texture throughout the cookie that makes these stand out from a classic cookie.
- Mini Marshmallows, Frozen – Freezing the marshmallows before folding them in helps them hold their shape better during baking, creating gooey pockets instead of melting completely into the dough.
- Flaky Salt – Finishes the cookies with a touch of salty contrast that balances all the sweetness.
How to make the Best Marshmallow Crispy Cookies:
- Freeze the marshmallows. Spread the mini marshmallows on a plate and freeze them while you make the dough.
- Brown the butter. Melt the butter in a light-colored saucepan over medium heat. Keep cooking 4–6 minutes, stirring often. It will foam, then turn golden with brown bits on the bottom and smell nutty. Pour it into a large bowl, scraping in the brown bits, and cool 10–15 minutes.
- Whisk in the sugars. Whisk the brown butter with the brown sugar and granulated sugar for 30–45 seconds, until glossy.
- Add the eggs and vanilla. Whisk until smooth.
- Add the dry ingredients. Stir in the flour, malted milk powder, baking soda, and salt just until no dry streaks remain.
- Fold in the cereal and marshmallows. Gently fold in the cereal, then most of the frozen marshmallows, saving a few for the tops.
- Chill. Cover and refrigerate 45–60 minutes.
- Scoop. Preheat the oven to 350°F. Scoop 3-tablespoon portions (70–75 g) and place 5–6 per parchment-lined baking sheet with lots of space between them. Press a few extra marshmallows onto each one.
- Bake. Bake 9–11 minutes, until the edges are set and lightly golden but the centers still look slightly underbaked.
- Finish. Sprinkle with flaky salt while warm. Cool on the pan for 10 minutes, then move to a rack.
How to brown butter
Use a light-colored pan so you can see the color change. The butter will melt, foam, and sputter, then go quiet as the water cooks off. Watch for golden color and small brown specks on the bottom, and a nutty smell. Pull it off the heat right away, because it can go from brown to burnt in seconds.
Tips for making the best cookies
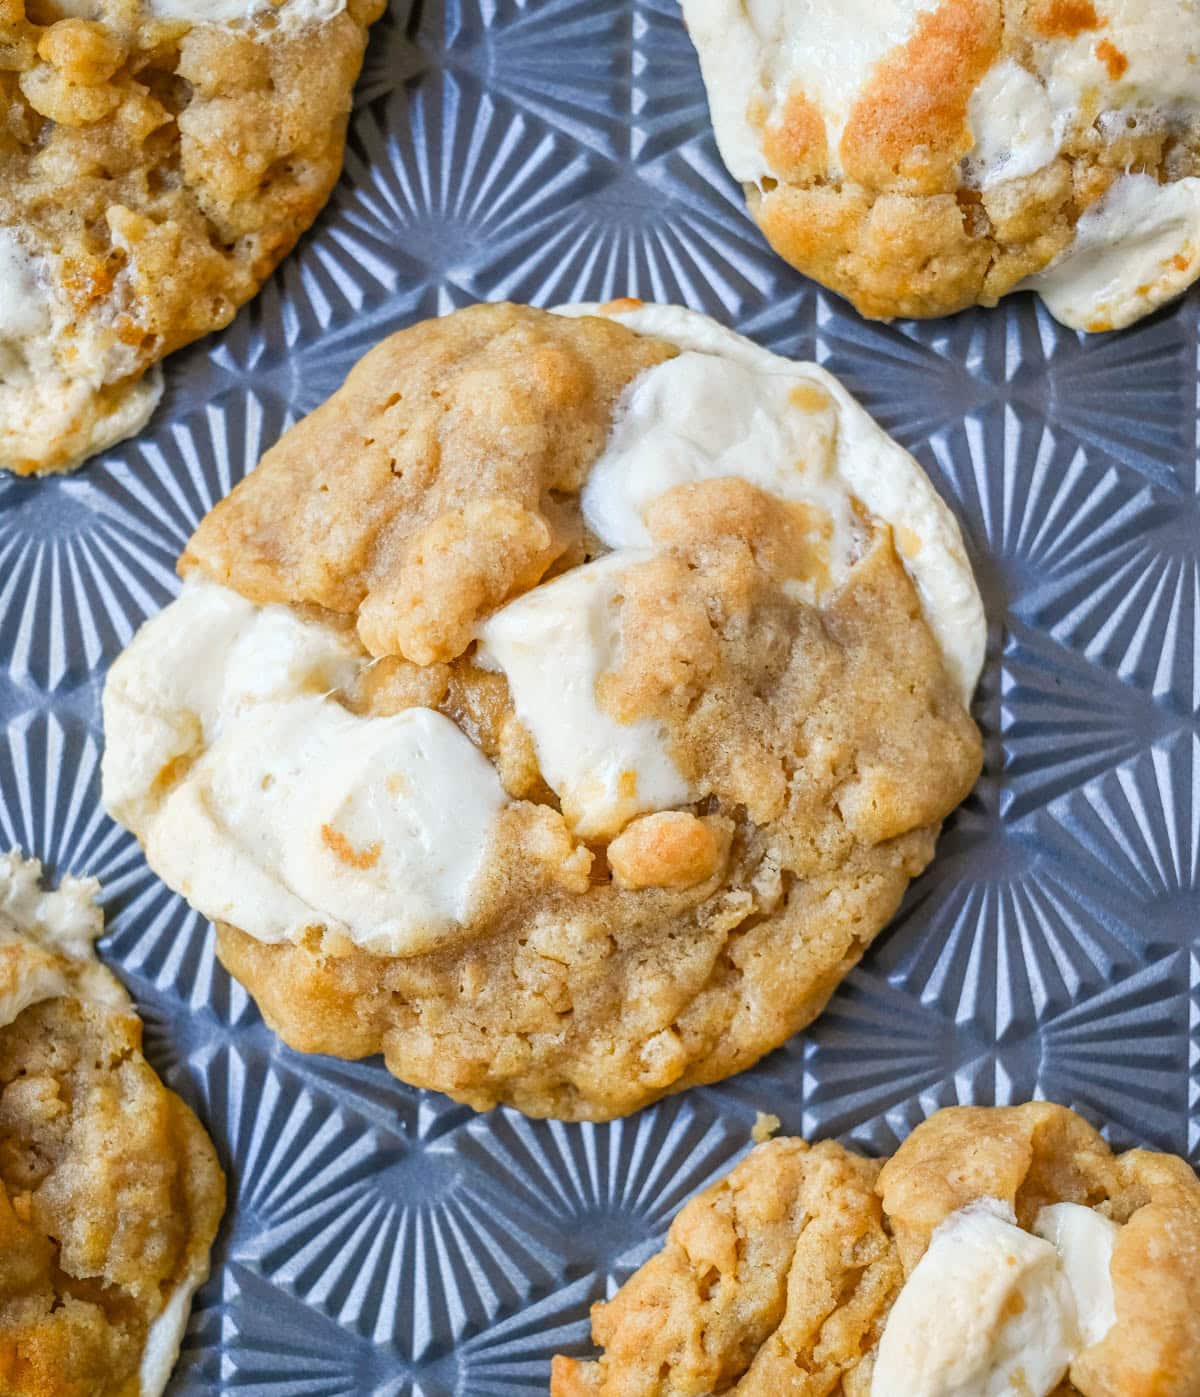
- Don’t overbake. For the best texture, pull the cookies when the centers still look slightly underbaked. They’ll continue to set as they cool, leaving you with crisp edges and soft, chewy centers.
- Freeze the marshmallows first. Frozen mini marshmallows hold their shape much better during baking, creating gooey pockets instead of melting away completely.
- Don’t skip the chill time. Chilling the dough for 45-60 minutes helps control spread and makes the dough easier to scoop into thick, bakery-style cookies.
- Give them plenty of space. These are large cookies, so only bake 5-6 per sheet to give them enough room to spread evenly.
- Press extra marshmallows and Rice Krispies on top. Adding a few extra pieces to the tops before baking gives these cookies that beautiful bakery-style look.
- Watch the butter closely. Brown butter can go from perfectly nutty to burnt quickly, so stir frequently and remove it from the heat as soon as it turns deep golden and smells nutty.
Frequently Asked Questions:
Can I use regular marshmallows instead of mini?
Mini marshmallows work best here since they distribute more evenly throughout the dough. If using regular marshmallows, cut them into smaller pieces before freezing and folding them in.
Do I have to brown the butter?
Browning the butter adds a rich, nutty flavor that’s part of what makes these cookies special, but you can use regular melted butter if you’re short on time, though the flavor will be milder.
Why do I need to chill the dough?
Chilling firms up the butter in the dough, which helps prevent the cookies from spreading too thin while baking and makes for a thicker, chewier cookie.
Can I make the dough ahead of time?
Yes, the dough can be made and refrigerated up to 2 days in advance, or portioned into balls and frozen for up to 3 months.
What is malted milk powder, and can I skip it? It’s powdered milk with malted barley, the flavor in malted milkshakes and Whoppers. It adds a subtle nostalgic flavor. Yes, you can skip it, and the cookies will still be delicious.
Why do I need to freeze the marshmallows? So they don’t melt away in the oven. Frozen marshmallows stay as gooey pockets.
Can I use regular-size marshmallows? Yes. Cut them into small pieces with greased kitchen scissors, then freeze them.
How big should the cookies be? Use a 3-tablespoon scoop, about 70–75 g of dough, for big bakery-style cookies. For smaller cookies, use a 1½-tablespoon scoop and bake 7–9 minutes.
Rice Krispies Recipes:


Here are some more popular recipes to try…
- S’mores Cookies
- Chex Scotcheroos
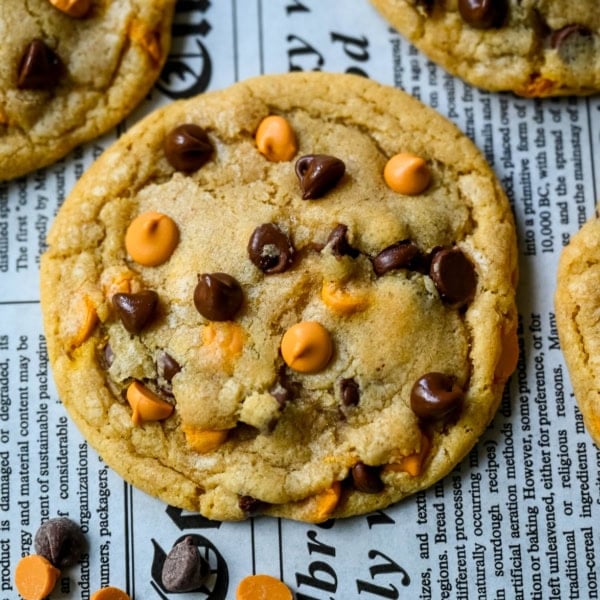
- Best Brown Butter Chocolate Chip Cookies
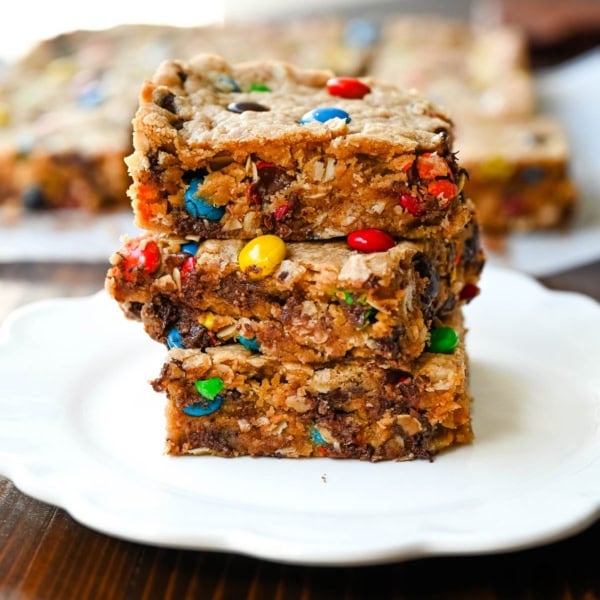
- Best Monster Cookies
- M&M Chocolate Chip Cookies
- Scoopable Cookies
- Cornbread Cookies
How to store the Rice Krispies Cookies
Store cookies in an airtight container at room temperature for up to 4-5 days. For longer storage, freeze baked cookies in an airtight container for up to 3 months and thaw at room temperature before serving. Unbaked dough portions can also be frozen for up to 3 months and baked straight from frozen, adding a couple extra minutes to the bake time.
Pin this now to find it later
Pin It
Brown Butter Marshmallow Crispy Cookies (Brown Butter Rice Krispie Treat Cookies)
Ingredients
- 1 cup Butter
- 1 teaspoon Malted Milk Powder optional
- 1 cup Packed Brown Sugar
- ½ cup Granulated Sugar
- 2 large Eggs room temperature
- 2 teaspoons Vanilla extract or vanilla bean paste
- 2½ cups All-purpose flour
- 1 teaspoon Baking Soda
- 1 teaspoon Salt
- 2 cups Rice Krispies cereal
- 1¼ cups Mini Marshmallows frozen
- Flaky salt for finishing
Instructions
- Freeze the marshmallows. Spread the mini marshmallows on a plate and freeze them while you make the dough.
- Brown the butter. Melt the butter in a light-colored saucepan over medium heat. Keep cooking 4–6 minutes, stirring often. It will foam, then turn golden with brown bits on the bottom and smell nutty. Pour it into a large bowl, scraping in the brown bits, and cool 10–15 minutes.
- Whisk the brown butter with the brown sugar and granulated sugar for 30–45 seconds, until glossy.
- Add the eggs and vanilla. Whisk until smooth.
- Stir in the flour, malted milk powder, baking soda, and salt just until no dry streaks remain.
- Fold in the cereal and marshmallows. Gently fold in the cereal, then most of the frozen marshmallows, saving a few for the tops.
- Chill. Cover and refrigerate 45–60 minutes.
- Preheat the oven to 350°F. Scoop 3-tablespoon portions (70–75 g) and place 5–6 per parchment-lined baking sheet with lots of space between them. Press a few extra marshmallows onto each one.
- Bake 9–11 minutes, until the edges are set and lightly golden but the centers still look slightly underbaked.
- Sprinkle with flaky salt while warm. Cool on the pan for 10 minutes, then move to a rack.
Notes
- Don’t overbake. Pull the cookies when the edges are set and the centers look slightly underbaked. They finish setting on the pan.
- Freeze the marshmallows at least 30 minutes so they stay gooey instead of melting away.
- Cool the brown butter 10–15 minutes so it doesn’t scramble the eggs or make the cookies greasy.
- Malted milk powder is optional, but it adds a nostalgic flavor.
- Use parchment paper, since melted marshmallow sticks to bare pans.
- Make ahead: Freeze scooped dough balls up to 3 months. Bake from frozen, adding 1–2 minutes.
- Storage: Airtight at room temperature up to 3 days.
Nutrition
Nutrition information is automatically calculated, so should only be used as an approximation.