This post may contain affiliate links. Please read our disclosure policy.
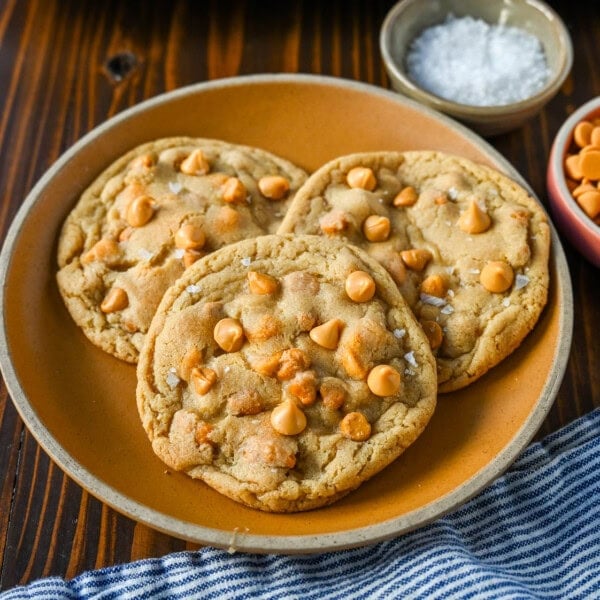
This easy butterscotch chocolate chip cookie recipe delivers crisp, buttery edges and soft, chewy centers. Made with melted butter, brown sugar, and butterscotch chips — no mixer needed.
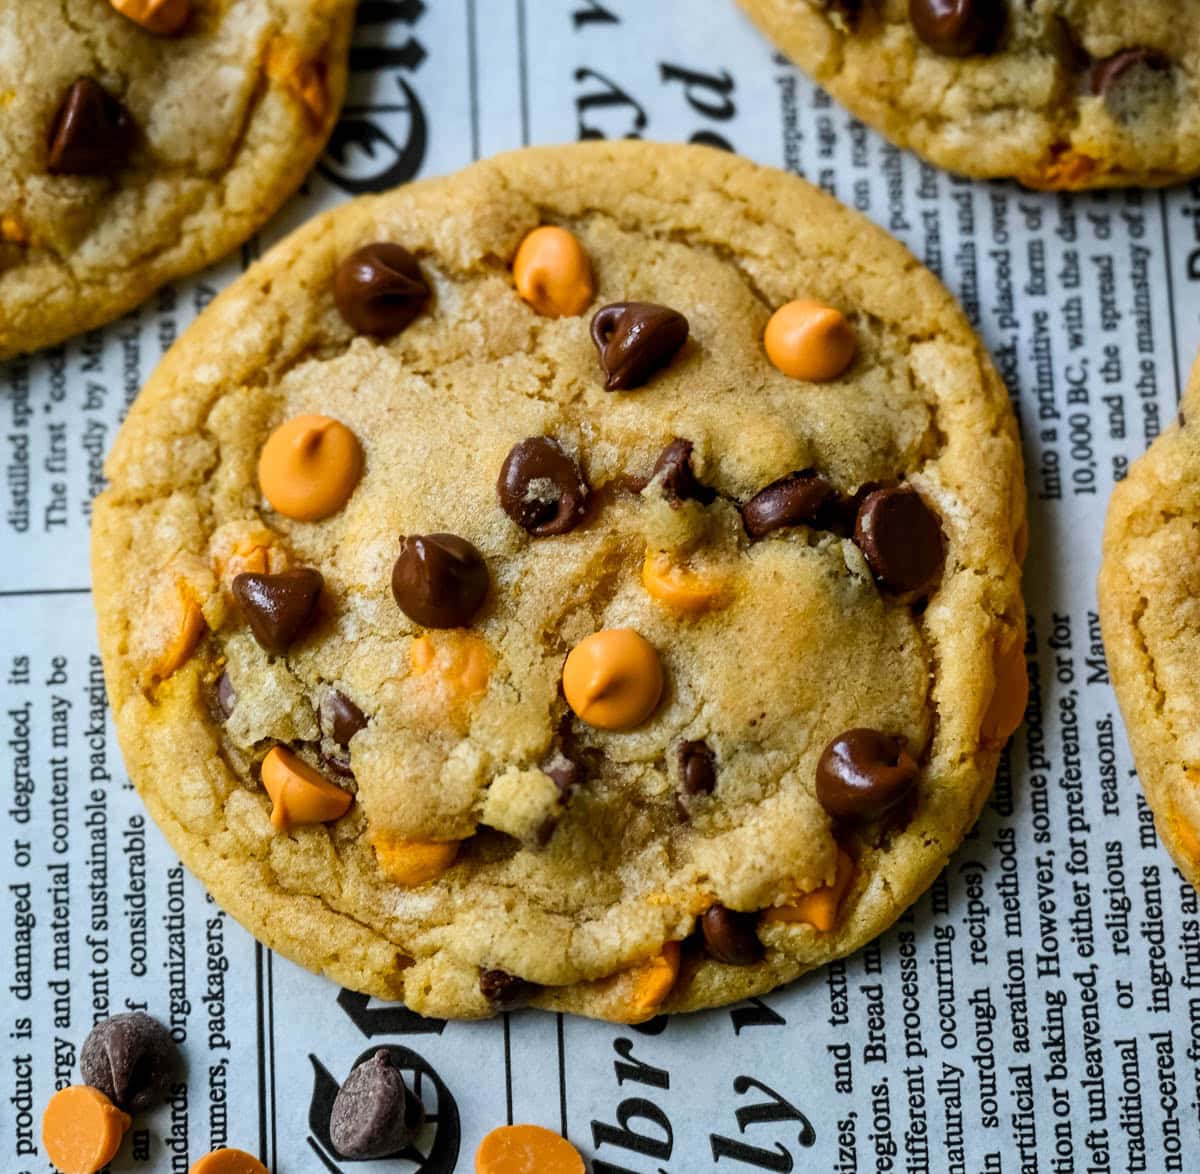
Okay, can we talk about butterscotch for a second? It’s one of those flavors that doesn’t get nearly enough love, and once you fold it into a chocolate chip cookie, you’ll wonder why you haven’t been doing this the whole time. These butterscotch chocolate chip cookies have crisp, buttery edges, soft chewy centers, and just the right amount of caramel-y sweetness from the butterscotch chips. These cookies are so easy…you don’t even need a mixer!
If you love the deep, caramel-like flavor of butterscotch and the classic taste of a chocolate chip cookie, this recipe combines both into one seriously good cookie. These butterscotch chocolate chip cookies are made with melted butter instead of creamed butter, which gives them crisp, buttery edges and soft, chewy centers — no stand mixer required. A short (or long) chill time in the fridge deepens the flavor and helps the cookies bake up with that perfect contrast in texture every time.
If you have tried my one bowl chocolate chip cookie recipe, you know how easy they are! We are adding some butterscotch chips and even some sea salt sprinkled on the top to give it that perfect salty sweet flavor.
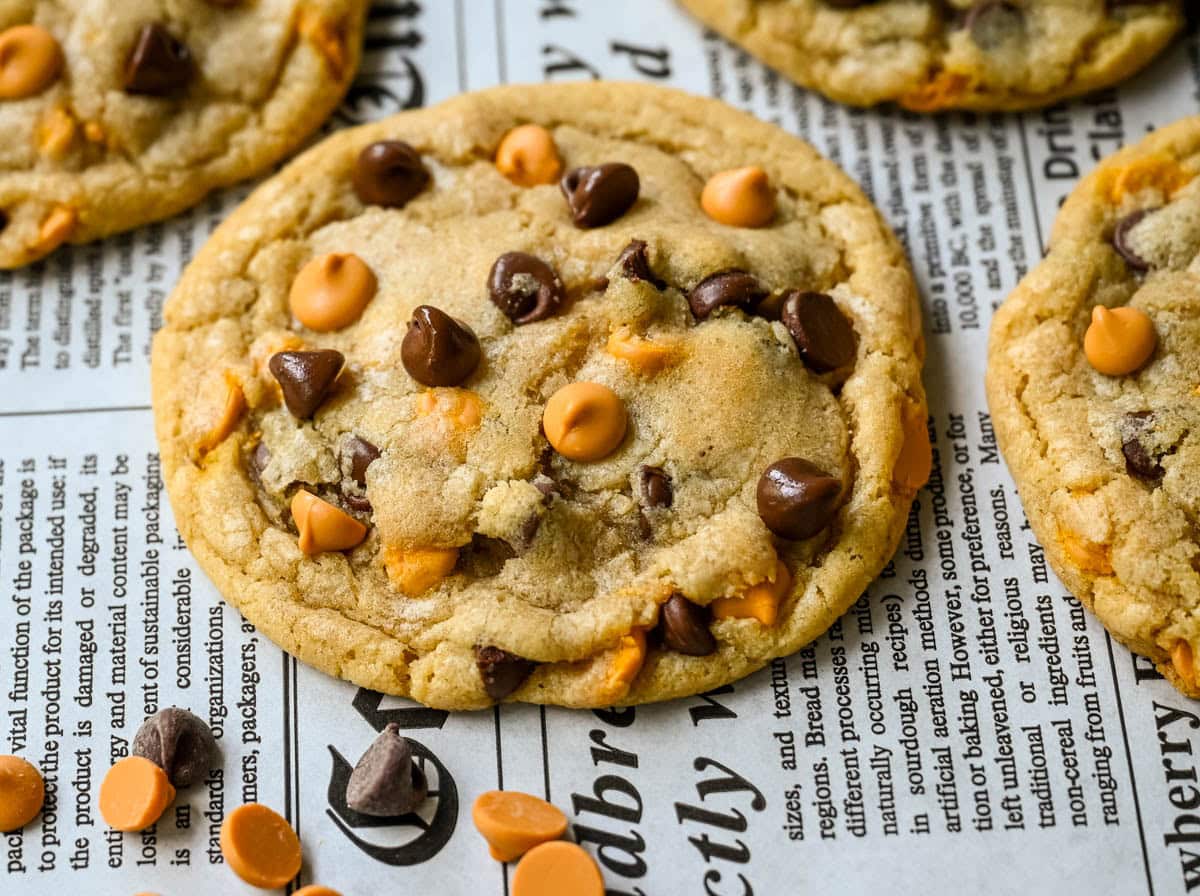
Why you will love these Butterscotch Chocolate Chip Cookies:
- No mixer required. Just a bowl and a whisk or spoon — the melted butter makes mixing easy.
- Crisp edges, chewy centers. Chilling the dough and baking with melted butter gives you that perfect contrast — buttery, slightly crisp edges with soft, chewy middles.
- Deep caramel-like flavor. Butterscotch chips add a rich, buttery sweetness that pairs perfectly with semi-sweet chocolate.
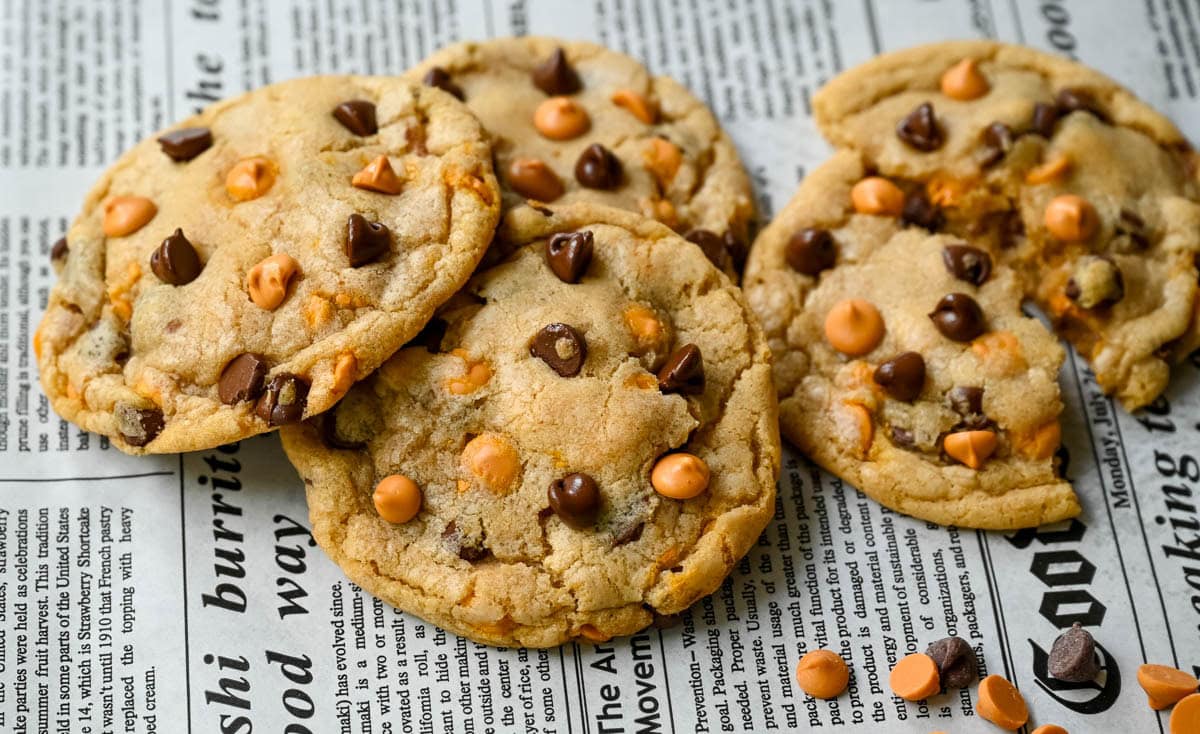
Ingredients
- 1 cup butter, melted
- 1⅓ cups brown sugar
- ⅔ cup sugar
- 2 large eggs
- 2 teaspoons vanilla
- 2⅔ cups flour (see note below for a thicker cookie)
- 1 teaspoon baking soda
- 1 teaspoon salt
- 1 cup butterscotch chips
- 1 cup semi-sweet chocolate chips
- Sea Salt Flakes (optional)
- A small handful each of extra butterscotch chips and chocolate chips, reserved for topping (optional, for a bakery-style finish)
Ingredient Notes
Butter: Melted butter (rather than softened, creamed butter) is what gives these cookies their dense, chewy texture. Let it cool slightly after melting so it doesn’t cook the eggs when you add them.
Brown sugar: Using more brown sugar than white sugar adds moisture and a deeper caramel flavor, which pairs perfectly with the butterscotch chips. Light or dark brown sugar both work — dark brown sugar will give an even richer, more molasses-forward flavor.
Flour: This recipe uses 2⅔ cups of flour for a classic cookie with crisp, buttery edges and a chewy center. If you prefer a thicker, more bakery-style cookie, increase flour to 3 cups.
Chocolate chips: Semi-sweet chocolate chips balance out the sweetness of the butterscotch chips. Milk chocolate chips can be used instead, or you can use a mix of both for a more layered flavor.
Butterscotch chips: These are the star of the recipe and give the cookies their signature caramel-like sweetness. Look for them near the chocolate chips in the baking aisle.
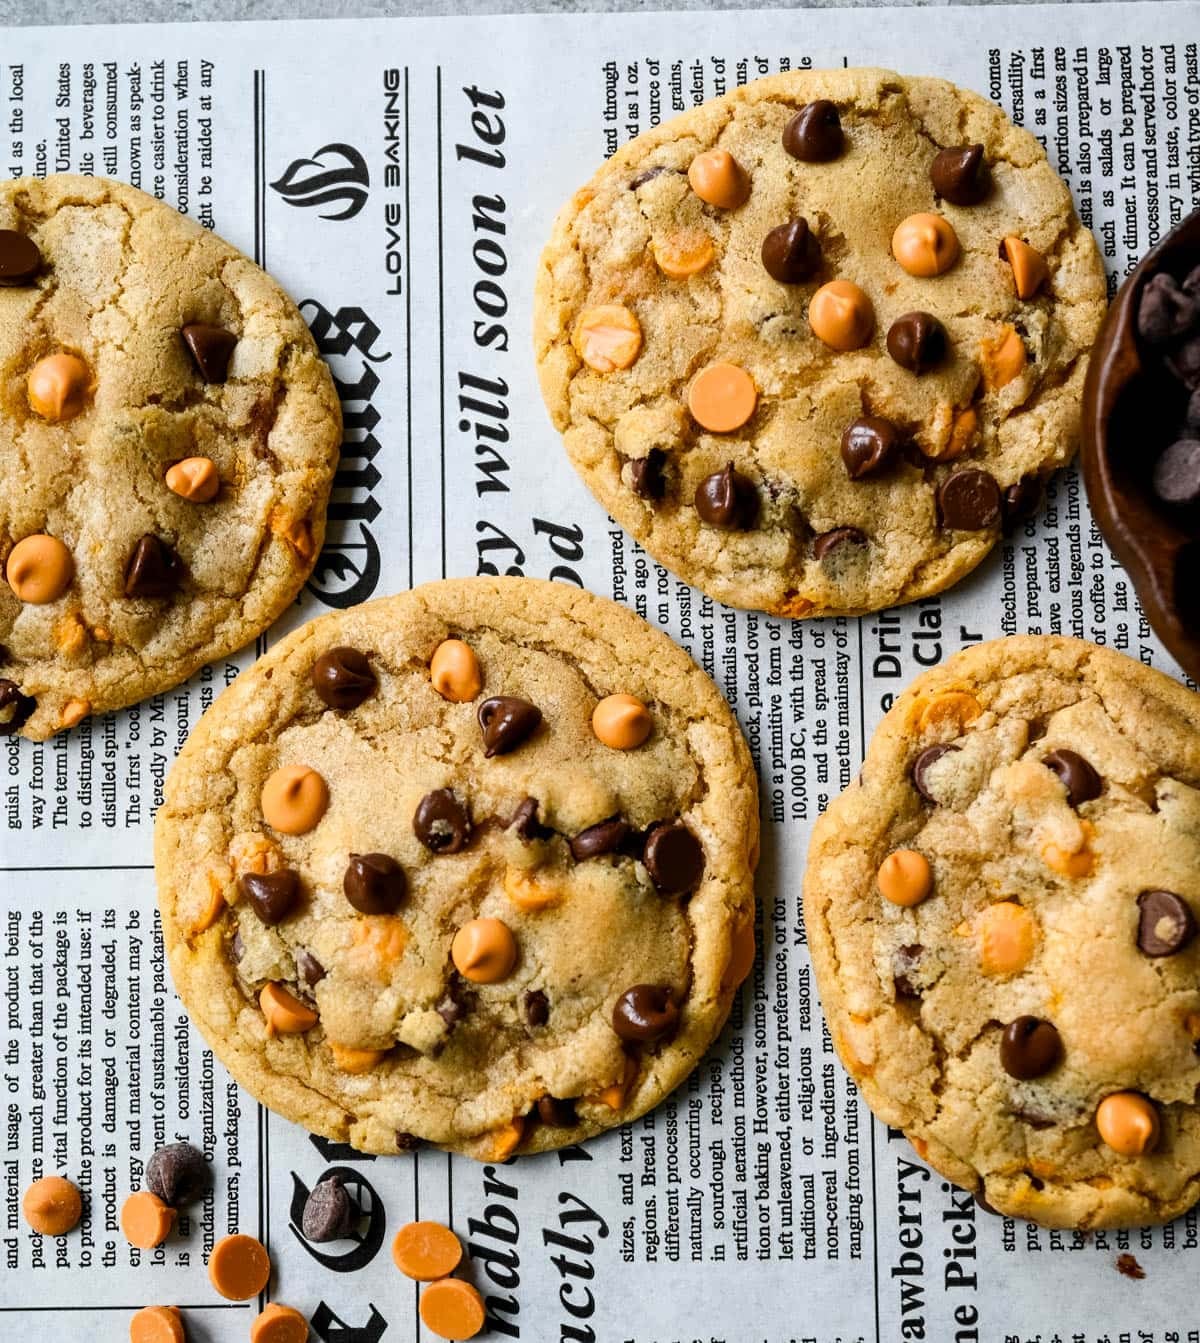
How to make Butterscotch Chocolate Chip Cookies:
- Melt the butter. In a microwave-safe bowl, melt the butter in the microwave until fully melted.
- Mix the sugars. Add the brown sugar and sugar to the melted butter. Whisk or stir vigorously until smooth and well combined.
- Add the eggs and vanilla. Add the eggs and vanilla, then whisk until silky and fully incorporated.
- Add the dry ingredients. Stir in the flour, baking soda, and salt until just combined. Be careful not to overmix.
- Fold in the chips. Gently fold in the butterscotch chips and semi-sweet chocolate chips.
- Chill the dough. Cover the bowl with plastic wrap and refrigerate for at least 30 minutes. Chilling is essential for the right texture — if you have time, chilling for 24–48 hours will deepen the flavor even more.
- Preheat the oven to 350°F when you’re ready to bake.
- Scoop the dough. Using a cookie scoop or spoon, portion the dough onto light-colored baking sheets. (Light-colored sheets help prevent the bottoms from over-browning.)
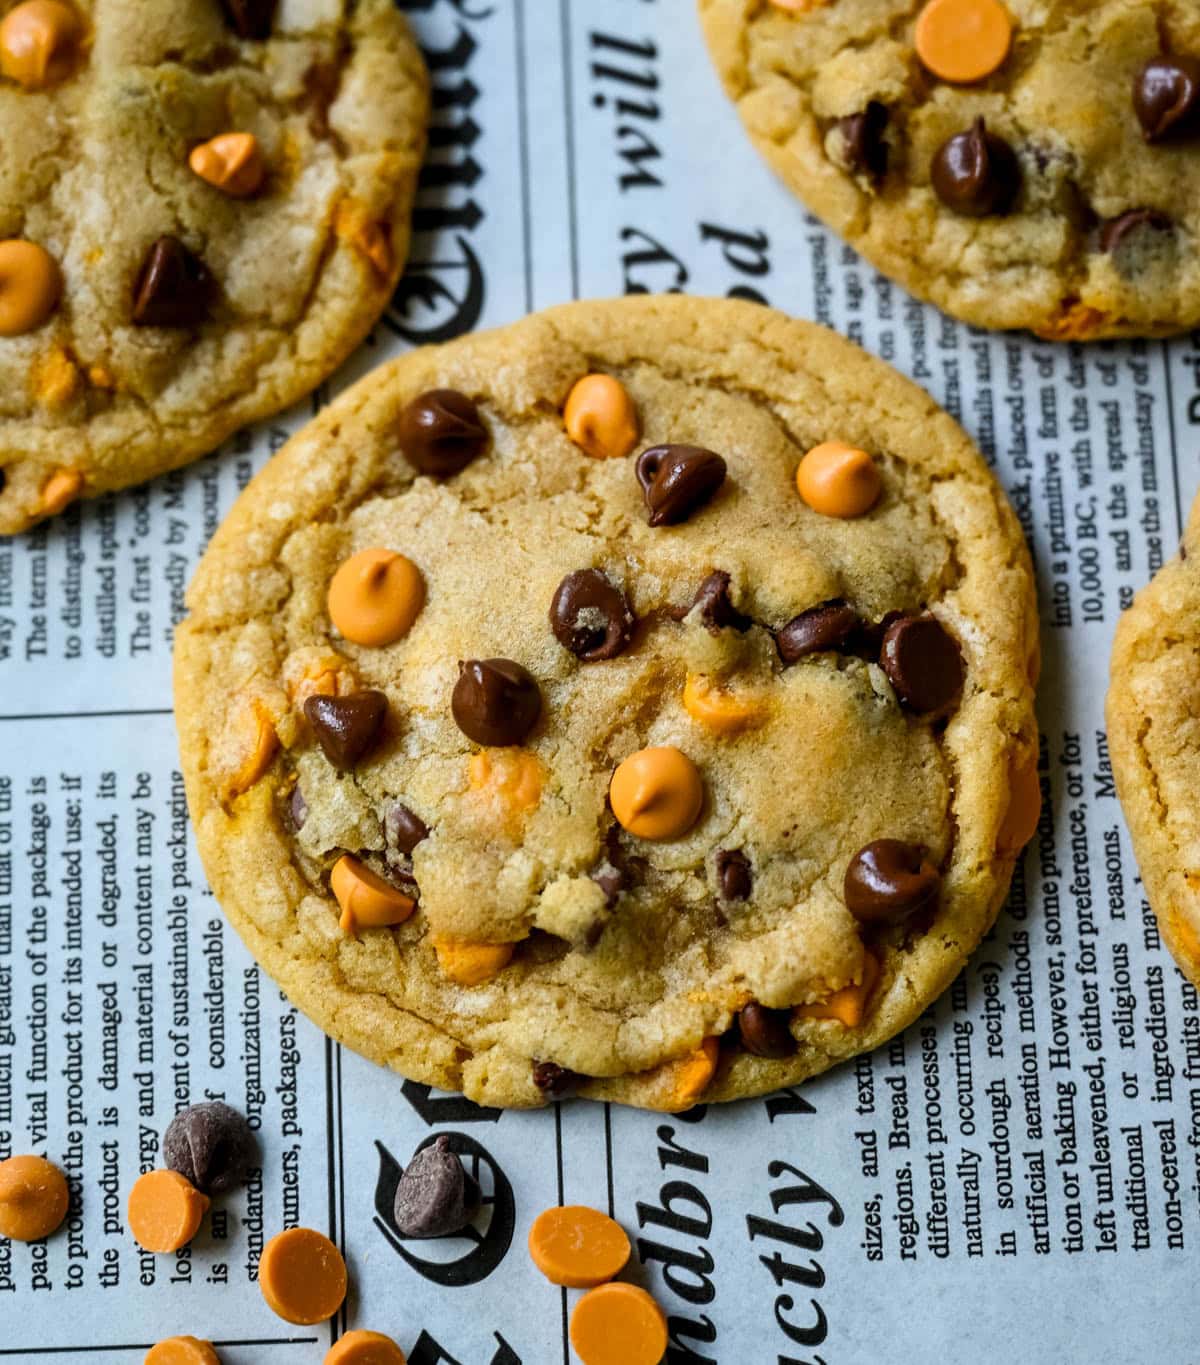
- Bake for 10–13 minutes, or until the cookies turn a light golden color. The centers may look slightly underbaked — that’s normal and will set as they cool.
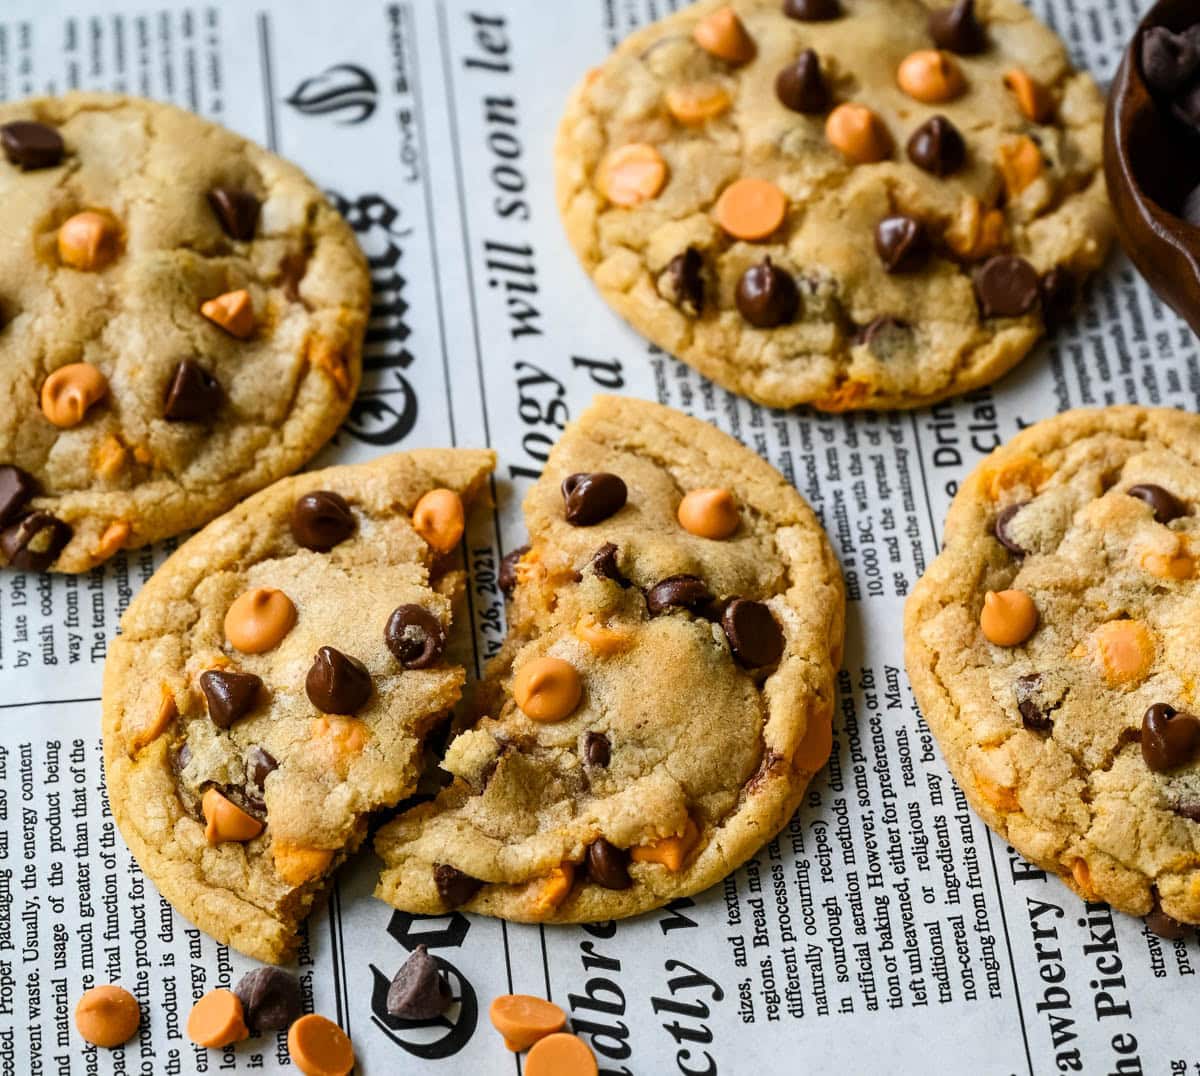
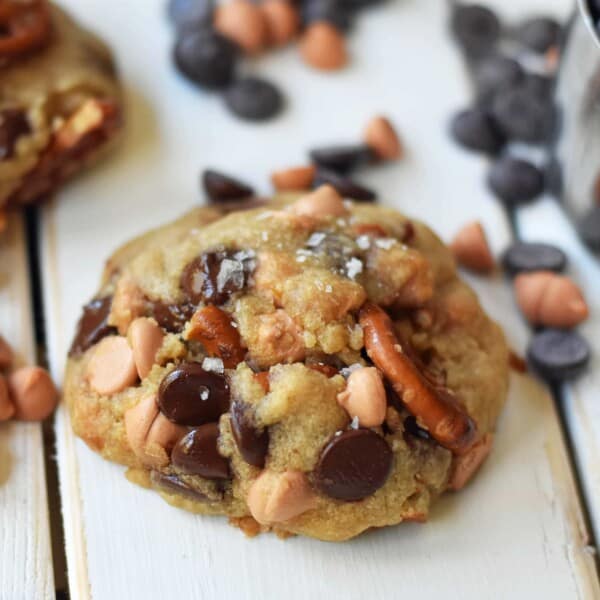
- Shape for a bakery-style look. As soon as the cookies come out of the oven, use a small spatula or turner to gently press the edges toward the center, nudging each cookie into a perfectly round shape.
- Add extra chips on top. While the cookies are still warm, press a few extra butterscotch chips and chocolate chips onto the tops for that bakery-display look.
- Cool on the pan for a few minutes before transferring to a wire rack.
Baking Tips:
- Don’t skip the chill time. This is the most important step in the recipe. Chilling firms up the butter so the cookies hold their shape and bake up with crisp, buttery edges instead of spreading thin, and it also gives the flour time to hydrate, which deepens the flavor and helps the centers stay chewy.
- Use light-colored baking sheets. Dark pans absorb more heat and can cause the bottoms of your cookies to overbake before the centers are done.
- Don’t overbake. These cookies will look slightly underdone in the center when you pull them out. They’ll continue to set as they cool on the pan, which keeps them soft and chewy.
- For a bakery-style, gourmet look: As soon as the cookies come out of the oven, use a small spatula or turner to press the edges toward the center, shaping each cookie into a perfect circle. Then press a few extra butterscotch chips and chocolate chips onto the warm tops. This simple trick is what gives homemade cookies that polished, coffee-shop appearance.
- Adjust flour for your preferred thickness. Stick with 2⅔ cups flour for the classic crisp-edge, chewy-center cookie, or increase to 3 cups for a thicker cookie.
- Room-temperature dough scoops easier. If your dough has chilled for 24–48 hours, let it sit at room temperature for 10–15 minutes before scooping if it’s too firm to work with.
How to Store Baked Cookies:
- Room temperature: Store in an airtight container for up to 3 days.
- Freezer: Baked cookies freeze well for up to 3 months. Thaw at room temperature or warm briefly in the microwave.
Frequently Asked Questions:
Why do I need to chill the cookie dough? Chilling firms up the melted butter, which prevents the cookies from spreading too thin in the oven. It also allows the flour to fully hydrate and the flavors to develop, resulting in a richer-tasting, chewier cookie. Chilling for at least 30 minutes is essential, but 24–48 hours will give you the best flavor.
Why are my cookies spreading too much? This is almost always caused by not chilling the dough long enough, or by butter that’s too warm. Make sure your melted butter has cooled slightly before mixing, and don’t skip the refrigeration step — it’s key to getting those crisp edges instead of a flat, overly spread cookie.
Recipes with Butterscotch Chips:
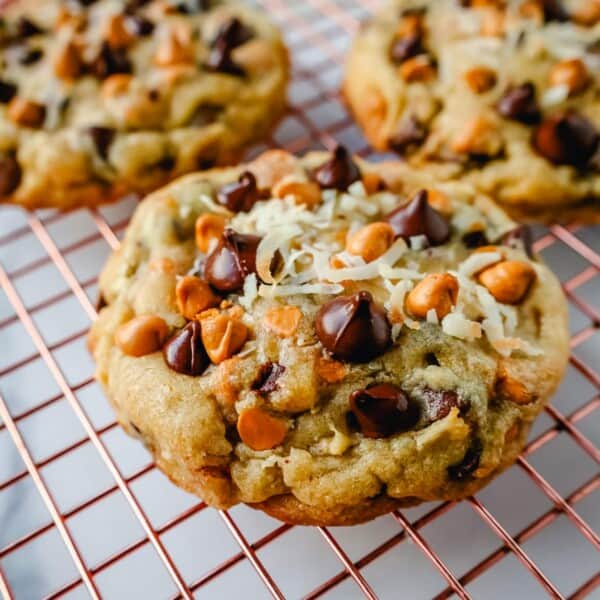
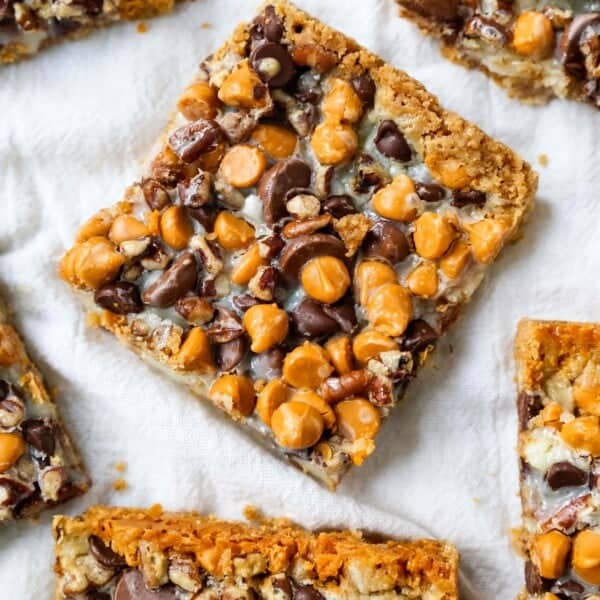
If you love butterscotch chips, here are some popular recipes to make with them…

Pin this now to find it later
Pin It
Butterscotch Chocolate Chip Cookies
Ingredients
- 1 cup Butter (melted)
- 1 1/3 cups Brown Sugar (packed)
- 2/3 cup Sugar
- 2 large Eggs
- 2 teaspoons Vanilla Extract
- 2 2/3 cups Flour
- 1 teaspoon Baking Soda
- 1 teaspoon Salt (may use less if using salted butter)
- 1 cup Semi-Sweet Chocolate Chips (plus more for top)
- 1 cup Butterscotch Chips (plus more for top)
- Sea Salt Flakes (optional)
Instructions
- Melt the butter. In a microwave-safe bowl, melt the butter in the microwave until fully melted.
- Add the brown sugar and sugar to the melted butter. Whisk or stir vigorously until smooth and well combined. This will take several minutes. Before adding the eggs, make sure the mixture isn't too warm.
- Add the eggs and vanilla, then whisk until silky and fully incorporated.
- Stir in the flour, baking soda, and salt until just combined. Be careful not to overmix.
- Gently fold in the butterscotch chips and semi-sweet chocolate chips.
- Chill the dough. Cover the bowl with plastic wrap and refrigerate for at least 30 minutes. Chilling is essential for the right texture — if you have time, chilling for 24–48 hours will deepen the flavor even more.
- Preheat the oven to 350°F when you are ready to bake. Using a cookie scoop or spoon, portion the dough onto light-colored baking sheets. (Light-colored sheets help prevent the bottoms from over-browning.)
- Bake for 10–13 minutes, or until the cookies turn a light golden color. The centers may look slightly underbaked — that's normal and will set as they cool. While baking, set aside some extra chocolate and butterscotch chips.
- Shape for a bakery-style look. As soon as the cookies come out of the oven, use a small spatula or turner to gently press the edges toward the center, nudging each cookie into a perfectly round shape.
- Add extra chips on top. While the cookies are still warm, press a few extra butterscotch chips and chocolate chips onto the tops for that bakery gourmet look.
- Cool on the pan for a few minutes before transferring to a wire rack.
Notes
Nutrition
Nutrition information is automatically calculated, so should only be used as an approximation.