This post may contain affiliate links. Please read our disclosure policy.
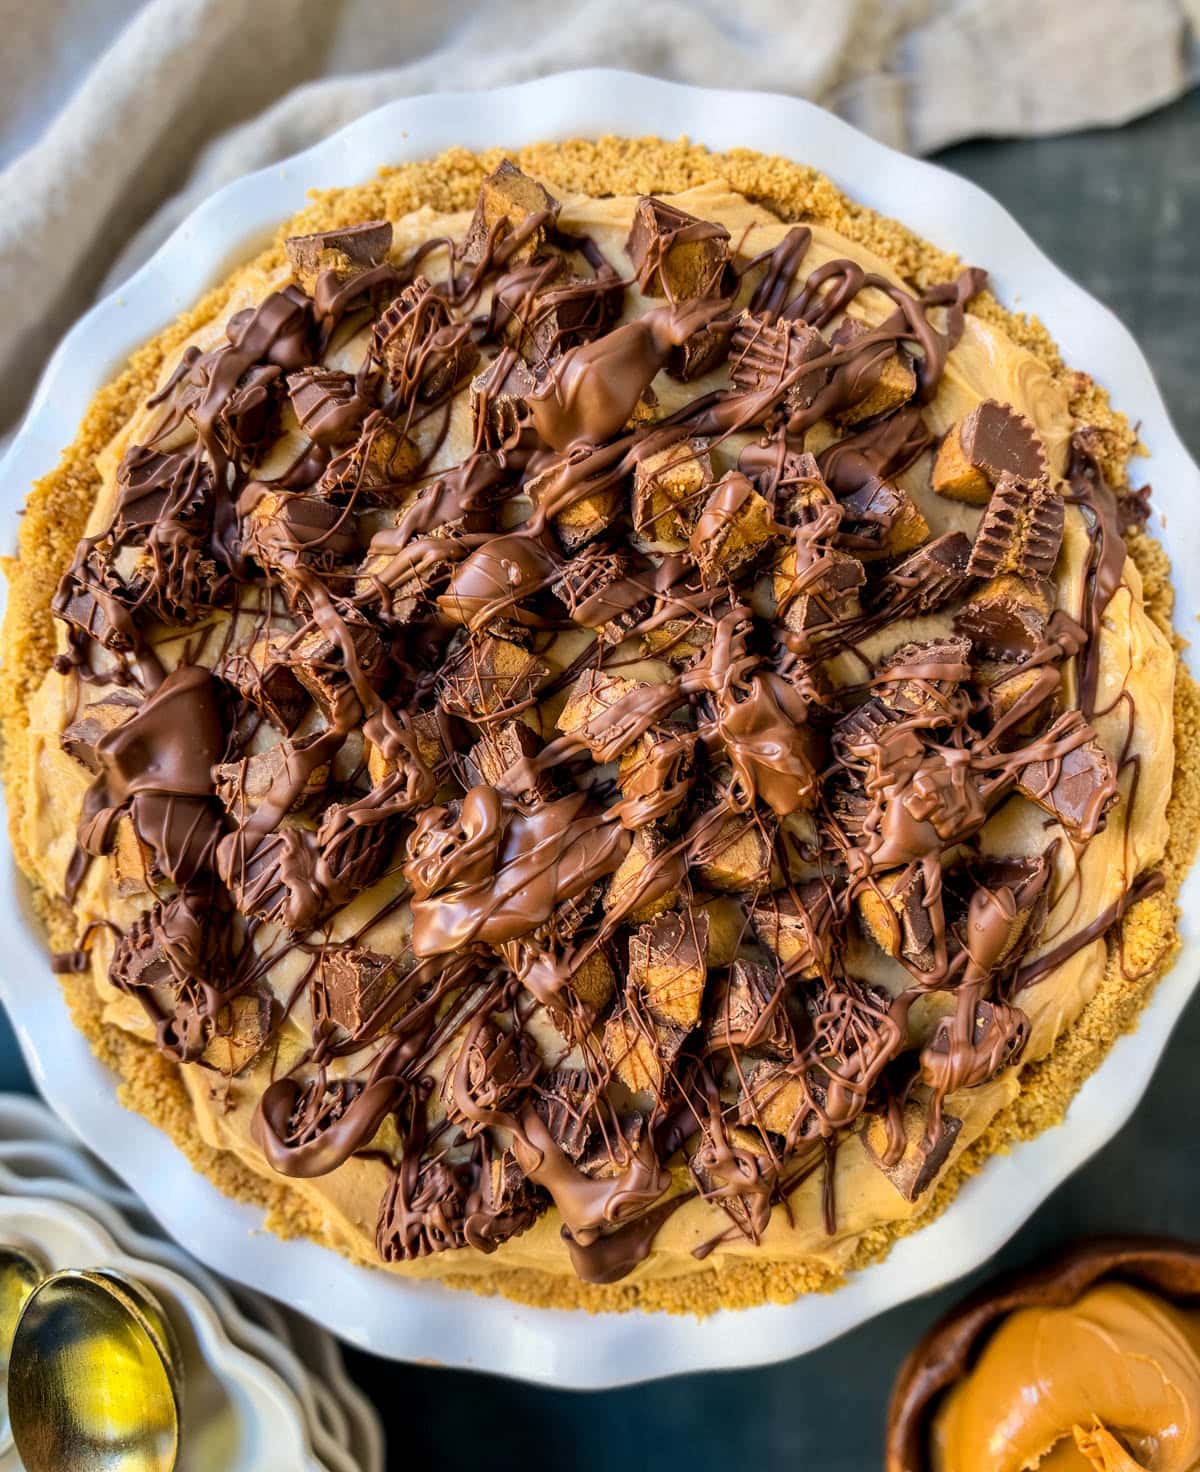
This easy peanut butter pie is everything you want in a no-bake dessert — a buttery graham cracker crust, a tall, creamy peanut butter filling, and topped with chopped peanut butter cups with a milk chocolate drizzle. It takes 30 minutes to make and chills overnight, so it’s the perfect make-ahead pie.
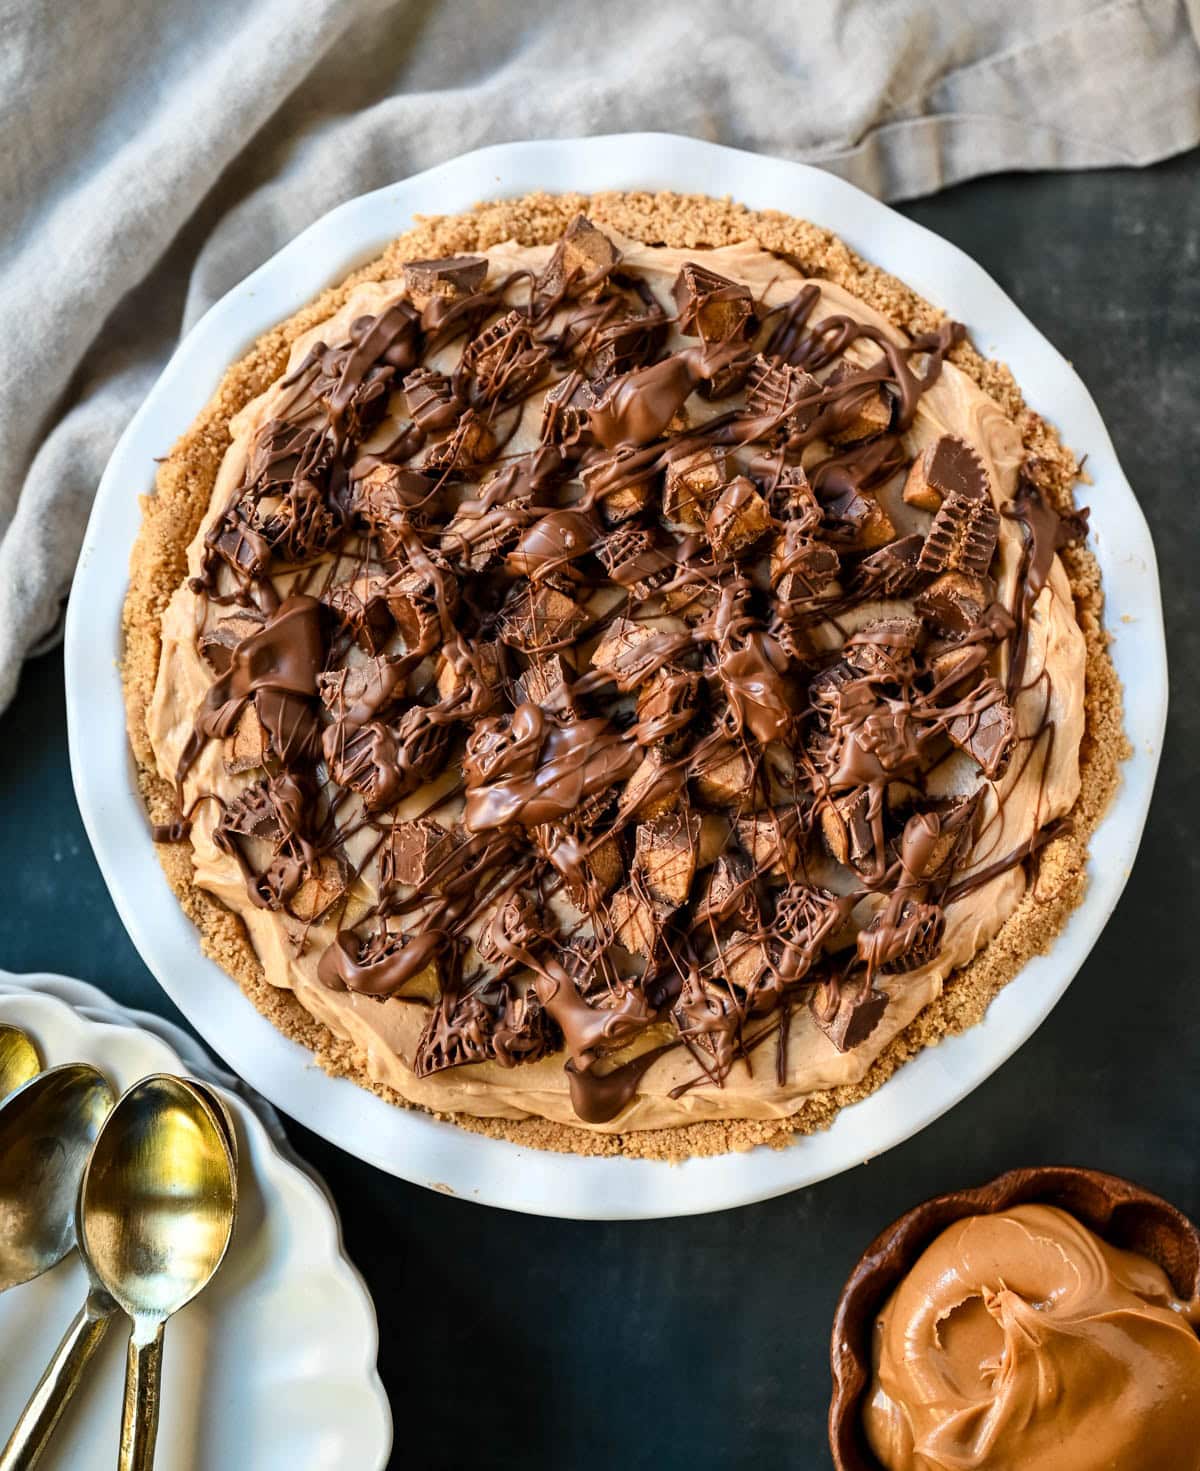
If there’s one pie that disappears first at every get-together at my house, it’s this peanut butter pie. Peanut buter lovers are going to love this creamy, rich, salty-sweet pie that is loaded with peanut butter cups. What more could you want?
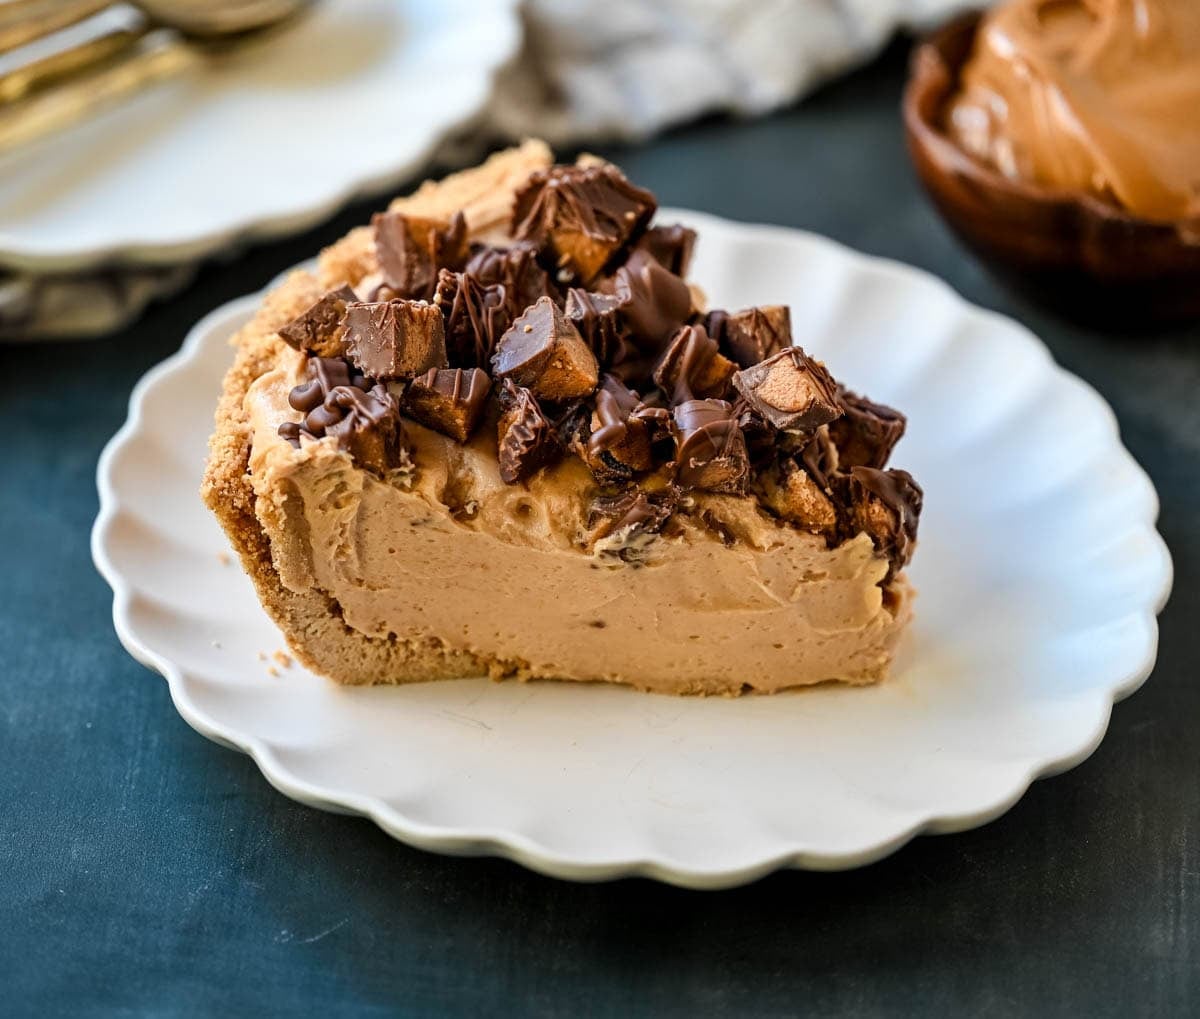
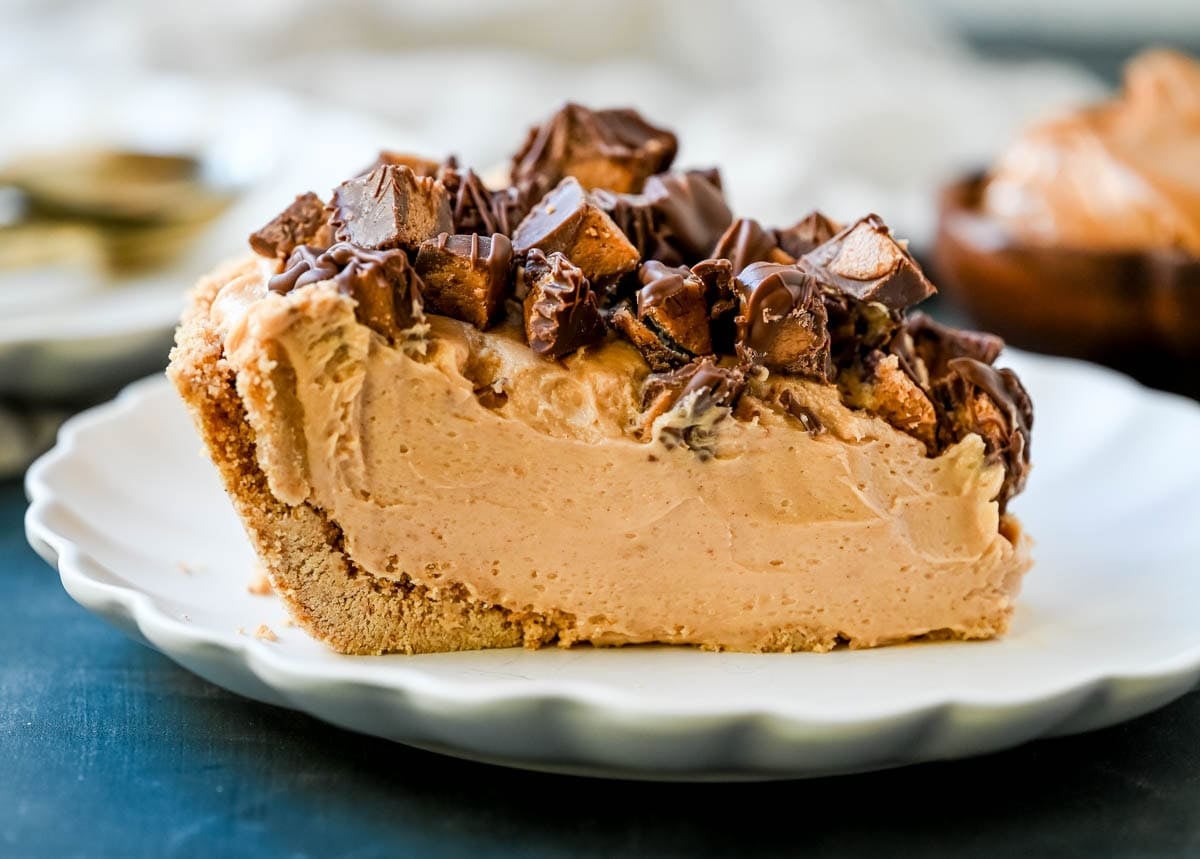
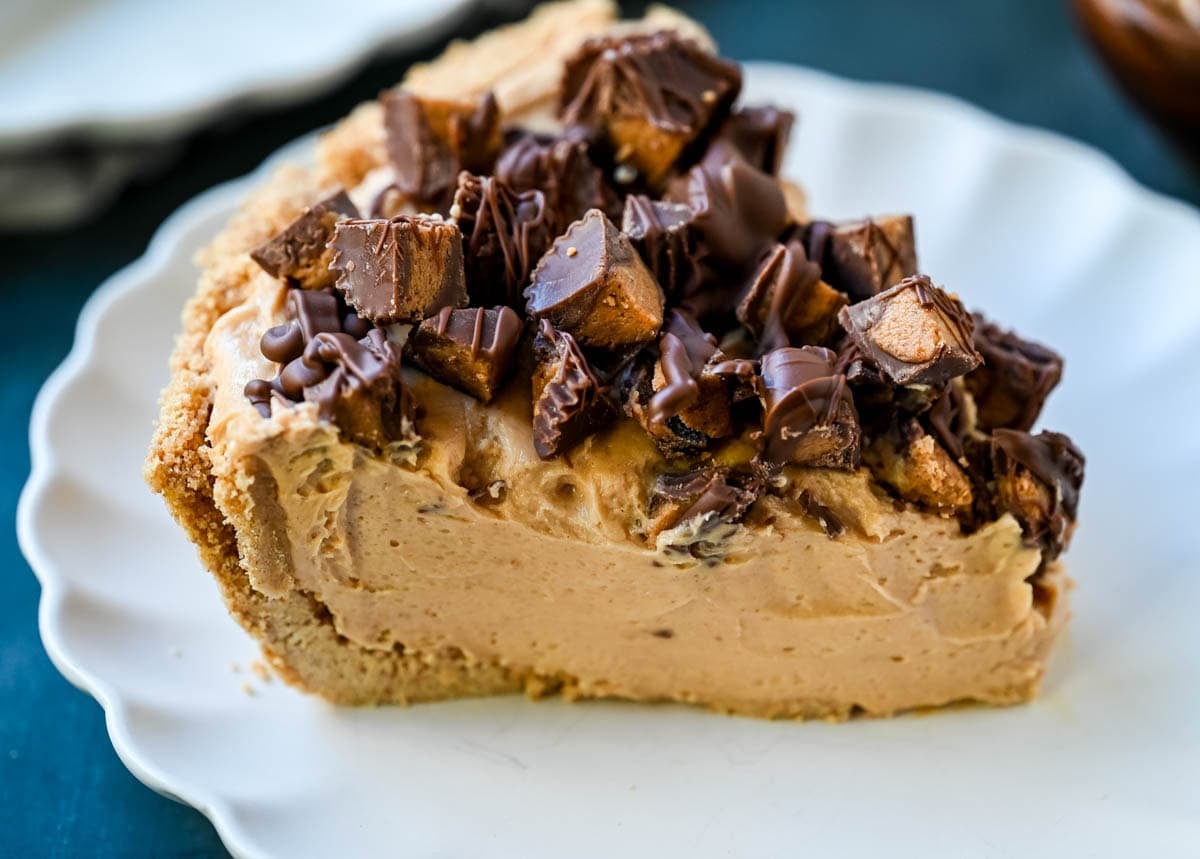
I’ve made a lot of peanut butter pies over the years, and this is the one I keep coming back to. I wanted a pie that was tall. Not a thin little layer of filling, but a big, thick, fluffy slice that holds its shape when you cut it. After lots of testing, I landed on the perfect ratio of cream cheese, peanut butter and whipped cream. It’s light enough to feel creamy but sturdy enough to stand up tall on the plate.
The best part? It’s completely no-bake. The graham cracker crust sets up in the freezer, the filling comes together in one bowl, and the fridge does the rest. That makes it a go-to for Thanksgiving and Christmas, when the oven is already full.
You can make it a day ahead (it’s actually better that way), pile on the chopped Reese’s, and finish it with a drizzle of milk chocolate right before serving. Trust me, this is the peanut butter pie everyone will ask you for.
Why You’ll Love This No-Bake Peanut Butter Pie
- No baking at all. The crust sets in the freezer and the filling sets in the fridge, so your oven stays free.
- A tall, thick slice. It’s made for a deep-dish pie pan, so every slice is big and creamy.
- Holds its shape. Cream cheese gives the filling just enough structure to slice cleanly.
- Loaded with Reese’s. Chopped peanut butter cups and a milk chocolate drizzle on top make it look like a bakery pie.
- Make ahead. It’s even better the next day, which makes it perfect for holidays and parties.
Peanut Butter Pie Ingredients
Graham cracker crust
- Graham cracker crumbs: about 16 full sheets, finely crushed. Buy pre-made crumbs to save time.
- Sugar: a little extra sugar helps a no-bake crust hold together.
- Butter: melted butter binds the crumbs and firms up when chilled.
Peanut butter cream pie filling
- Cream cheese: use full-fat brick cream cheese, not tub-style, which is too soft. Let it come to room temperature so it beats up smooth.
- Creamy peanut butter: use a stabilized brand like Jif or Skippy. Natural peanut butter separates and makes the filling greasy and loose.
- Powdered sugar: sweetens the filling without any grittiness. Some is whipped into the cream to help it hold.
- Vanilla: adds warmth to the flavor of this pie.
- Heavy cream: whipped to stiff peaks and folded in for a light, fluffy texture. No Cool Whip needed!
Topping
- Reese’s peanut butter cups: chopped. Minis, regular cups or Reese’s Thins all work.
- Milk chocolate drizzle (optional): milk chocolate chips melted with a little coconut oil for a glossy finish.
How to Make the Best Peanut Butter Pie
MAKE THE GRAHAM CRACKER CRUST:
Stir together the crumbs, sugar and melted butter until it looks like wet sand. If you have a food processor, it makes it extra easy! Press it firmly into the bottom and up the sides of a deep-dish pie pan. Use the bottom of a measuring cup to pack it tight. Freeze for 30 minutes.
Whip the cream
Whip the heavy cream with 1/4 cup powdered sugar until stiff peaks form. Stiff peaks are the key to a tall pie that holds its shape.
Make the peanut butter cream cheese filling
Beat the cream cheese until completely smooth. Make sure it is at room temperature. Then add the peanut butter, the rest of the powdered sugar, vanilla and salt, and beat until light and fluffy.
Fold in the whipped cream
Stir in about a cup of the whipped cream to loosen the filling, then gently fold in the rest. Go slowly so the filling stays airy.
Fill, top and chill
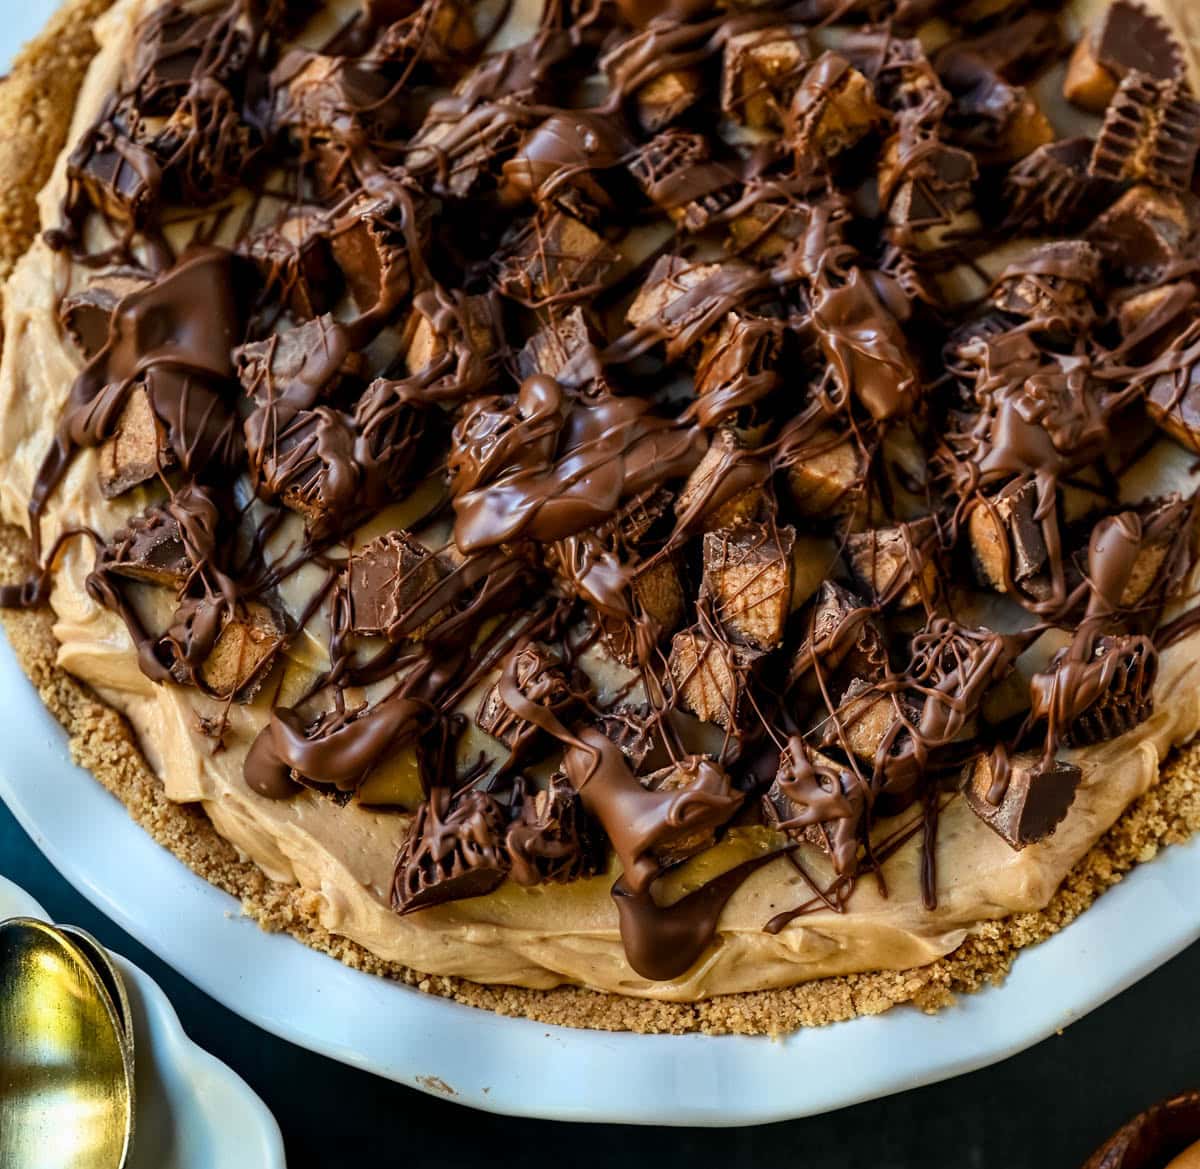
Pile the filling into the crust and mound it high in the center. Cover the top with chopped Reese’s and press them in lightly. Chill overnight, then add the milk chocolate drizzle.
Tips for the Best Peanut Butter Pie
- Soften the cream cheese completely. Cold cream cheese makes lumps you can’t beat out once the peanut butter goes in.
- Beat the cream cheese alone first. Get it perfectly smooth before adding anything else.
- Don’t use natural peanut butter. It makes the filling oily and soft.
- Whip to stiff peaks. Soft whipped cream gives you a pie that slumps.
- Press the crust firmly. A no-bake crust needs to be packed tight, especially up the sides.
- Chill it overnight. It needs at least 6 hours to set up for clean slices.
- Freeze before slicing. 30 to 45 minutes in the freezer gives picture-perfect slices. Wipe your knife clean between cuts.
Can I Use a Regular Pie Pan?
Yes, but you’ll have extra filling. This recipe makes about 7½ cups of filling, which is just right for a 9-inch deep-dish pan mounded high. A regular 9-inch pie plate holds less, so expect 2 cups left over. Spoon the extra into small cups for mini no-crust peanut butter pies, or use two regular pie plates and double the crust to make two shorter pies.
How to Make No-Bake Peanut Butter Pie Ahead of Time
This pie is made for making ahead. Make it up to 2 days in advance, cover it and keep it in the fridge. Add the milk chocolate drizzle the day you serve it so it stays glossy.
How to Store Peanut Butter Pie
- Fridge: cover and refrigerate for up to 4 days.
- Freezer: wrap tightly in plastic wrap and foil and freeze for up to 2 months. Thaw in the fridge overnight, or serve it partially frozen.
- Don’t leave it out. Keep it chilled until right before serving. It softens after about an hour at room temperature.
FAQ’s
Does peanut butter pie need to be refrigerated? Yes. The filling is made with cream cheese and whipped cream, so keep it in the fridge and serve it chilled.
How long does peanut butter pie last? Covered in the fridge, it lasts up to 4 days. The crust softens a little after day 2.
Can you freeze peanut butter pie? Yes! Wrap it tightly and freeze it for up to 2 months. Thaw it in the fridge overnight, or slice and serve it partially frozen like an ice cream pie.
How long does it take peanut butter pie to set? At least 6 hours in the fridge, but overnight is best. For the cleanest slices, freeze it for 30 to 45 minutes before cutting.
Why is my peanut butter pie runny? The whipped cream wasn’t whipped to stiff peaks, the filling was overmixed after the cream went in, or it didn’t chill long enough. Natural peanut butter can also make the filling loose.
Can I use natural peanut butter? I don’t recommend it. Natural peanut butter separates and makes the filling oily and soft. Stick with a creamy brand like Jif or Skippy.
Can I use Cool Whip instead of whipped cream? Yes. Fold in an 8-ounce tub of thawed Cool Whip in place of the whipped cream and the ¼ cup of powdered sugar that goes with it. The pie will be a little sweeter and softer.
Can I make peanut butter pie without cream cheese? You can, but the filling will be softer and won’t slice as tall. The cream cheese is what gives this pie its structure.
Can I use a store-bought crust? Yes, but most store-bought graham crusts are shallow. You’ll have extra filling, so use the 9-ounce “extra serving” size or spoon the rest into dessert cups.
How do you get clean slices of peanut butter pie? Chill it overnight, freeze for 30 to 45 minutes, and use a large sharp knife. Wipe the knife clean between each slice.
Can I make it the day before? Yes, it’s actually better the next day. Make it up to 2 days ahead and add the chocolate drizzle the day you serve it.
Peanut Butter Recipes:
If you love peanut butter, here are some of my most popular peanut butter desserts…
Reeses Peanut Butter Cup Cookies
Soft Peanut Butter Cookies
Peanut Butter Blossoms
Levain Chocolate Peanut Butter Chip Cookies
Bakery-Style Peanut Butter Cookies
Levain Bakery Peanut Butter Chocolate Chip Cookies
Chocolate Bottom Peanut Butter Cookies
Peanut Butter Desserts:


Here you can find all of my Best Pie Recipes all in one place.

Pin this now to find it later
Pin It
Peanut Butter Pie
Ingredients
No Bake Graham Cracker Crust:
- 2 cups Graham Cracker Crumbs (16 full sheets)
- 3 Tablespoons Granulated Sugar
- 8 Tablespoons Salted Butter (melted)
Peanut Butter Filling:
- 12 oz Full-Fat Brick Cream Cheese (1 1/2 blocks, softened)
- 1 1/2 cups Creamy Peanut Butter (Jif or Skippy)
- 1 1/2 cups Powdered Sugar (divided)
- 2 teaspoons Vanilla Extract or Paste
- 2 cups Heavy Cream
Topping:
- 1 1/2 to 2 cups Chopped Reese's Peanut Butter Cups (8.9 ounce bag)
Milk Chocolate Drizzle:
- 3 to 4 ounces Milk Chocolate Bar or Chips (about 1/2 cup)
Instructions
Graham Cracker Crust:
- Stir together the graham cracker crumbs, sugar and melted butter. Press very firmly into the bottom and all the way up the sides of a 9-inch deep-dish pie pan. Freeze for 30 minutes.
Peanut Butter Filling:
- Whip the cream. Whip the cold heavy cream with 1/4 cup of the powdered sugar to stiff peaks. Refrigerate while you make the filling.
- Make the filling. Beat the cream cheese until completely smooth. Add the peanut butter, the remaining 1 1/4 cups powdered sugar, and the vanilla. Beat for 2 minutes until smooth and fluffy.
- Fold in 1 cup of the whipped cream into the peanut butter mixture to lighten it, then gently fold in the rest until no streaks remain.
- Fill and top. Mound the filling high in the crust. Top with the chopped peanut butter cups.
- Chill. Refrigerate overnight, or for at least 6 hours.
- Drizzle (optional). Microwave the milk chocolate chips at 50% power in 30-second bursts, stirring after each, until smooth. Drizzle over the chilled pie with a spoon or a zip-top bag with a tiny corner snipped off. Chill for 10 minutes to set.
- Slice. For clean slices, freeze for 30–45 minutes before cutting and wipe the knife between slices.
Notes
- Pan size: made for a 9-inch deep-dish pan. A regular pie plate will leave 2–3 cups extra filling.
- Drizzle: melting at 50% power keeps the chocolate smooth so it doesn’t scorch or seize. Add it the day you serve so it stays shiny.
- Make ahead: up to 2 days ahead in the fridge.
- Storage: refrigerate covered for up to 4-5 days.
Nutrition
Nutrition information is automatically calculated, so should only be used as an approximation.